“This post contains affiliate links, and I will be compensated if you make a purchase after clicking on my links.”
When TIG welding aluminum, alternating current (or “AC”) is almost always used. Alternating current has a scrubbing effect on the surface, breaking up oxides that limit weld quality. However, it is possible to TIG weld aluminum with direct current (also called “DC”). Sometimes, DC is a better choice to TIG weld aluminum. How and when should you use DC to TIG weld aluminum?
TIG welding aluminum with direct current can be tricky, but these tricks can help you get it done.
- Know the difference in direct current and alternating current for TIG welding
- Know when to use DC and when to use AC for aluminum
- Use the right materials
- Gather the right electrode, rods, and shielding gas
- Set up the welder for DC welding with reversed polarity
- Use a foot pedal or hand control for amperage
- Get the aluminum as clean as possible
- Practice before starting the weld
- Use proper technique
- Know your limits-direct current is not always the right choice for aluminum
- Combine AC and DC welding to get the best joint
In this article, I will take you through all the tips you need to know to get started with TIG welding aluminum with DC.
AC or DC””What’s the Difference?

Polarity describes which way the electricity is flowing. With direct current (usually called DC), the polarity of the electric current always flows one way. The normal flow is electrode negative, which means the electricity flows from the welder, through the electrode, to the workpiece, and back to the welder. Reverse polarity turns that around and drives the current from the welder through the workpiece to the electrode.
Direct current is favored for TIG welding most metals because it penetrates deeply. Welding aluminum is one of the only times that alternating current is preferred.
Alternating current, or AC, flips the polarity between standard and reverse quickly, from sixty to one hundred twenty times each second. Aluminum is usually TIG welded with alternating current. The quick polarity flips have a sandblasting effect that breaks up the surface oxides to produce a clean weld. The drawbacks to AC welding are that the weld doesn’t penetrate deeply and that it leaves a large bead on the surface.
Why Use DC for Aluminum
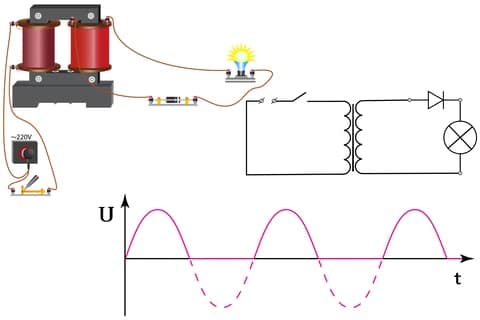
The problem with AC welding is that the current does not penetrate deeply into the joint and produces a shallow weld. If you are joining aluminum pieces that are ¼ inch thick or more, AC won’t produce a strong weld in with just one pass.
To produce a strong weld in thick aluminum with alternating current, the welding is done in steps. You have to bevel the edges of the joint, lay down a root bead, then come back with one or more passes of filler and cap welds to get a strong joint. This requires three or four passes with the welder before the joint is complete.
Reverse polarity DC welds don’t have this problem. You can get a good, deep weld joint in one pass using DC welding. This saves time and produces a stronger weld.
DC welds are also useful for fixing deep pits and gouges in aluminum. You can quickly fill a cavity with DC welding and get a strong joint that keeps the fill in place. Once the hole has been filled, smooth the surface with a grinder, and the part is like new. This helps fix expensive, machined aluminum parts that have become slightly damaged.
Use the Right Materials

Not every grade of aluminum is suitable for DC TIG welding. The best aluminum grades for this process are 6061, 2219, and pure aluminum (everything in the 1100 series). If you are working with other categories of aluminum, you may need to use AC to make the weld.
In addition to using the right grade of aluminum, the correct dimensions are essential. DC welding puts a lot of heat into the workpiece. If you try to DC weld thin stock, it can overheat and warp. Direct current welding works best with pieces at least ¼ inch thick. Besides the warping issue, the benefits of DC welding aluminum don’t come into play until your stock anyway. Stick with AC for the thing stuff.
Equipment for DC Welding Aluminum
Using the right equipment is important for using direct current to TIG weld aluminum. Having the right rods, electrode, and gas makes a big difference in weld quality. If you don’t get the right gear, you won’t be able to develop a good puddle and apply the rod to cover the joint.
Rods
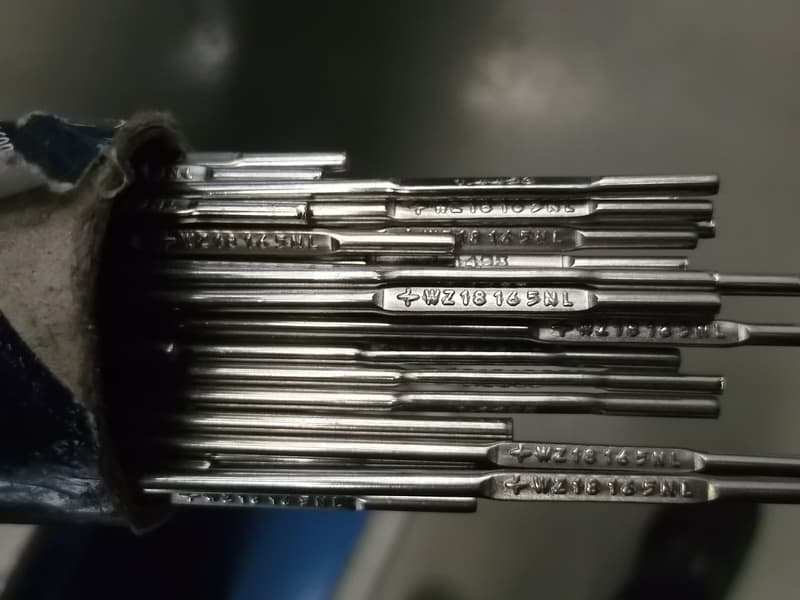
Pure aluminum rods are necessary for TIG welding aluminum using direct current. 4043 works best and produces a clean bead. You can also use 5356 rods, but the welds tend to be rough and won’t look good. Don’t use alloy rods or other metals for DC welding.
Electrode
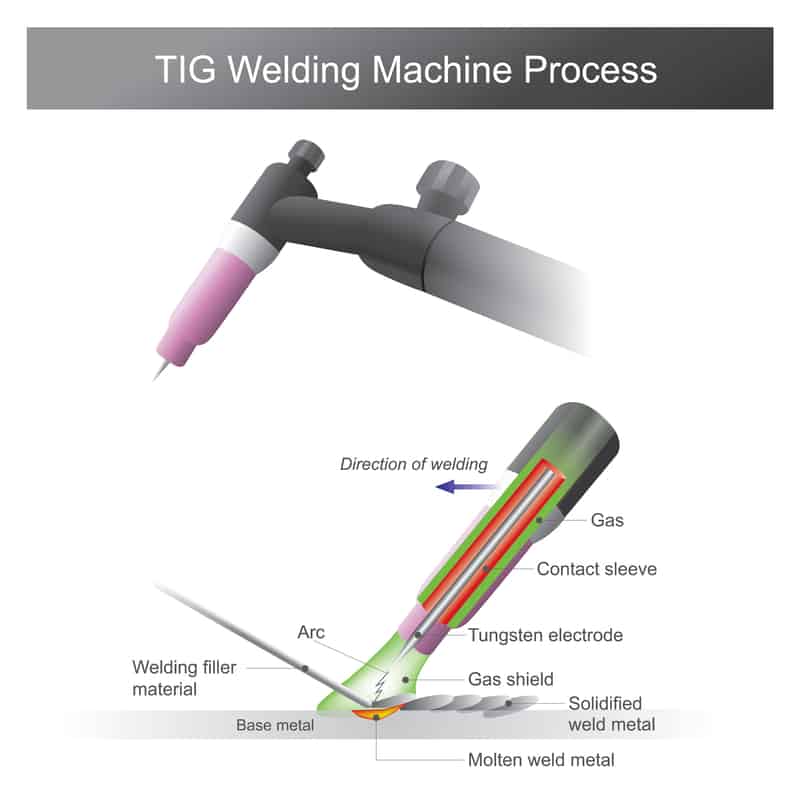
The best electrodes for TIG welds with direct current are 2% lanthanum tungsten rods. These have a blue tip. Unlike AC welding, you need a sharp tip on the electrode for DC welds. Pre-sharpened rods are available, or you can sharpen it yourself with a grinder. Standard tungsten and thoriated rods will also work.
Because of the high heat involved with TIG welding aluminum, using a standard 1/16 inch diameter electrode can cause the electrode to overheat and contaminate the weld. To handle the extra heat, opt for a slightly bigger 3/32 inch electrode.
Gas
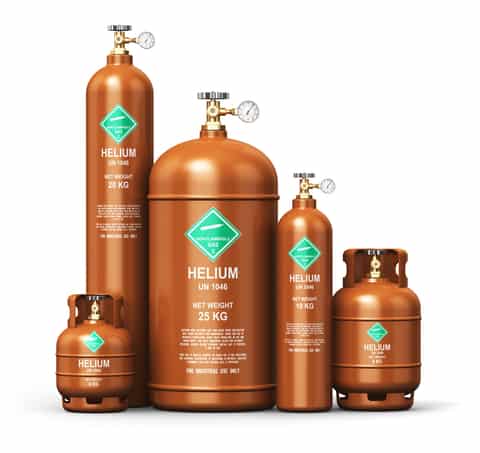
The best gas for DC welding is ultra-pure helium. It produces a hotter arc than helium-argon mixes or pure argon. The high heat from the arc helps break up the oxide layer and creates a weld that holds better. The extra cleaning from heat is important for DC welding because you don’t have the cleaning power that alternating current provides.
Opting for ultra-pure over standard helium guarantees that there are no contaminants in the shielding gas. Even a little bit of oxygen mixed with the helium can cause oxidation in the weld, which leads to cracking.
Welder Setup
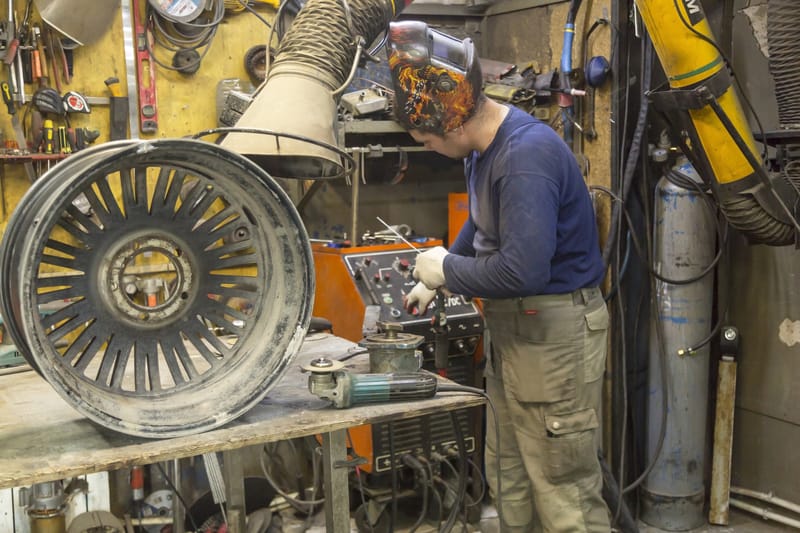
You need to set your welder DC, of course. You also have to reverse the polarity of the welder so that the electrode is the positive terminal, and the weld surface is the negative terminal. Reverse polarity will create a weld puddle under the oxidized layer with the oxide floating on top. Consult the manual for your welder for recommended amperage and other settings for direct current welding.
Variable Amperage
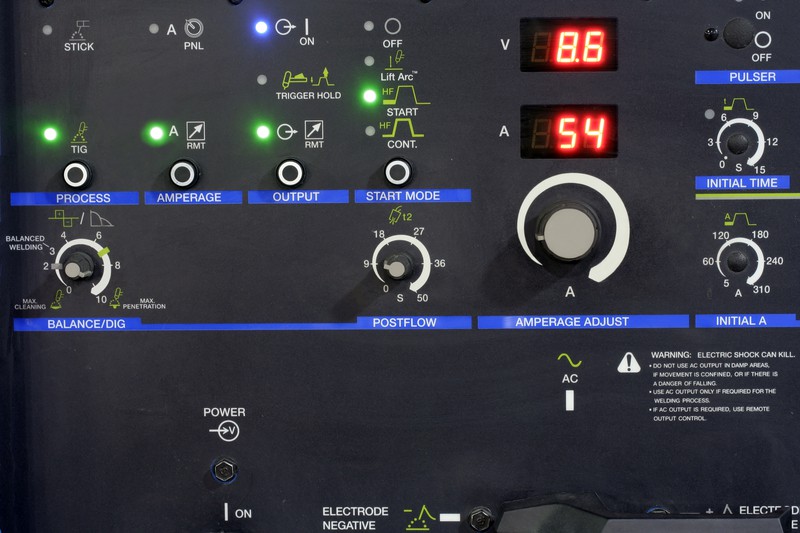
Rather than using the same amperage for the entire weld, set up the welder with a controller for variable amperage. With variable amperage, the power level is controlled with a foot pedal or a sliding switch on the electrode torch. Variable amperage is very important for DC welding aluminum. Using fixed amperage can cause real problems with your joint.
Heat disperses quickly through aluminum. By the time you reach the end of the joint, the material has heated up from the weld, and heat doesn’t have anywhere else to go. This makes the aluminum get hot enough to warp or melt. Using variable amperage lets you reduce the heat coming in to prevent damage from overheating.
Process for DC Welding Aluminum
To get a good weld using DC on aluminum, you need to follow the right process. Some of the steps are the same as you apply for AC welding, but some are different. Make sure to treat DC welding as its process instead of trying to use all the steps for AC welds.
Practice First

Before you try to weld up a finished product, take a few minutes to practice the weld on a piece of scrap aluminum. DC welding aluminum has a different feel than AC welding, and it’s not easy to get a bead to with the “œstack of dimes” look of good TIG welding. A little practice will help you get a feel for the weld and go a long way to a pretty weld on your finished product.
Get It Clean
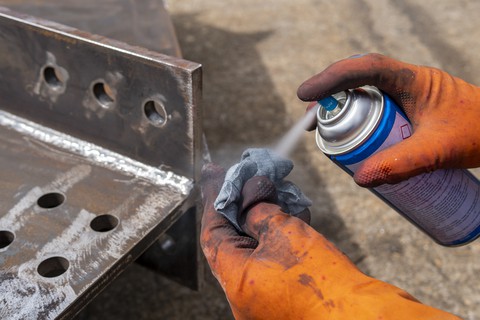
You should always clean the metal you are welding as much as you can before cracking an arc. This step is especially crucial for DC welding aluminum. The melting point of the oxide on the surface is much higher than the melting point of the aluminum base metal. If you try to weld oxidized aluminum, the oxide will contaminate the weld and prevent it from solidifying. The result will be an ugly, brittle bead.
Aluminum has to be cleaned no matter what process you use, but it’s especially crucial with direct current. The arc from AC welding aluminum has some cleaning ability. DC lacks that cleaning power, so you have to get everything perfect before you start welding.
Start by cleaning off paint, grease, and oil with a solvent wipe. Degreasers will remove oil and grease, while paint thinner takes off paint. Acetone will remove both. This step is necessary for any type of welding and any metal.
The next step to preparing aluminum is scraping off the oxide layer. This layer is hard to remove, but you must get as much as you can off before DC welding aluminum.
Scrub Away
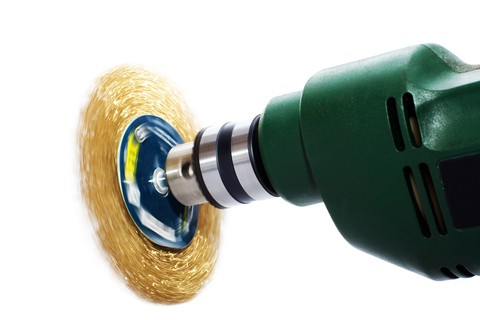
One way to remove the oxide layer is a stainless steel brush. Use a fine-bristled brush, and use it only for aluminum. Coarse bristles will scratch the aluminum rather than cleaning off the oxide layer. Using a brush that has other materials can add contaminants to the surface and make the welding process worse instead of better.
If you are cleaning with a brush, scrub the metal until it is bright and shiny. Take your time and get the oxide layer off.
Better Cleaning Through Chemistry

If you have a big job, or the oxide coating is substantial, a chemical cleaner is needed. Use an acid bath or a commercial aluminum cleaner to strip the oxide layer off the surface of your workpiece. The chemicals that can remove oxide from aluminum are nasty, so be sure to read and follow the label directions and wear the proper protective equipment. These cleaners will get all the oxide off the surface, though.
Don’t Let It Sit

Once your surface is clean, make sure to weld it up within a day or so; otherwise, oxygen in the air will react with the surface and form a new oxide layer to be removed. If your piece sits too long, clean it again before welding.
When you are cleaning, don’t overlook the rods and electrode. DC welding does not have the natural cleaning effect that AC welding produces, so everything needs to be perfectly clean before you start welding.
Technique for DC-TIG Welding Aluminum
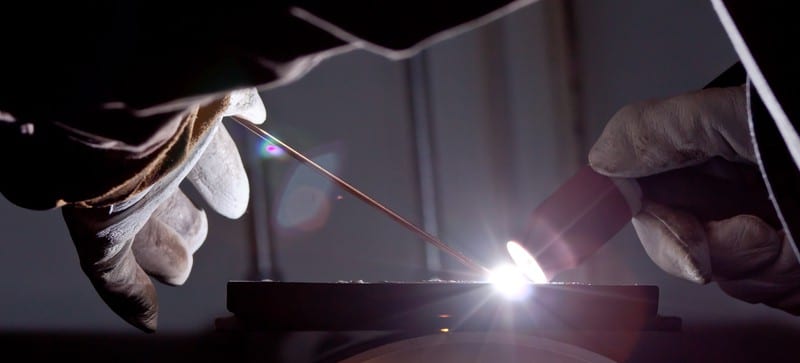
The technique is important for most kinds of welding. You have to adjust your work style to meet the needs of the metal, filler, and setup that you are using. DC welding aluminum is no different. Some tips that will help you use direct current to TIG weld aluminum are:
- Be safe. Like other kinds of welding, TIG welding involves high heat and intense light. Make sure to wear a welding mask, gloves, and long sleeves.
- Use the right cutting method. Plasma cutters and high-speed circular saws leave a good clean surface for welding. Avoid low-speed bandsaws that can smear contaminants into the cut, and avoid oxy-acetylene torches that lead to oxidation of the cut surface.
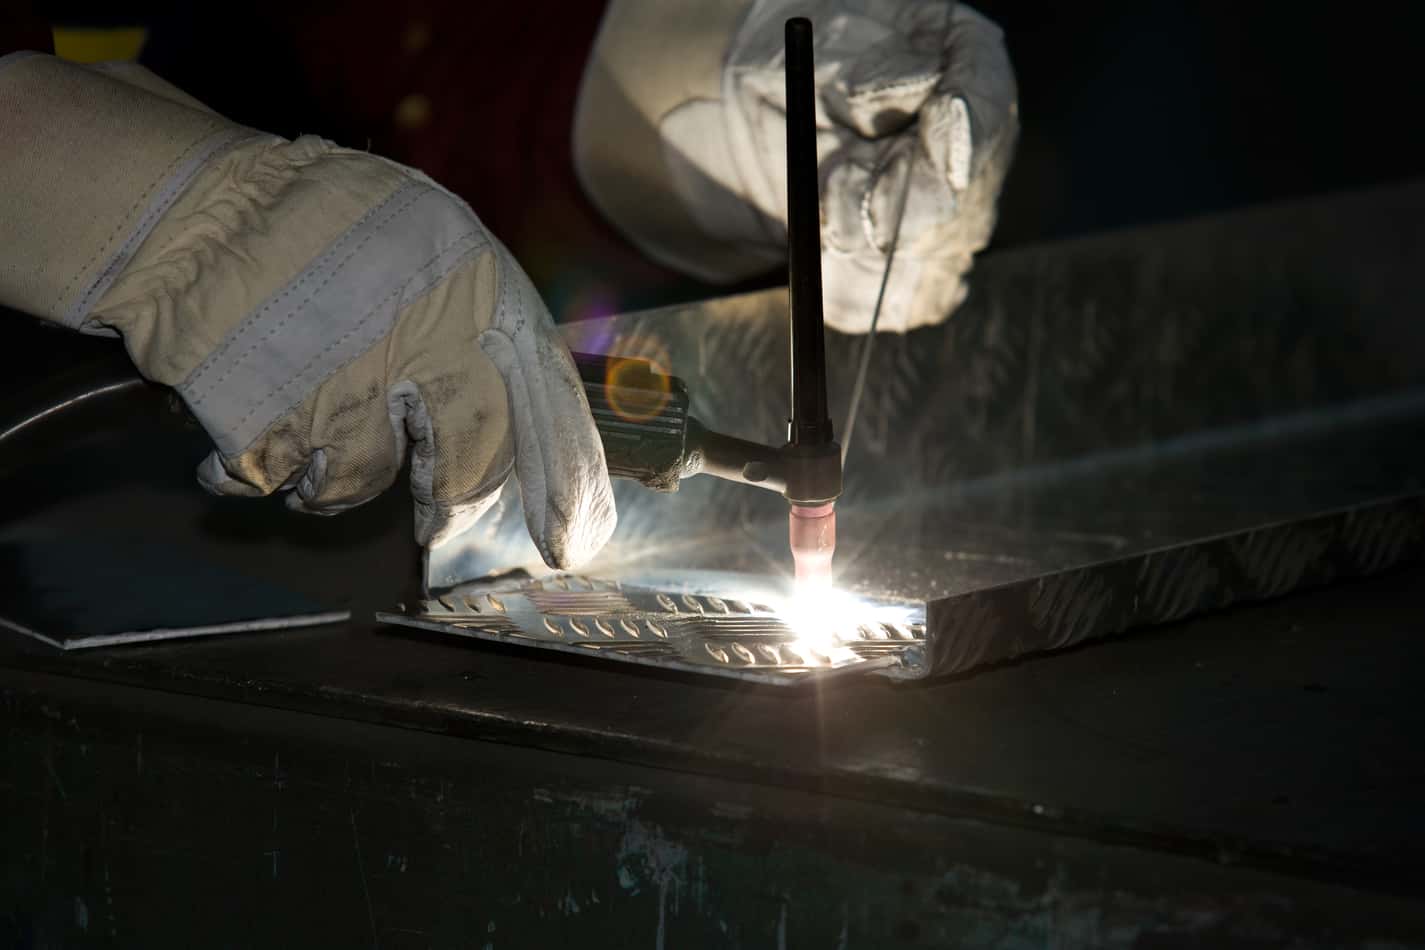
- Use a tight arc””much tighter than you would use to weld aluminum with AC. The heat is flowing up from the workpiece and not down from the electrode. Minimize the spread of the arc to get the most heat into the puddle. Keep the tip of the electrode within an eighth of an inch of the surface.
- Hold the torch at 90 degrees to the workpiece and keep the tip close to the surface. This provides a consistent puddle and a clean weld. Keeping the electrode upright gives you the best gas shielding of the weld and offers better control of the arc.
- Keep an eye on the tip of the electrode. Reverse polarity welding can round the tip of the electrode and cause the arc to spread out. If this happens, stop and re-grind the tip.
- Hold the rod almost flat. Poke the rod at the puddle in the middle of the arc, then pull it back. You can get a clean stack-of-dimes weld using DC, but you have to be careful with the rod.
- Aluminum melts at a much lower temperature than the oxide coating. Reverse polarity drives the heat up through the metal and makes a puddle under the oxide. The oxide floats to the top of the puddle; try not to disturb it with the rod. Work under the oxide layer.
- Move fast, so the piece doesn’t heat up too much. Use the variable control to reduce amperage and prevent pitting, warping, or melting the piece.
When to Use AC

If your workpiece is extremely dirty or oxidized, DC might not be the best choice. Since it doesn’t have the cleaning power of AC, DC requires pristine surfaces to get a good weld. If you are working on engine parts that have a coating of carbon, or old parts that are heavily oxidized, AC welds might be a better choice.
DC welding is also a poor choice for joining pieces of cast aluminum. The casting process produces more surface oxidation than other manufacturing processes like machining. The surface oxide makes it hard to get a good weld, so direct current is a poor choice for welding cast pieces.
You should also avoid DC welding aluminum if the appearance of the weld is important. It is harder to get the traditional stack of dimes appearance with DC welding, so stick to AC if the look of the final weld is essential.
Best of Both Worlds
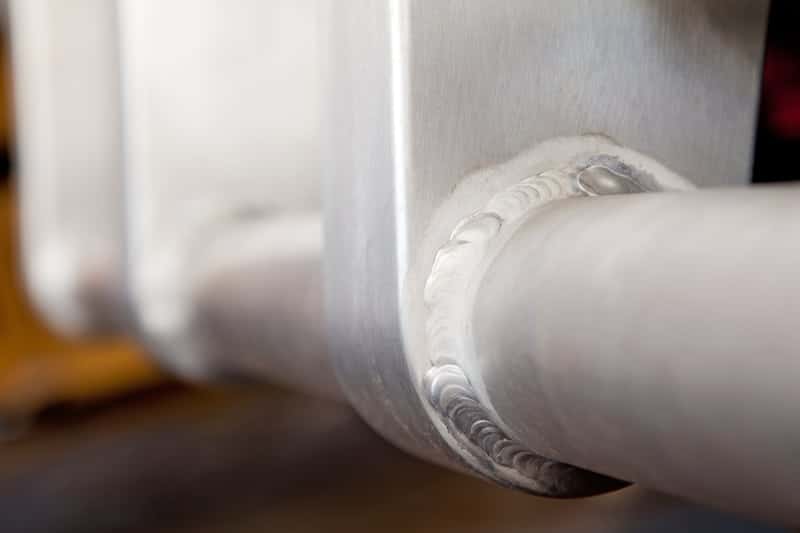
For some projects, using both AC and DC can be a winner. For very thick stock, you might need to combine techniques to get the best result. To get the best weld in thick material, use the following steps:
- Bevel the edges of the pieces to be joined so that they come together in a V-shape.
- Make a root bead using direct current. This is the base weld that fills up the bottom of the v-channel. DC will give deep penetration and a solid base for the weld.
- Brush the weld clean to remove as much oxidation and contamination as you can.
- Make a cap weld using alternating current. The AC will scrub contaminants from the surface of the root weld and the edges of the joint. The AC also makes it easier to get an attractive weld beat that looks like a smooth stack of dimes.
Alternating current is the standard for TIG welding aluminum with good reason. It handles the properties of aluminum well and makes nice looking welds. However, AC welding has its limitations. When you need deep penetration into thick aluminum, direct current penetrates better and delivers a better weld. Knowing when and how to use direct current to weld aluminum opens new opportunities and lets you handle things that alternating current just can’t do.
Also check out my article about MIG welding Aluminium. Especially for thicker plates (>4 mm) and high deposition rates, MIG welding might be the better option.




2 thoughts on “11 Tips for TIG Welding Aluminum with DC”