“This post contains affiliate links, and I will be compensated if you make a purchase after clicking on my links.”
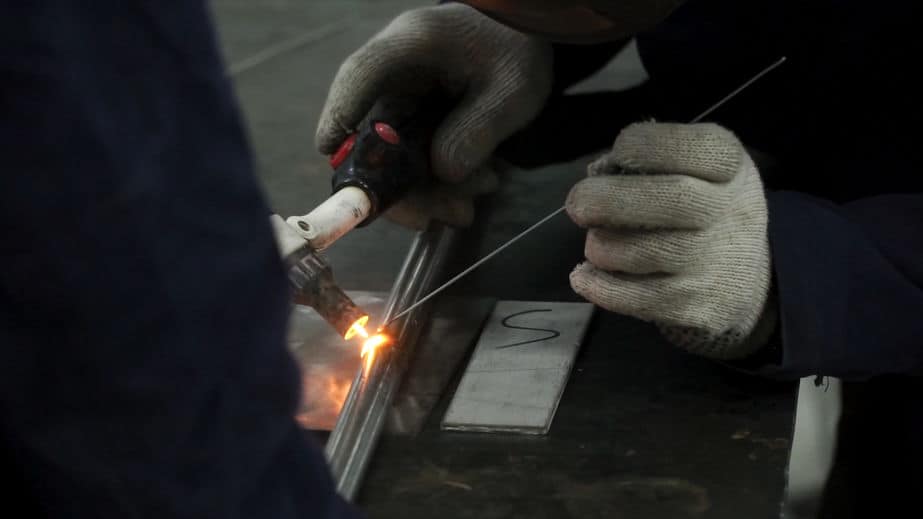
Wandering of the TIG welding arc is an annoying problem which you might encounter especially at the beginning when you are new to TIG welding. There
Most TIG welding arc wandering problems can be solved by properly grind the tungsten tip. Always grind lengthwise to allow for a straight flow of electrons. Other common reasons are strong magnetism close to the torch or if the ground clamp is too far away from the weld.
Below are some tips and insights into solving the problem for good. Once you understand the basic principles behind TIG arcs, arc wandering will be a thing of history for you.
What is an arc and why does it “wander”?
The first question you might ask yourself is, why does the arc wander or rotate? Isn’t electricity taking the path of least resistance as most lazy people do? The arc you see consists of a ton of electrons, travelling from one end of the torch to the workpiece. The direction depends on how you set up or clamped your machine, but the electrons always travel. Electrons are very light (9.10938356 × 10⁻³¹ kilograms) but nonetheless they can be sent on a funny trajectory. For example when you sharpen your tungsten radial instead of lengthwise (see next paragraph). So the electrons are shooting down the tungsten tip and get caught on the grinding lines of the tungsten, which gives them a bit of a spin. Also, electrodes can be influenced by magnets, which either attracts or pushes the electrons away. Big masses can also attract the arc, so be aware of your welding surrounding when TIG welding.

First things first: Proper Tungsten sharpening
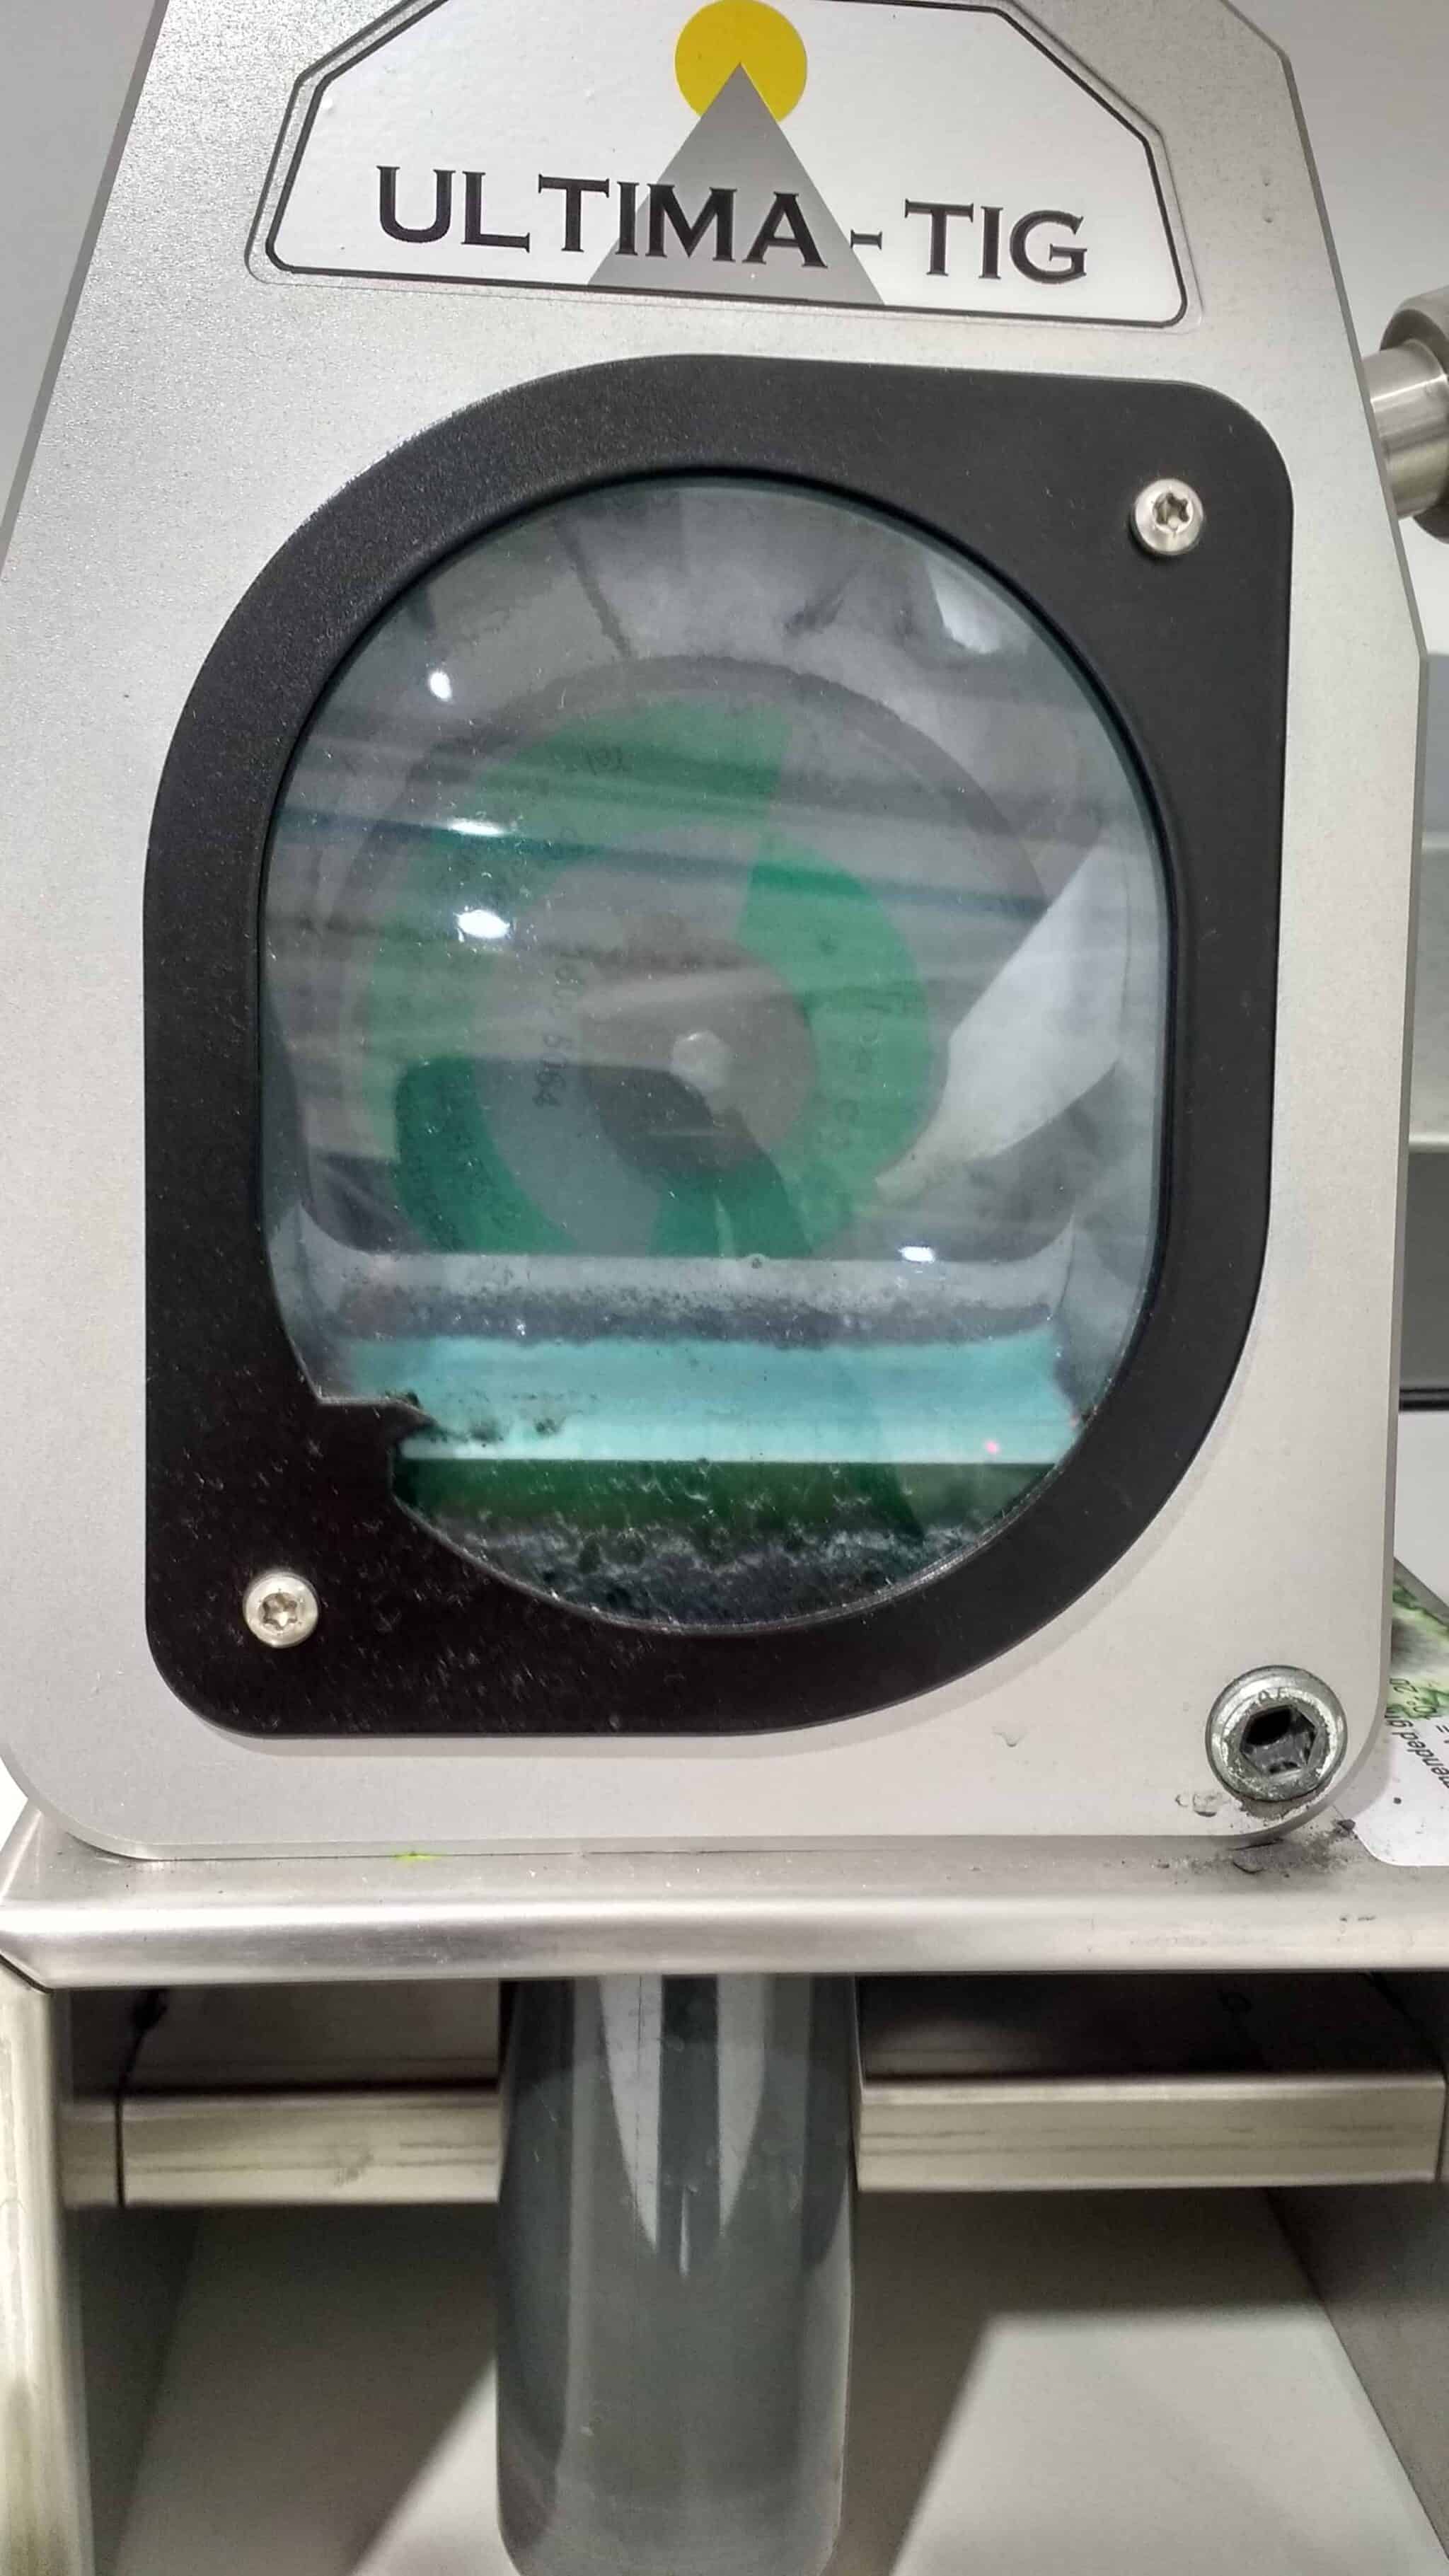
As mentioned previously, having your tungsten sharped radial instead of lengthwise causes the electrons to “spin”. This is probably one of the most common issues because most welding newbies will sharpen their tungsten on a grinding wheel. It is more natural for the user to grind the tungsten perpendicular to the wheel. But this causes radial grinding lines on the tungsten electrode. For an unobstructed flow of electrons, the grinding lines should be lengthwise. This means grinding along the grinding wheel with the tip pointing in the direction of wheel rotation. Important to note is, that while you grind the tungsten, an
The angle of grinding is important as well. If you sharpen your tungsten to pointy, the tip will wear down very quickly. More importantly, you risk contaminating your weld with tungsten carbides. This works like a razor woven into a bungee rope. Not a good idea! Therefore adapt your grinding angle to the amperage you are using. This is true for DC current. If you switch to AC, a flat tip would be adviced, because a pointed tip will be balling up and cause even more arc wandering.

The sharpening angle of your electrode also greatly influences your welding results. For example if you are looking for a deep penetration of your base material, but more of a narrow weld bead, a pointy tip will serve you the best. Therefore use the lower end of the recommended angle suitable for your working amperage. If you choose an angle that is to steep, you will keep running to the grinding wheel. Sharpening the electrode in a wider angle will cause a much more superficial penetration of the base material and create a very flat and broad weld bead. Also your electrode should last much longer before it needs sharpening again. This is true for DC welding, for AC welding, flattening the tip after grinding will reduce tip wear significantly and improves your welding results.
Clamping, the art of closing the circuit
Big metallic masses, magnets and your ground clamp can also be a source for arc wandering. While welding, a lot of the process is happening hidden for the eye. Electricity, current and magnetism can be visualised but is not always visible. So if you already using a perfectly sharpened tungsten electrode, and you are not welding next to a big magnet, checking your ground clamp could be your next best bet. Make sure the clamp is close enough to the place where you actually weld. It might be good practice to clamp the workpiece, depending on what and where you are welding. Make sure your workpiece has good contact to the worktop and all contact surfaces are clean.
Everything in order? – Equipment check
When you see any visible damage on your TIG torch, consider replacing the torch or damaged parts. Arc wandering might be caused by an internal defect in the torch, therefore taking the torch might be necessary to get to the bottom of the problem. When disassembled, make sure all parts are in working order and clean. Collet and collet body might need to be replaced.
I hope one of these tips helped you with your arc wandering problem and you have a nice and steady arc by now. If you would like to leave me some feedback, I am always happy to improve my articles.


2 thoughts on “Why does my TIG welding arc wander?”