“This post contains affiliate links, and I will be compensated if you make a purchase after clicking on my links.”
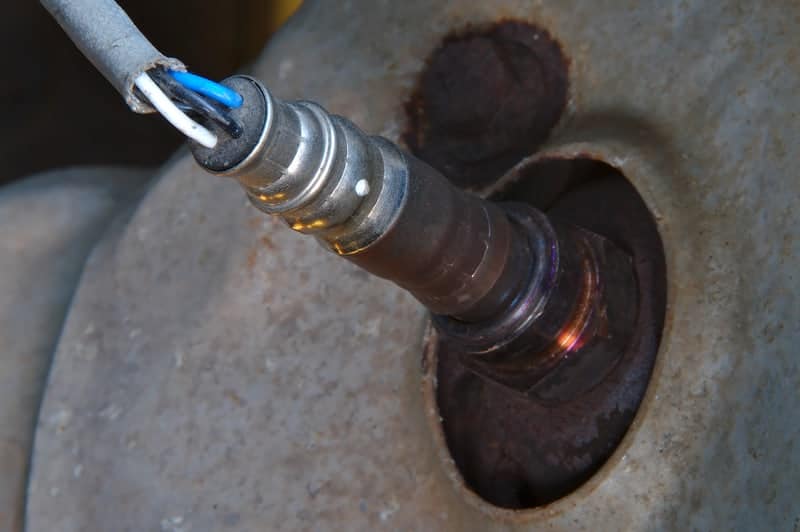
An O2 bung helps an oxygen sensor attach to a pipe and accurately measure the amount of oxygen flowing through it. Usually, O2 bungs are attached to the exhaust systems of vehicles to measure the volume of oxygen in exhaust gases. However, since the bung itself is cylindrical, welding it perpendicularly to another cylindrical pipe is often tricky and requires good welding skills to ensure a perfect weld with a good finish.
If an O2 bung is next on your welding list, check out these handy tips to make your job easier.
Tip #1: Start with a center drill to make the hole

Cylindrical metallic surfaces often present a risk of drill slippage when trying to make a hole. Therefore, the best approach in such a situation is to create a starter hole first and then drill it further. The starter drill bit used for this is purpose-designed to not flex under load.
Once you create the starter hole, you can use a step drill to make a deeper hole the size of the actual bung diameter.
Tip #2: Select the correct type of bung

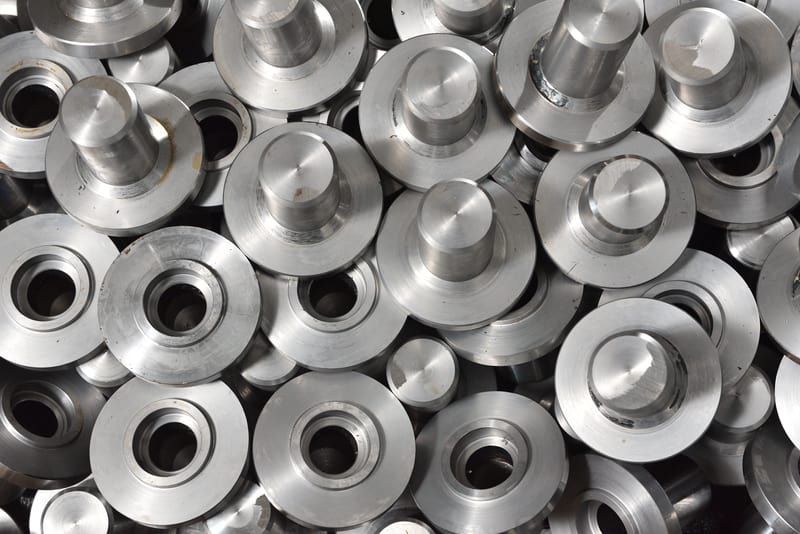
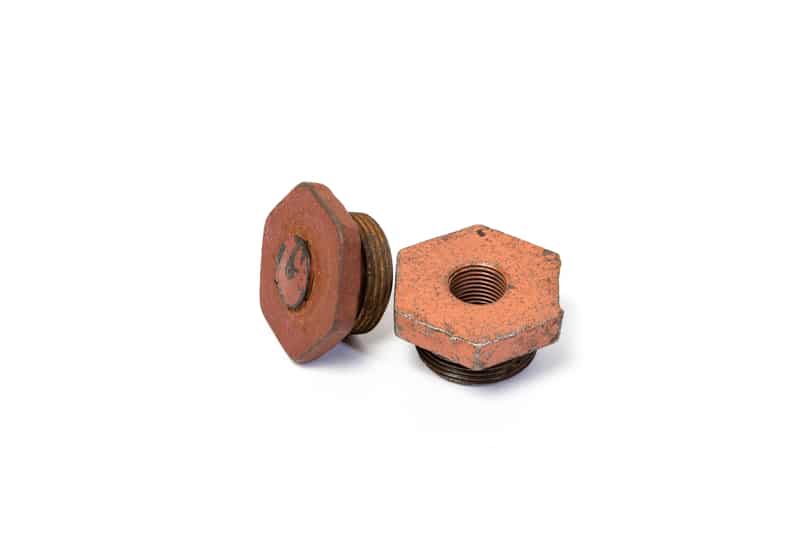
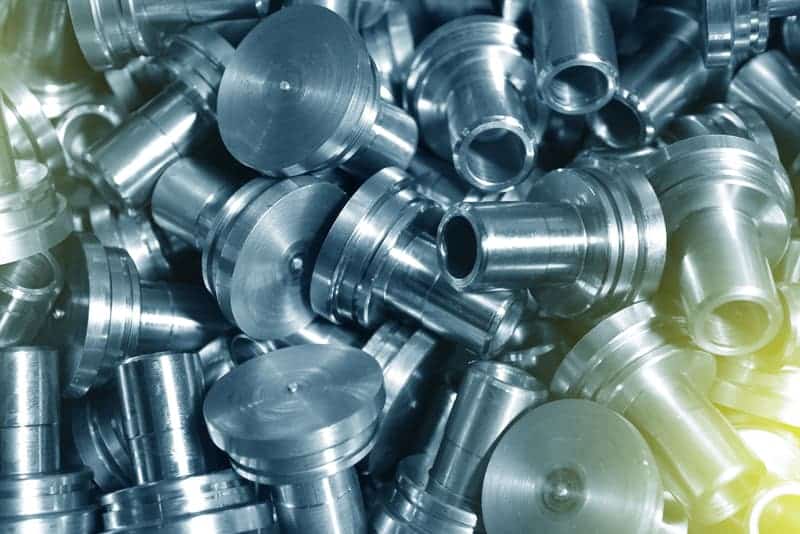
Bungs are available in several types. The three most common are stepped bungs, straight bungs, and radiused or pre-radiused bungs.
In a stepped bung, one of the bung surfaces consists of a stepped design where the lip of the bung has a larger diameter than the rest of the outer surface. This larger diameter will hold the bung in place and won’t easily slip through the hole when you’re welding.
A straight bung, on the other hand, has a smooth surface. This means you need to manually hold the bung in place while welding it onto the pipe. In addition, due to the low visibility that’s typical when replacing a seized sensor and welding a new sensor bung, you may find it difficult to hold a straight bung at the correct angle. The resulting misalignment errors will directly impact the performance of the O2 sensor.
In contrast to stepped and straight bungs, radiused or pre-radiused O2 bungs come with a base that conforms to a specific radius. As a result, these types of bungs are the easiest to attach to a cylindrical pipe. With this type of bung, you just need to make sure you select the bung with the correct radius to match with that of your pipe.
Tip #3: Bung material also matters

O2 bungs come in various metals, and you need to choose the right type to match the pipe material you’re going to weld the bung to. For instance, it is not advised to weld aluminum to steel, because both materials differ vastly in terms of their metallurgic and physical properties.
When in a molten state, both materials react to form brittle intermetallic phases, weakening the weld. Ideally, you should always choose a bung made from a similar material to that of the pipe.
Tip #4: Don’t forget to clean the work surface

Depending on the type of weld you are trying to achieve, surface cleanliness will play a crucial role in your success rate. If you’re dealing with exhaust systems, the chances are that the surface of the exhaust pipe will have a layer of dirt and grime on it. If you begin welding without removing these impurities, they will mix with your weld pool and compromise the weld strength. It’s therefore essential to clean the surface before you begin. You should also make sure to clean the bung before welding.
The recommended procedure is to clean both surfaces with water and soap to remove any obvious dirt and grime. Once cleaned, wipe the surface with acetone or rubbing alcohol to remove any oil or other chemicals on the welding surfaces.
Tip #5: Weld the O2 Bung at a proper distance
If you’re planning to install the O2 bung on an exhaust pipe, consider welding it six to eight inches after the collector, which would leave about 18 -24 inches of exhaust pipe after it. Installing the bung too close to the end of the exhaust pipe can cause ambient oxygen to enter the pipe, leading the O2 sensor to produce erroneous readings. By mounting the O2 bung at the right position, you ensure that it can effectively measure the oxygen concentration in the exhaust gases.
It is also important to leave no space for ambient oxygen to enter the exhaust system. Incorrect or messy welds may leave holes on the pipe, allowing fresh oxygen to enter the system and create false readings.
Tip #6: Ensure that the O2 bung orientation is correct
You can choose different orientations when welding an O2 bung onto an exhaust pipe. However, not every position will give you the best results. For example, if you weld the bung to the bottom part of the pipe (in the 6 o’clock position), the condensation that occurs when the exhaust cools down may eventually damage the O2 sensor.
The preferred position for a bung is anywhere in on the topside horizontal part of the pipe (from the 9 o’clock to the 3 o’clock position).
Tip #7: Use an anti-splatter spray
Splatter can occur while welding, and it can cause the work surface to lose its finish. Weld splatter occurs due to various factors, such as having the wrong torch settings or the wrong stick-out distance. The problem with weld splatter is that if it gets into the threads of the O2 bung, you will not be able to screw the sensor into the bung.
An anti-splatter spray forms a protective layer over the work surface so that the molten splatter does not stick to the surface, and you can easily remove any spatter by brushing it out.
Tip #8: Wear safety equipment
This practice is essential for all forms of welding, but it should not be taken lightly or missed when welding an O2 bung, since you’ll be working on a small area. As always, safety equipment will help you protect yourself if something goes awry.
Conclusion
When welding an O2 bung to an exhaust pipe, there are several factors you should consider to ensure that the bung sits correctly on the pipe and facilitates easy installation of the O2 sensor. The tips discussed here will help you make a clean weld safely.
References:
Tips for Properly Placing, Installing an Oxygen Sensor | journal.classiccars.com
How to Install a Weld in O2 Sensor Exhaust Bung | Autodesk Instructables (instructables.com)
How to Properly Place and Install an O2 Sensor | Holley Performance Products, Inc. (holley.com)
10 Secrets for Perfect O2 Bung Welds | The Fabrication Series
How to Replace an Oxygen Sensor | popularmechanics.com


