“This post contains affiliate links, and I will be compensated if you make a purchase after clicking on my links.”
Countless questions have reached me about Aluminium welding. I compiled 11 Tips for TIG welding Aluminium in a previous article. However, getting an extra machine or learning an additional process might not be the right option. Therefore here is my dedicated article for MIG welding Aluminium.
Aluminium can be welded with GTMAW/MIG Welding using an Aluminium alloy wire and a MIG welding machine with pulse function. Generally, MIG Welding is chosen when a high deposition rate is required and the plate thickness of the base material is above 4 mm.
So here is my guide if you have been struggling to MIG weld aluminium or just looking for some extra tips!
Important Basics about Aluminium
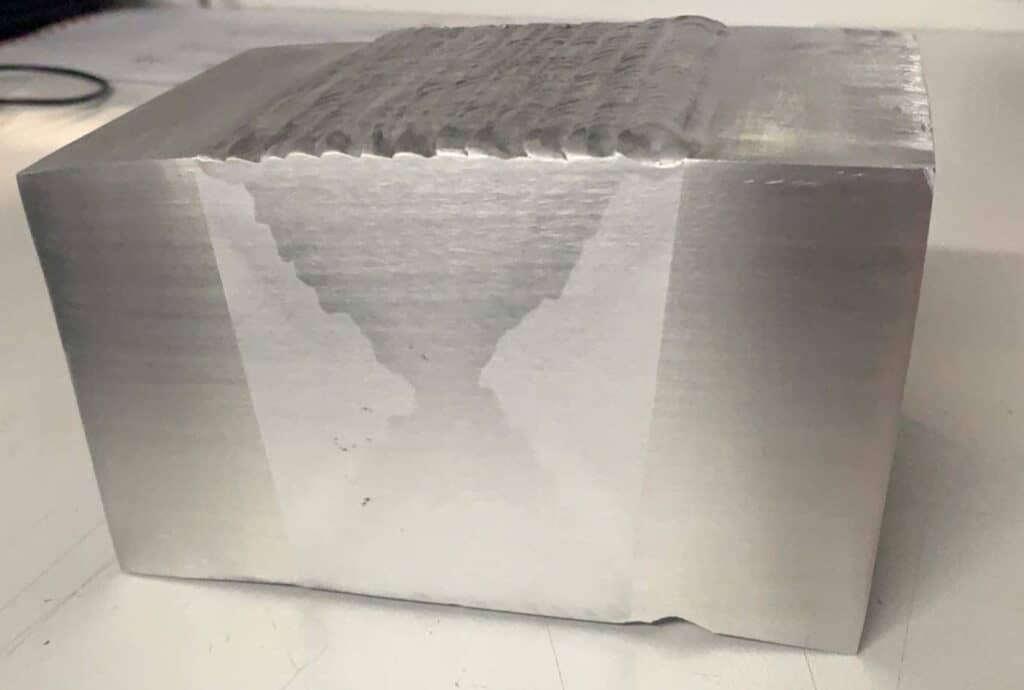
Welding aluminium can be quite daunting for someone that has experience with stainless steel or mild steel, but it doesn’t have to be. Like all metals, once you have the right equipment, the correct technique, and the correct preparation, you’ll be ready to start welding aluminium like a professional.
Aluminium is non-corrosive, lightweight, and also looks great in fabrications. It’s these traits that make aluminium such a popular choice. However, the things that make aluminium so popular also make it difficult to work with.
You need to remember that aluminium is soft and insulated with a protective oxidized layer. Therefore, while any aluminium is being welded or in a molten state, it is vulnerable to absorbing impurities that can lead to impurities, weakness in the joint, or an unattractive finished weld.
Aluminium melts at 1,200°F (650°C). However, the oxide layer protecting the aluminium melts at 700°F (2,037°C). Once you remove the protective layer, the That’s a significant difference and why the oxide layer must be removed before welding. The high thermal conductivity and the low melting point of aluminium give you a small window with which to work.
Like with any welding process, you need the correct equipment to get started welding aluminium. You have two main options for welding aluminium:
- GTAW/TIG Welding
- GMAW/MIG Welding
In this guide, we’re going to focus on MIG welding aluminium. However, if you are doing a lot of thin material, 1mm – 4mm, you may want to read our guide on TIG welding aluminium. MIG welding aluminium is best suited to large projects or plate thicknesses above 4mm.
1) Choosing the Right Equipment
In this section, we’ll cover the basics of what you need to get started with MIG welding aluminium.
Personal Protective Equipment – Welding any metal, including aluminium, can produce dangerous gases and fumes containing carcinogens that are dangerous to your health. Along with regular PPE such as welding gloves, safety glasses, welding shield, and ear protection, you should always wear the appropriately rated respirator.
MIG Welding Machine – A MIG welding machine is required to MIG weld aluminium, and it should be equipped with either a push-pull gun or a mechanical wire feeding system. MIG welding machines typically have faster travel speeds and higher deposition rates compared to a TIG welding machine. A MIG welding machine with a pulse function is recommended for anyone that is doing thicker aluminium plate or multiple aluminium projects.
Grinder/Sander – A grinder or sander can be used to prepare joints in the aluminium plate as well as removing the oxidizing layer on the surface of the aluminium. Be aware that sanding the plate will alter the surface appearance, so keep any sanding or grinding to a minimum.
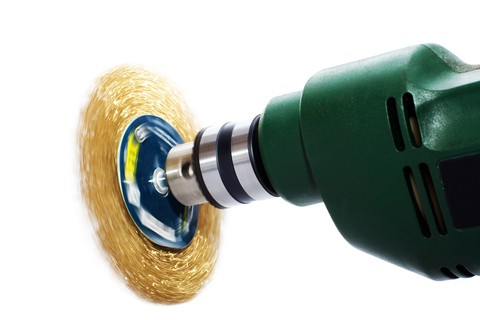
Wire Brush – A wire brush can also be used to clean weld areas and is particularly useful when cleaning any fillet welds. You can also brush your finished weld with a wire brush if desired to clean the weld and give it a uniform appearance.
Acetone – Acetone can be used to clean the surface of the aluminium prior to sanding or wire brushing to ensure that there are no contaminants such as oil or dirt on the surface of the plate. However, be careful using acetone on hot aluminium or around naked flames as it is highly flammable.
Argon – Argon is the shielding gas of choice when MIG or TIG welding aluminium as it forms a protective shield around the weld pool.
2) Adjusting the Process to Material Thickness
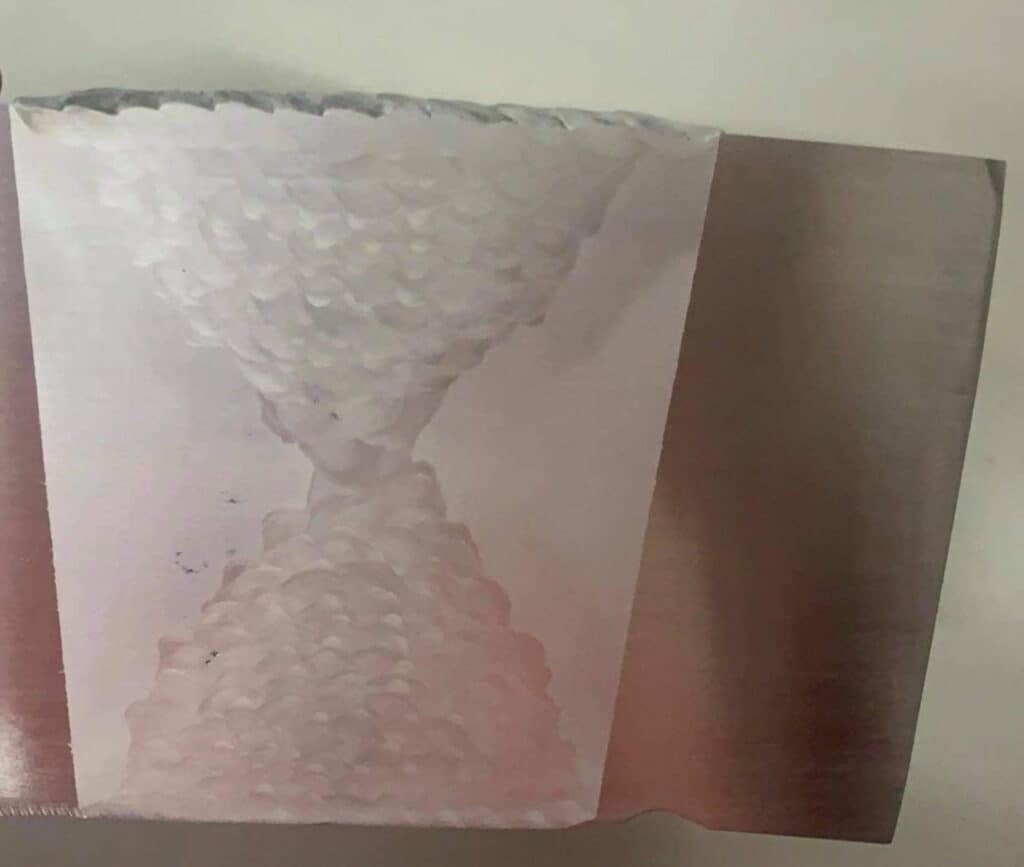
The thickness of the aluminium being welded plays a significant role in how you weld the aluminium. Therefore, MIG welding aluminium is best suited to materials that are 4mm thick and above. Pulse MIG welding machines are ideal for welding aluminium from 4mm all the way up to 100mm and above.
When you are welding thin material, it generally only requires one pass or run to be welded. However, as the thickness of the material increases, the number of runs or passes will need to be increased. An engineer is required to dictate the specific amounts of weld needed to maintain the structural integrity of the material.
3) Preparing Your Material Correctly
Preparing your aluminium before welding is critical to the finished look and strength of the weld. In this section, follow the steps below to prepare your plate for welding:
- Clean – Thoroughly wipe down the surface of the aluminium with acetone to remove any residual oils or contaminants. You should do this prior to wire brushing, sanding, or grinding, as they can push contaminants into the aluminium.
- Sand/Brush – Next, you’ll want to sand, grind, or wire brush the area that is going to be welded to remove the oxidization from the surface of the aluminium. Only do this immediately prior to welding as the oxide layer will begin forming again immediately. Sanding can be neater than wire brushing on flat surfaces, but wire brushing works well with fillet preparations.
- Pre-Heating – Pre-heating of aluminium plate is generally only required for 12mm thick plate and above.
- Plate Preparation – If you are butt welding to pieces of the plate together, you should put a 60. degree bevel on the edge of both plates is recommended, but this can vary greatly depending on the thickness of the plate and engineer requirements. There should be no root gap, and run off and run on plates can be used at both ends of the weld to avoid impurities in starts and stops.
4) Using Suitable Speed and Temperature
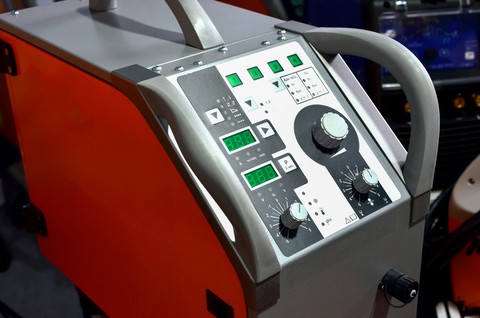
The speed of travel and temperature will be determined by the thickness of the aluminium plate that is being welded and also the type of weld that you are doing. There is a fine line when welding aluminium between maintaining the weld pool and burning through the metal or blowing through.
Starting with a small test piece of material is good to get a general idea of your desired temperatures. Still, larger pieces of material will dissipate heat faster than smaller pieces and require you to turn up the temperature and also slow your travel speed.
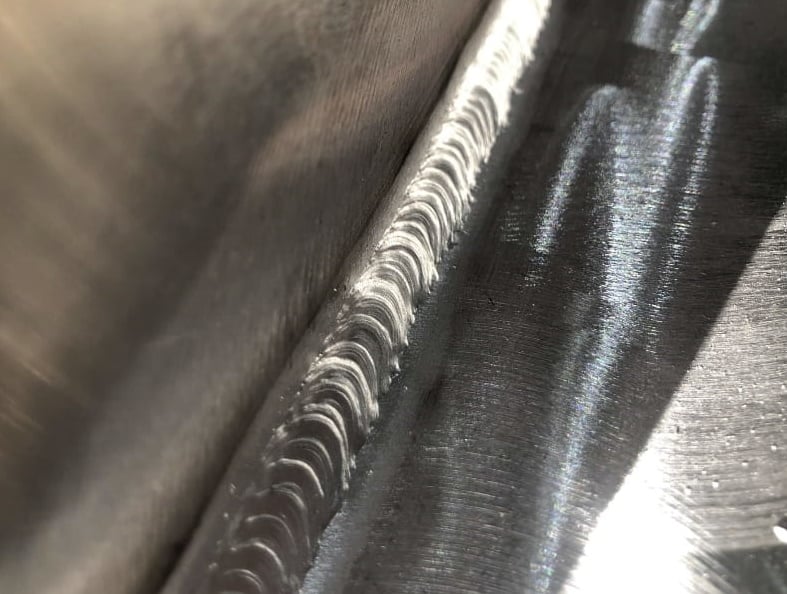
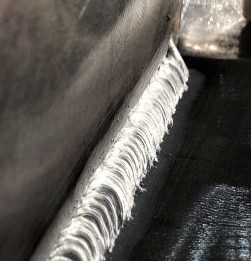
Unlike MIG welding steel, most guides recommend stepping when you weld aluminium rather than one smooth motion. Stepping gives aluminium that looks like stacked dimes that is desirable throughout the industry and also increases joint penetration. It doesn’t take a big step to achieve this. Small frequent steps are better than large, infrequent steps when MIG welding aluminium.
If your travel speed is too fast, you’re going to be welding without an adequate gas shield to introduce impurities and imperfections into your weld. Likewise, if you are taking steps that are too large or spaced apart, you won’t be getting adequate penetration in your welds, and the weld will look messy.
5) Adjusting Nozzle Angle and Travel Direction
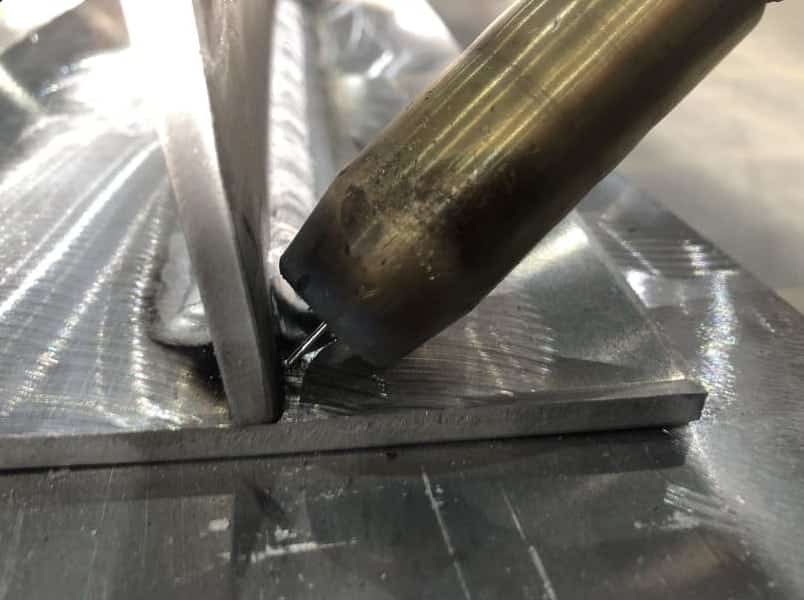
You should have a 10-15-degree angle on your nozzle when MIG welding aluminium and also point your nozzle in the direction of travel. This is known as pushing rather than pulling your weld. If you drag or pull your weld, the front of the weld pool isn’t being protected by the shielding gas. This can introduce impurities into your weld.
While you are welding, you should be able to clearly see the shielded area of the weld. If the shielded area is uneven, too much on the bottom, top, or front, then adjust the angle of your nozzle and also the travel speed.
You should avoid touching the aluminium with the nozzle of your welder and maintain a stick-out length of approximately 10mm from the end of your nozzle. If possible, once you pull the trigger and your ark is established, allow the molten metal to pool before taking the next step and then pause, step, pause, and repeat.
If you notice that your weld pool is getting too large or the plate is heating up too much to the point of melting, then increase the speed of your steps. When you’re welding aluminium, the weld generally starts cold and then increases in temperature throughout the weld. Finding a comfortable balance between too cold or too hot is the key to welding aluminium plates.
As with any type of welding, it can take some time to figure out the appropriate temperature settings, nozzle angle, and travel speed. Practice makes perfect, and doing some practice welds on scrap aluminium is a great way to get your settings dialed in. Experiment with different settings and travel speeds until you find the desired result for you or your project.
6) Differentiate Between Different Types of Common Aluminium Welds
There are two common types of aluminium welds:
- Fillet Welds – Fillet welds can be used to join two pieces of aluminium like a ‘T.’ You can do horizontal, vertical, or overhead fillet welds. Fillet welds are more forgiving as the thickness of the material being welded is effectively doubled, and they don’t require 100% penetration to be effective.
Fillet welds are usually great for beginner welders. When welding a vertical fillet with aluminium, always start at the bottom of the weld and weld up, not down, as there isn’t as much penetration when welding down.
- Butt Welds – Butt welds are where you join two pieces of the plate together on the same plane or level. With butt welds, you are usually required to weld both sides of the butt, and a 45-60-degree prep is placed on one side of the butt to ensure root penetration.
The process of butt welding involves laying a root run first to penetrate into both pieces of the plate and then a capping run. Next, the plate is usually flipped, the root is ground into from the reverse side, and the root run and capping run is placed on the reverse side to complete the weld.
Butt welding aluminium takes some practice and skill and isn’t recommended for beginner welders.
7) Trouble Shooting Common Problems
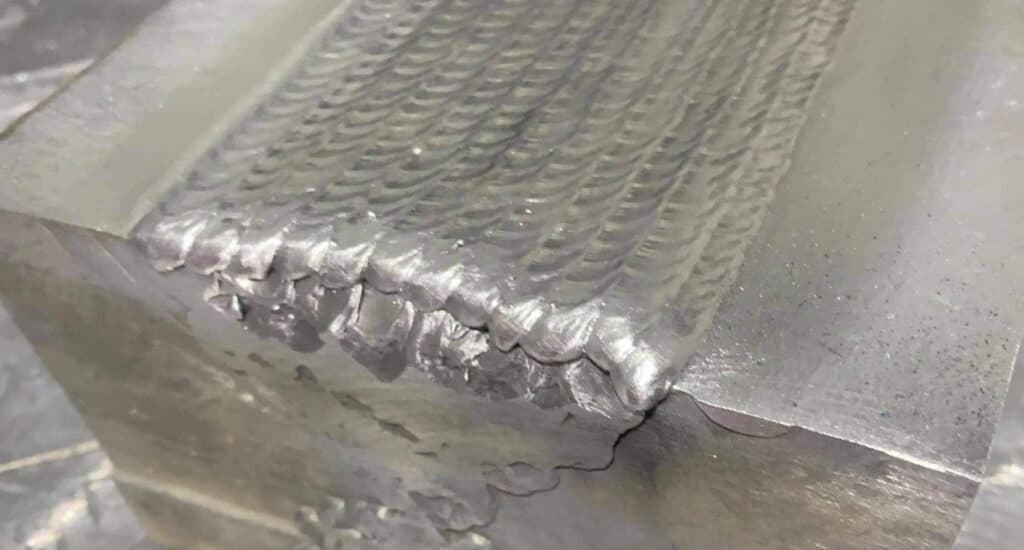
Below are some of the common problems that you’ll encounter when welding aluminium and also how to troubleshoot them:
Burn Through/Over Penetration – Caused by excessive heat or incorrect travel speed.
- Increase your travel speed.
- Reduce the temperature setting on the machine.
- If you are welding something small, allow the material to cool between welds or weld in different locations rather than focusing on one area.
- Reduce gaps in the material being welded.
- Consider another joint preparation or design.
Dirty Looking Welds – Caused by weld contamination/inadequate gas coverage.
- Ensure that your plate is clean and the oxidized layer has been removed.
- Ensure that you are ‘pushing’ the weld rather than dragging it.
- Increase the gas flow to ensure that you have adequate gas coverage.
- Check for the correct filler wire.
- Ensure that your nozzle and tip have been cleaned before welds and any spatter has been removed from inside the nozzle.
Incorrect Welder Settings
- Refer back to the manual that came with your welder to ensure that you are using the correct functions and settings that are recommended for welding aluminium.
Weld Looks Cold/Lumpy
- Increase the temperature of your welder settings. As the material thickness increases, your temperature will also need to increase.
- Slow down your travel speed and ensure that you are not pushing your weld pool faster than it can fuse the parent materials.
Conclusion
Hopefully, now you have a much clearer idea of how to MIG weld aluminium, the equipment needed, and the process to follow. If you don’t have any success welding aluminium, go back to the basics and ensure that you have the correct equipment, right settings, have prepped your plate correctly, and your welder is functioning correctly.
Welding aluminium can be quite intimidating, but if you have ever welded steel or stainless steel, then you should be able to quickly transition into welding aluminium with a few changes to your technique, equipment, and process.
If you have any questions or would like to learn more about MIG welding aluminium, please don’t hesitate to contact me directly.



1 thought on “7 Tips for How to MIG Weld Aluminium”