“This post contains affiliate links, and I will be compensated if you make a purchase after clicking on my links.”
Both plumbing solder and electrical solder are used to join two metal pieces together. So, since they both serve the same general purpose, does that mean that they are the same as each other?
Plumbing solder and electrical solder are not the same. They differ in areas such as the way flux is used, their diameter, their melting point, and the materials they use. These factors play a big part in the outcome of your soldering work.
If you are planning on working with solder and are unaware of the differences between plumbing and electrical, then you will not want to miss out on this information. We’ll provide you with knowledge on the difference between these two types of solder that will save you some headaches in the long run.
Plumbing Solder vs. Electrical solder
There are several key differences between plumbing solder and electrical solder that you should know about.
Using a plumber’s solder for electrical work or electrical solder for plumbing could result in various issues such as problems malfunctions with electronics or pipes. It could also result in bigger issues such as code and legal issues.
The Wrong Flux Can Cause Damage
With plumbing solder, you need to add an acid-based flux to clean the metals before joining them through soldering.
With electrical solder, you will usually use rosin-core solder, mild-core solder, or water-soluble solder. Most often, electrical solder will be rosin-core solder. This means that the flux is already in the core of the solder.
One reason to not interchange these two solders is due to the acid-based flux that plumbing solder uses. Acid is corrosive, and this corrosion would cause damage to electronics. This damage could range from something simple: a connection failure to something as major as a fire.
Diameter Size Makes a Major Difference
Another difference between plumbing and electric solder is the gauge size. The gauge size of the plumbing solder is thicker, around 1/8 an inch, and it has a solid core. This makes plumbing solder harder to manipulate.
Electrical solder is a bit smaller, usually around 1/10 an inch, and it usually does not have a solid core. As a result, it is easier to manipulate. Ease of manipulation is important when you are working with small electrical components.
The solid core of plumber’s solder is what allows pipe connections to hold up, despite the high-water pressure that they are subjected to. Since electrical solder is often not solid, they will not be as strong. If you use electrical solder on pipes, water will eventually break the bond, resulting in a leak.
The Solders Have Very Different Melting Points
Plumbers solder and electrical solder have different melting points too. Electrical solder will usually melt around 360-degrees, whereas plumbers solder melts at temperatures above 400-degrees.
To achieve such a high melting point, plumbers will usually use a blowtorch to melt the solder. Anything less would not be hot enough for it to reach the melting point.
This is another place where you would run into an issue if you were to interchange the two solders. The high heat needed to melt this solder would damage electronic components.
Since electrical solder has a lower melting point, a soldering iron is typically all that is needed to melt it. The heat from these guns is lower and contained to a pinpoint area. So, there is no need to worry about electrical components getting damaged.
Using the Wrong Material is a Safety Hazard
The most important difference between these two solder types is the type of material.
Although many are trying to move away from it, lead-based solder is still common when used with electronics. Lead, as many know, is very harmful when ingested. So, when it is used for electronic components, precautions are made to ensure the user’s safety.
Although pipes used to use lead, they were ordered to be phased out once we discovered the dangers that it poses.
If you use electrical soldering for pipes, you would be contaminating the water with lead. In the United States, this is in violation of the Safe Drinking Water Act (SDWA). The act requires that pipes be lead free, with some expectations for pipes that are only used for “nonportable services.”
How To Use Plumbing Solder
If you are doing some plumbing work, then you should know how to use plumbing solder so that your pipes are spick and span without any leaks.
Preparation for Soldering
Before you start soldering, the first thing that you need to do is go and buy the correct tools for the job. Below is a list of what you will need, and examples of the products you can buy.
| Tool | Example Product |
| Torch Kit | TS8000KC Premium Torch Kit |
| Torch Igniter (if it is not built into the torch kit) | NOVELTOOLS Spark Lighter |
| Sandpaper or emery cloth | 3M Pro Grade |
| Wire Brushes | Pipe Cleaning Brush Set |
| Brush | Forney 60300 Solder Flux Brush |
| Flux | Oatey Company Flux |
| Lead-Free Solder | Silver Lead Free Wire Solder |
| Copper Piping | Type L, Hard Length |
| Copper Fitting | Supply Giant Elbow Copper Fitting |
Now that you have the tools, you will need to begin by cleaning the pipes and fittings. Don’t overdo it, though! You only need to clean the parts that will connect to each other. So, to clean the pipes, you need to:
- Use the sandpaper or emery paper and sand the outside portion of the pipe that will go into the fitting. You want to rub the area down until there is no surface spotting.
- Then, take the fitting, and brush the inside with the wire brush. Even if the manufacturer has already done this, you will want to it again to make sure the solder holds.
- Brush the flux onto the areas that you cleaned.
This cleaning process is done to take off any materials that could compromise the solder. Compromised solder would result in a leaky pipe.
The flux is applied as this is what draws in the solder between the pipe and fitting.
Soldering Copper Pipes
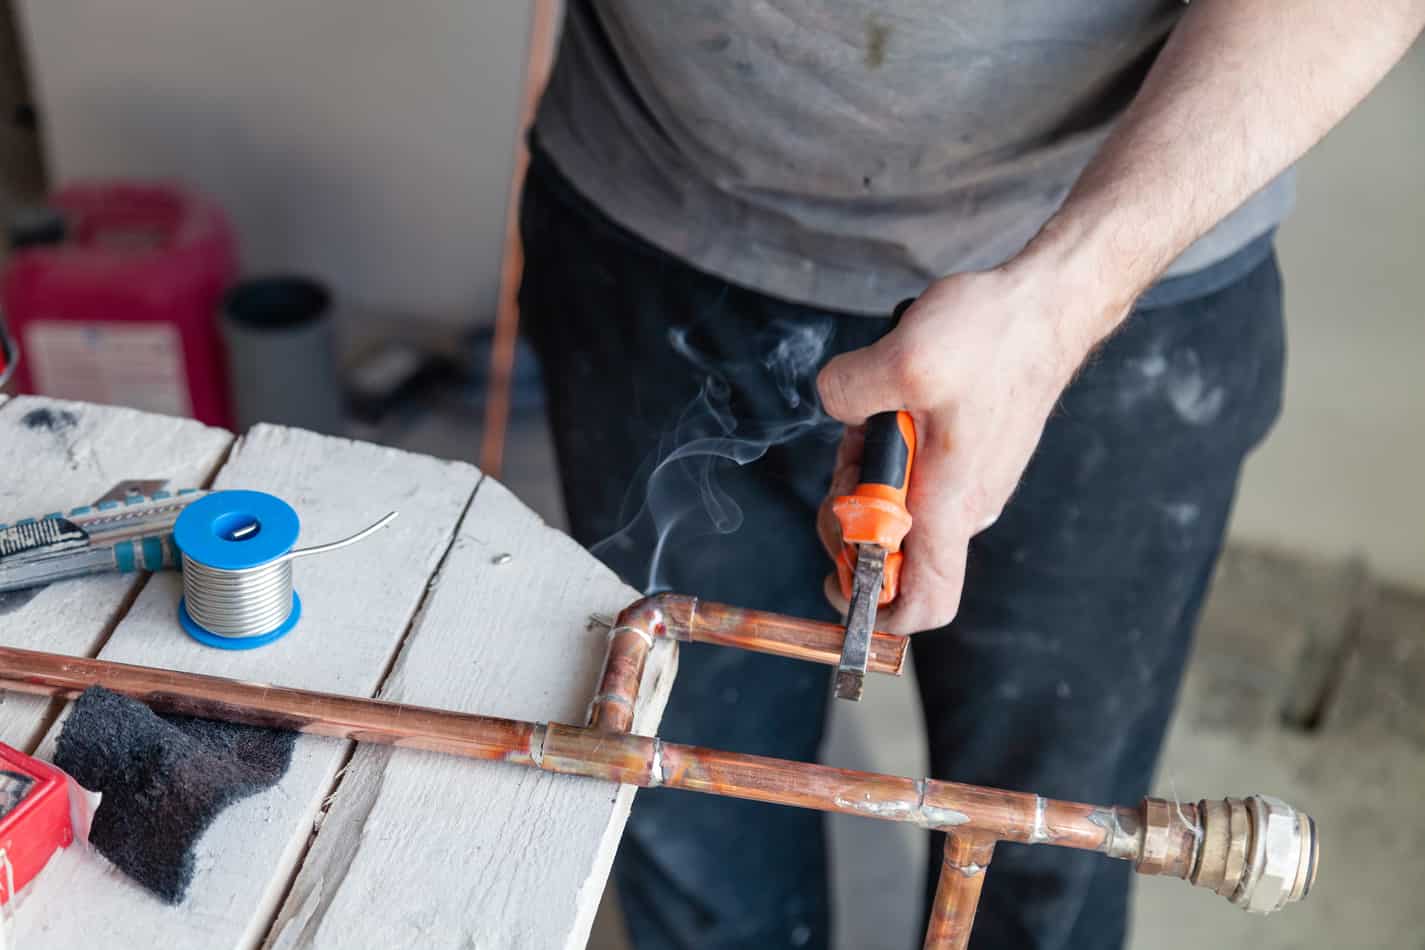
Now, on to the soldering. Before you begin, make sure you are precautious since you are working with a flame. To successfully solder, you will need to:
- Light your torch and begin heating the area where the pipe and fitting connect. Heat until the flux sizzles, then heat the other side, so the heat is evenly distributed.
- Begin touching the solder against the pipe to test and see if it the pipe is hot enough to solder.
- You know it is ready once the solder starts getting sucked into the fitting.
- Once it is ready, you will want to run the solder around the gap where the joint and pipe connect; so that the solder is fully sealed around said area
- Once the soldering is done, wipe the excess solder off with a rag.
Don’t forget to check for leaks before you hook the pipe up. If there is a leak, then it is best to start the process over again. At the very least, you need to apply flux over the where the joint and pipe connect and then resolder.
If you are a visual learner, then follow the above instructions along with this video on YouTube from Got2Learn. That way, you can get a visual reference of the presented instructions
How To Use Electrical Solder
If you are soldering electrical parts, here are some general step-by-step instructions on how to do it.
Prepping for Soldering By Having the Right Tools
Before you begin, there are some tools you will need before you begin.
| Soldering iron | Hakko Soldering Iron |
| Wire Stripper | Klein Tools Wire Cutter |
| Heat Shrink | Kuject Solder Seal Wire Connectors |
| Vice | Yost LV-4 Home Vise |
| Heat Sink | Amplified Parts Heat Sink |
| Rosin-Core Solder | MAIYUM 63-37 Tin Lead Rosin core solder |
After you have your supplies together, there are some things that you will want to do before you solder.
- Begin heating the soldering iron.
- If needed, strip the insulation off your copper wires.
- Secure the wires in the vice. Some use alligator clips with plastic melted onto the end top hold the wire up higher.
- Wind the individual ends of the wire together, then twist those ends around each other. Make sure there are no points poking out.
- Put heat shrink around one wire.
- Prepare a damp sponge and put it next to your workplace.
After you complete these steps, you can move onto soldering
Soldering Wires Technique
Now, with the preliminary steps done, you can begin soldering.
- Heat the wiring with the soldering iron.
- Test the solder against the wiring to see if it melts.
- When it begins to melt, solder the wires together.
- Continually wipe excess solder that sticks to your iron onto your iron onto the wet sponge. Preferably after each time, you remove it from the wires.
- Let the solder set.
- Wipe off excess solder.
- Put heat shrink over the area you soldered, and melt it over said area.
Now, you should have a properly soldered wire connection!
For those of you who are visual learners, here is a video on soldering wires from milanmastracci on YouTube to use along with the instructions.
Soldering Electronics the Proper Way
If you are not soldering pipes or wires, then you may be soldering electronics. If so, then refer to the products list above and follow these steps to successfully solder an electronic component:
- Heat up the iron.
- Put the leads through the board and bend them, so that they stay don’t fall out.
- Clean the iron, especially if it has been used before, so any excess material comes off.
- Add a tiny amount of solder to the tip of the iron, to prevent oxidization.
- Heat the joint on one side and melt the solder onto the other, do this for both sides. Sometimes, you may need to add a heat sink for soldering sensitive parts.
- Clean off excess residue with a cleaner such as alcohol.
- Make sure the connection you made is good. The solder should be shiny and look like a hill.
If you have successfully followed these steps, you should have a properly soldered electronic piece! If something is not working quite right, though, don’t be discouraged! With some practice, you will get it down in no time.
Just like before, here is a video for those so you can have a visual reference to pair with the instructions.
Soldering Safety Tips

As you can see, when you solder, you are working molten metals and extremely hot devices. Sometimes, you may also work with metals such as lead that could give off harmful fumes.
Because of these factors, there are some precautions experts have put together that you should follow to stay safe. The last thing you need is to get injured while trying to do some simple soldering work!
First, make sure you take some personal safety precautions:
- Read the Manufacturer Instructions– failure to do this could cause injury.
- It’s not a toy– keep any soldering equipment (the iron, solder, flux, etc.) out of the reach of kids.
- Wear Eye Protection- Wearing eye protection important. That way, your eyes are protected in case the solder flies up at you.
- Dress right– You should wear nonflammable clothes to stay safe from the torch flame or the heat of the soldering iron.
- Wear gloves– Especially if you are soldering pipes, wearing gloves is important. They protect your hands from any solder that could spit up and keep your hands safe from the heat.
- Use lead free solder when possible– This is especially true if you are soldering pipes or work with solder a lot, as lead can cause serious harm, especially over prolonged contact.
- Cap Cleaners– Keep the cleaning supplies capped whenever they aren’t in use, as the fumes can be harmful.
Then, make sure you take precautions while soldering:
- Keep it steady– Whatever you are soldering, you will need something to hold it up and keep it steady. For example, when soldering wires, some people use clams to achieve this.
- Get ventilation– When soldering, make sure you have ventilation system, so that you are not inhaling hazardous fumes.
- Don’t start a fire– make sure you use a non-flammable surface to solder. If you are working near something that is flammable, use a heat shield to protect it.
If you get injured, don’t panic! Instead, follow these tips:
- If injured– cool the burned area for 15 minutes, then apply a Band-Aid. DO NOT use ointments or creams. Go to the doctor if the burn is bigger than three inches.
When you are done, don’t forget the cleanup:
- Soldering iron– if you use a soldering iron, make sure it is plugged into a grounded outlet/prong. Keep the hot tip away from the wires. Turn the iron off whenever it is not in use.
- Torch– if you use a torch, make sure to keep the flame away from anything flammable. When you are done using it, make sure it is shut off.
- Store– Dispose of, According to Stony Brook University “lead and silver solder and dross.” Put in a container with a lid labeled, “Lead (Silver) Solder Waste for Recycling. Do not open until it is in use again.”
- Discard- Discard anything that you wiped excess solder or flux on. Find out how your employer or city wants these types of potentially hazardous materials disposed of.
Soldering can be dangerous, so make sure you follow these precautions to stay safe.
The Dangers of Lead

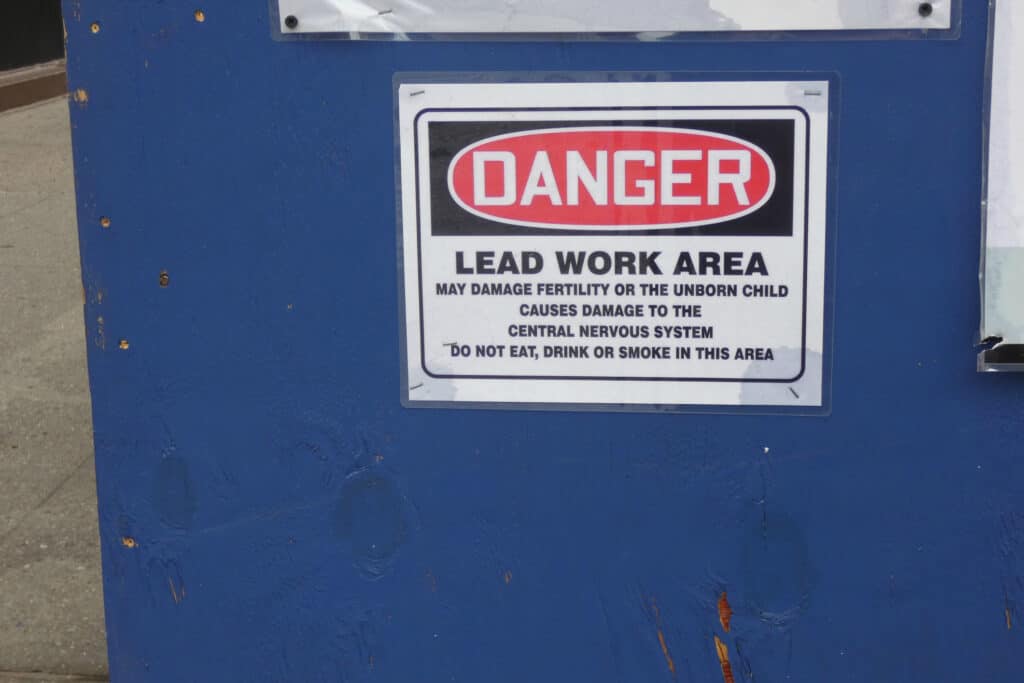
You should always try to avoid using lead when soldering. In fact, in some cases, such as with the EPA’s Safe Water Drinking Act, it is illegal so use lead-based solder. This is because lead particles ingested over time can be harmful to one’s health.
Even if you are working with electric solder, still try and use non-lead solder. If you must use lead, then make sure that you have proper ventilation so that you are not inhaling the fumes.
According to the CDC, lead can result in several health complications such as
- Abdominal pain
- Constipation
- Depression
- Distractedness
- Forgetfulness
- Irritability
- Nausea
- Reduced fertility
- High blood pressure
- Heart Disease
- Kidney disease
Lead poisoning, which is exposure to high amounts of lead over a short period, cause similar issues. Sometimes, lead poisoning can cause death.
Other soldering supplies such as resin and flux can cause health issues too.
Because of all these factors, you need to make sure you have proper ventilation when you solder so that you can stay healthy and happy.
Other Areas Where You Can Use Solder
Soldering is not just used in electrical and plumbing work. People use soldering in a variety of different occupations and arts.
- Roofing Applications– Soldering is used when putting on copper roof and when putting on roof flashing. It is also used to attach metal gutters to houses.
- Art- Soldering is used in many artistic applications. For example, solder is what holds together stained glass and mosaic pieces. It is also used when working with jewelry.
Conclusion
Plumbing solder and electrical solder are not the same things. In fact, they are quite different, and using them in the wrong application can cause damage to whatever you soldered. So, make sure you have the right supplies for the job.
With all the fields it can be used in, soldering is a useful skill to have. Before you start a soldering project, though, learn how to solder that item first. Also, remember to stay safe by paying attention to soldering safety precautions and any government regulations.


