“This post contains affiliate links, and I will be compensated if you make a purchase after clicking on my links.”
Soldering is a process that allows you to join or fuse two metal objects together through the use of heat, a hot iron, and a metal alloy filler made of lead and tin known as solder. This technique is commonly used in engineering and electronics professions for the creation and repairs of products. Unfortunately, this process and work productivity can be severely hindered if you find that your solder won’t stick.
There are five main reasons why solder might not stick to metal. Typically, the issues lie with lack of heat, dirty equipment, or product material, which could ultimately come down to poor technique. Fortunately, these issues can be fixed easily and quickly with a few simple steps.
Not only will this article discuss in detail the five main reasons solder might not stick to a material, but it will also provide resolutions or alternatives so that these issues don’t inhibit productivity. You can return to your project quickly. It will also discuss other potential soldering issues and the main pieces of equipment necessary to solder with ease.
Top 5 Reasons Why Your Solder Won’t Stick
There’s nothing more frustrating in the soldering process than to melt solder over the project and find that it’s not fusing or sticking.
Soldering is typically a simple process that yields maximum results similar to welding without nearly the same amount of work. Unfortunately, this process can easily become time-consuming and wasteful if your solder won’t stick time and time again.
Before you fruitlessly try again, read these top 5 reasons that your solder might not be sticking to determine if they apply to your situation.
Solder Tip Has Oxidized
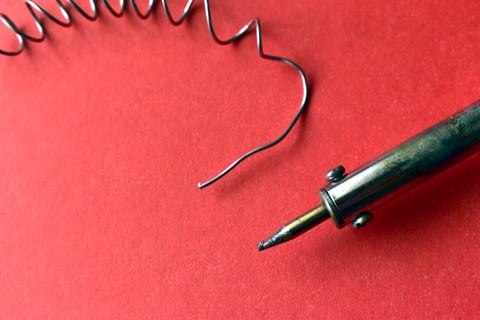
Your soldering iron is paramount to the process of soldering, and if it is defective, your solder might not even melt, let alone stick. If the solder tip has oxidized, it will prevent anything from sticking.
Issue
If you notice that the tip of your soldering iron is black, then it has oxidized and will not function properly enough for this technique. Solder tip oxidization typically occurs when a soldering iron is left on, and the tip is bare for an extended period of time.
Resolution
To resolve this issue, you’ll want to clean the tip of the soldering iron. First, turn the iron on to a typical work range of about 300°C. Once it is sufficiently heated, you’ll want to apply a flux-colored solder onto the tip and wait for the heat to activate the flux. This will cause a chemical reaction that will remove any mild oxidation with the help of brass wool or specialized cleaners applied to the tip.
Prevention
It is recommended that whenever you place the soldering iron down, coat the tip in a small amount of solder to eliminate its exposure to the air while it is on. It is also helpful to hold solder onto the tip as you heat the soldering iron to ensure it is coated. It reaches working temperatures and has minimal air exposure at high temperatures.
Dirty or oxidized parts
The tip of your soldering iron isn’t the only thing that needs to be clean and free of oxidation. Your working materials must be, as well.
Issue
If the metal you are working with is dirty or covered in oxidation, the solder won’t adhere to it properly. In its attempts to stick to the metal, it will stick to whatever it is covered in, preventing the solder from adhering to the metal itself.
Resolution
If you are attempting to solder an older piece of metal, it will most likely need a solid cleaning first. The use of a strong flux should sufficiently clean the metal enough for soldering. Copper parts tend to oxidize quickly once exposed to air, so these can be cleaned easily with pink erasers to give them a light sanding before soldering.
Prevention
Proper storage of work materials will help ensure they are clean and do not oxidize quickly. For older materials, this might be unavoidable. Still, materials, such as copper, can be kept in working conditions as long as they are not exposed to open air for extended periods of time. Bare copper tends to oxidize in one to two weeks of constant exposure. If you don’t want to constantly clean your materials, perhaps avoid ones such as copper that tend to need extra care more frequently.
Soldering Iron is Not Hot Enough
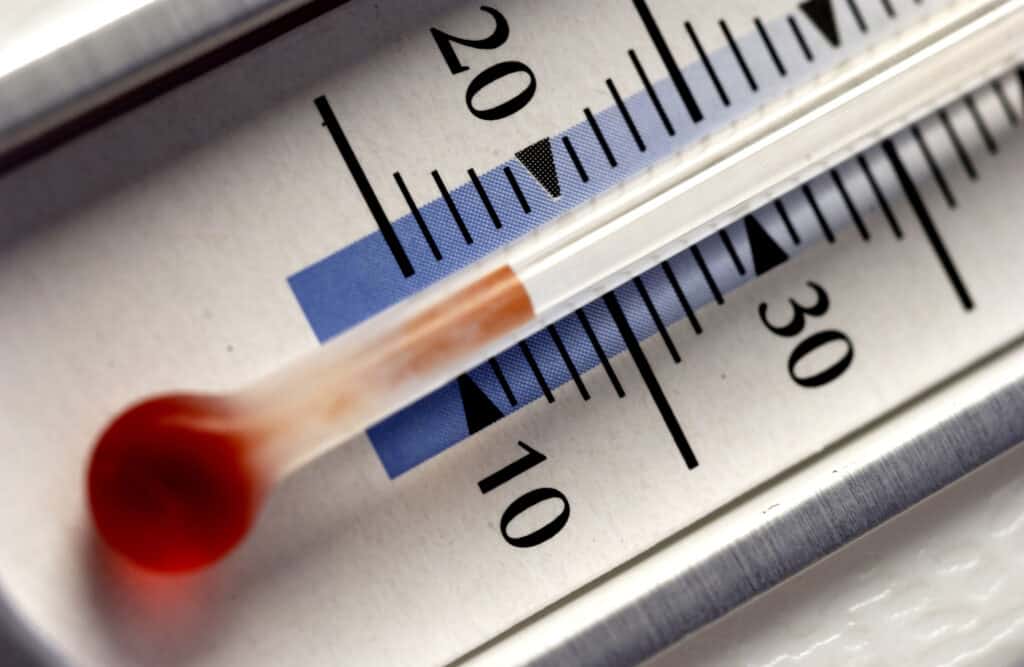
If the solder isn’t hot enough, it won’t melt or adhere to the desired metal. This issue is usually caused by the soldering iron being set to an improper temperature, or the iron itself has a wattage that is too low for the solder size you are using.
Issue
Small soldering chips are best paired with a 25-watt soldering iron, whereas hobby materials, such as 16 gauge or larger wires or connectors, will require a 25-30 watt iron.
Resolution
If you notice your solder isn’t sticking, check your solder material and compare it to the wattage of your soldering iron. You might find that the iron isn’t the right match for the job in terms of wattage and needs to be switched out for another.
Prevention
Be conscious of the project you are attempting to undertake and what materials are necessary for its success. Before you purchase larger soldering wires, make sure you have the soldering iron that will reach temperatures hot enough to sufficiently melt the solder so it can adhere to the metal.
Metal is Not Hot Enough

Soldering is temperature-sensitive. The metal has to be hot enough to melt metal. Otherwise, it won’t adhere properly.
Issue
To solder, you will need to place the soldering iron tip against the melt and then use this heat to melt the solder on top. If the surface temperature of the metal is not hot enough, the solder won’t melt properly or adhere to the metal. The iron itself might be hot enough to melt the solder, but if the metal isn’t hot enough, the solder will not stick.
Resolution
Hold your soldering iron against the metal for an extended time until it reaches temperatures high enough for the solder to melt and adhere to the metal. You can also use a propane torch to heat the exterior of the metal you are working with, depending on its size and metal type.
Prevention
Before you even attempt to add solder to the metal, be sure that you have heated it properly. Small metal pieces will require a smaller wattage soldering iron and only take a few seconds to heat up, while a larger piece will take longer.
Ultimately, the amount of time necessary to heat the metal will depend on size, temperature, iron power.
Poor Technique

If you want to solder efficiently, don’t let solder sit on the soldering iron and then carry it over to the joint. If you do this, you will burn off the flux from the solder and you won’t be able to adhere it to metals effectively.
Issue
The flux helps you to remove oxidation from metals, which frequently happens at soldering temperatures. As seen in previous issues, soldering is not possible with the oxidation of either equipment or materials, so it is vital not to burn off flux as you solder.
Resolution
If you are constantly allowing solder to sit on your soldering iron before adhering it to the joint, stop. The only real resolution to this issue is to learn proper soldering techniques and practice them. Over time, you will know what not to do and are less likely to have solder fall off from poor technique.
Prevention
Take your time. Make sure all of your equipment and the metal is sufficiently heated before soldering, and don’t let the solder sit on the iron. As long as you follow the proper technique, everything should go smoothly.
Other Common Soldering Problems

Solder refusing to stick is one of the most common issues with soldering, but there are other potential problems you could experience. Most of these problems have quick and easy fixes, just like the issues mentioned above.
Disturbed Joint
Whether this is caused by the person soldering or a mechanical error, a joint will be disturbed if it is moved before the solder alloy has completely solidified. This might result in a less than ideal appearance, usually a ripple pattern, and a compromised joint.
To remedy this, reheat the solder and let it solidify properly undisturbed, and be sure to completely stabilize the workstation in the future.
Under-soldered Joint
You might find after soldering a joint that it is unstable and has a weak hold. This typically means that the joint was under-soldered and requires more solder for it to be fully secure. Again, this is an easy fix. Be sure to heat the joint and already present solder first before you add new solder on top.
Cold Solder Joint
If you notice a joint has a rough and uneven appearance that closely resembles that of a disturbed joint, but you know that there was no unnecessary movement, then it was most likely a cold solder joint.
This means that there was insufficient heat, either from the iron or on the metal, and the solder did not melt completely. If left unfixed, this joint will be highly susceptible to cracking or failure.
The remedy for this issue is the same as fixing a disturbed joint. You should always check and ensure your iron functions at appropriate temperatures before using it to solder in the future.
Solder Bridge
This issue is particularly troublesome if you are soldering something electric like a circuit board. A solder board will connect two joints and disturb the functionality of the overall board.
This usually happens when too much solder is used at a time to create a joint. To fix this issue, remove the excess solder. This can be done with a solder wick, solder sucker, or hot iron tip, depending on your equipment.
Overheated Joint
In opposition to a cold solder joint that is insufficiently heated solder, an overheated solder is created when temperatures are too high or the solder is overexposed to heat.
An insufficiently cleaned solder iron tip or soldering surface can also cause this issue. Overheating solder will cause the flux to burn, giving the joint a messy, singed appearance.
This issue is a little harder to fix since you want to remove the burnt flux residue rather than solder over it. To remove the residue, either use a knife or isopropyl alcohol with a toothbrush to carefully scrape and clean off the residue.
Untrimmed Leads
After applying a perfect amount of solder, you will lift up and create a lead, or a small stem jutting out of the joint. When working with circuit boards, these leads must never cross or join.
If they do, it will compromise the connection and functionality of the entire board. Leads that are too long also increase the risk of the entire joint bending over or dislocating. To prevent this from occurring, it is important to trim leads so they are barely above the solder joint.
Insufficient Wetting
Again, this issue pertains mostly to electrical soldering on a board. Insufficient wetting can occur on many levels throughout the soldering process.
Potentially, you could insufficiently wet the solder pad, the pin, and the surface mount. All of these issues can usually be solved by reheating the surface and appropriately adding more solder.
Equipment Necessary to Solder Efficiently
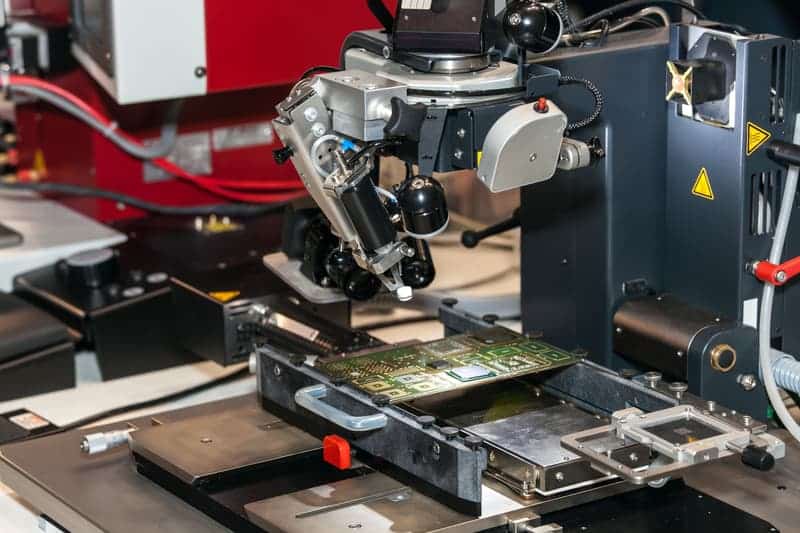
Another element that might play into solder not sticking is your equipment. To ensure a fulfilling and easy soldering experience, here are some common pieces of equipment you should have before you get started.
Although, in reality, all you really need is a soldering iron and some solder, these tools with enhancing your soldering abilities, help you maintain your equipment, and make the overall process easier.
Wire Cutters
This tool is great for cutting strips of solder or stripping the ends of wires before soldering. It’s also an extremely cheap tool. The most basic options on offer with do the trick or, alternatively, you could invest in a wire stripper.
Solder Sucker
Soldering doesn’t always go as planned, especially if you’re still getting your technique down, so solder suckers come in handy for any potential mistakes. Simply heat and liquidizes the solder, then use the solder sucker to suck it off the joint for a fresh start.
Soldering Stand
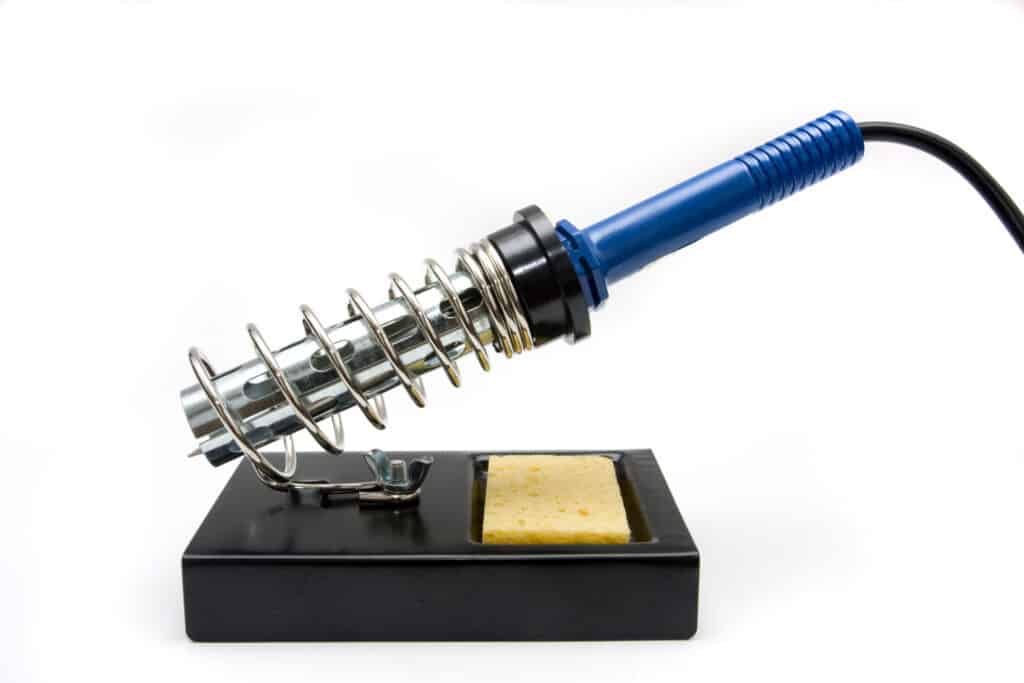
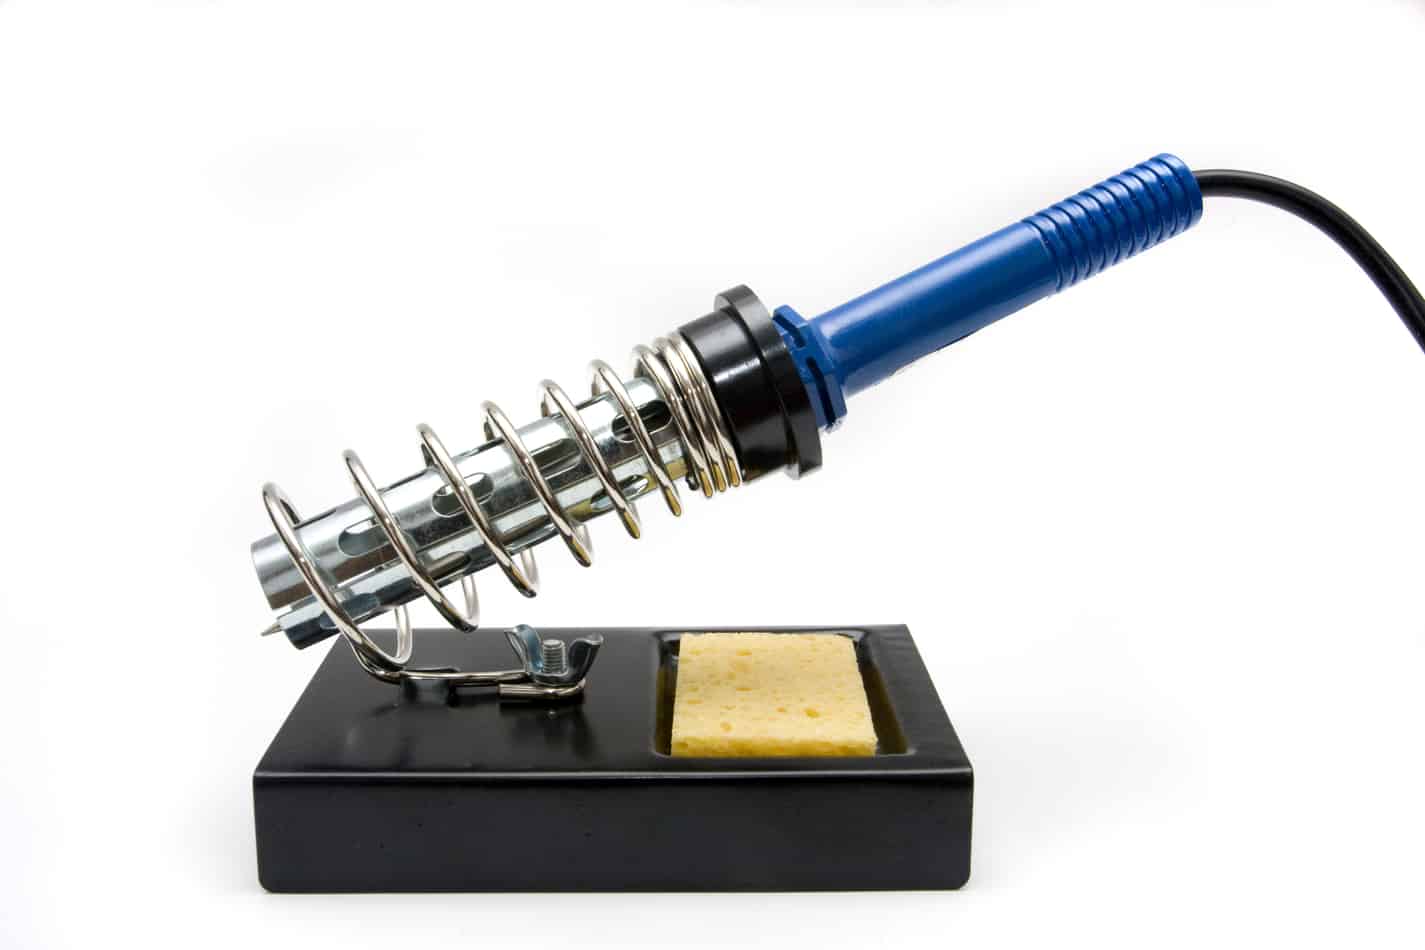
Soldering irons get up to 300 to 400 degrees Celsius when in typical use, which is plenty hot to be a safety hazard. For peace of mind, when you are using a soldering iron and want to prevent any burns or property damages, invest in a soldering stand.
This is another cheap purchase essential to soldering, especially when you are constantly putting your iron down to maneuver things.
Steel Wool and/or wet Sponge
In order to prevent issues with oxidation on your soldering iron tip, it is essential to have steel wool or a wet sponge on hand when soldering. You can use these to clean the iron, but steel wool can also be used to clean metal surfaces if necessary.
Brass sponges are also an option since an ordinary wet sponge will often lower the temperature of the soldering iron tip as well as shorten the tip’s lifespan.
Flux
Your soldering experience will be made significantly easier if you have a tin of flux on your workstation. This chemical cleaning agent is great for preparing metal surfaces for soldering. Flux will effectively remove any present oxidation or impurities that might have caused issues later on.
Googles
Safety is essential when handling soldering equipment and one of the easiest safety measures is to wear safety goggles. Safety goggles are an inexpensive purchase and will protect your eyes from accidental splashes of solder.
Soldering as produces fumes that can be potentially harmful to your eyes and even lungs. Be sure to only solder in well-ventilated rooms, and if they are not ventilated enough, invest in a fume extractor.
Final Thoughts
Soldering can be a delicate process with many issues if an individual does not use the proper techniques. As we have mentioned, there are a series of common issues when it comes to soldering, but thankfully, most of them can be prevented or easily fixed.
More often than not, if you are experiencing one of the problems mentioned here, the issue can be remedied by reheating the joint and either removing the solder and starting over or by adding solder to reinforce the joint.
Equipment and maintenance are just as important as a technique when it comes to soldering. You might be able to solder a joint perfectly, but if your equipment or the metal or board you are soldering is dirty or oxidized, the joint will be compromised.
Prevention is the easiest step to ensure none of the issues mentioned here come to fruition. By cleaning your equipment and protecting the tip of your soldering iron, you should be able to breeze through any soldering session problem-free.

