“This post contains affiliate links, and I will be compensated if you make a purchase after clicking on my links.”
You have a project that requires soldering brass. Is it even possible to solder brass effectively? We have the truth about soldering brass.
It is possible to solder brass effectively. Make sure the surfaces of the project are clean and fit together tightly. Use the correct solder for brass and a low heat flame torch.
Soldering brass doesn’t have to be complicated. We will walk you through the process. Once you learn how to effectively solder brass, it will be easy to solder other metals as well.
Can You Solder Brass Effectively? Here’s the Truth.
Brass, like other metals, can be effectively soldered. By following some guidelines before attempting to solder, it is possible to fuse brass and have a strong joint.
- Understanding the Metals You are Working With
- Gather your materials
- Inspect the brass pieces you wish to solder
- Clean the metal
- Use the correct flux and solder
- Heat the brass evenly
- Cool and clean any remaining flux from the project.
Understanding the Metals You are Working With
Metals have different melting points. Brass is considered a low heat metal. When soldering, you need to use the right amount of heat, so your metal does not melt or deform. You will also need to use correct flux and solder for your project.
Some metals, like brass, are alloys. This means they are compounds of two or more metals combined to form a new metal.
Brass is made of “varying proportions of Copper and Zink,” according to Science. Brass also contains other metals, such as lead and sometimes arsenic. There are more than 60 types of brass. We will focus on the most commonly used brass alloys found in:
- C360: Pipes, fittings, automotive
- C330 Marine environments, tubes
- C260 Jewelry and Decoration
Brass C360, or free cutting brass, is commonly used in pipes and machine fittings. It has a high percentage of lead making it one of the easiest types of brass to solder.
Brass C330 or low lead brass is ideal for tubes and use in water environments. It has a low lead content and resists corrosion.
The brass used in jewelry, and decorative applications is called C260 or cartridge brass. It is high in both zinc and copper. This brass alloy is easily malleable without losing strength. Cartridge brass does not contain lead.
Gather Everything You Will Need
Having everything handy will help your project go smoothly. Here are some things you may need for your project.
- Your Brass project pieces
- A Well Ventilated Work Space
- Butane or other low heat flame fuel
- Butane Torch
- Flint Strike Lighter
- Safety Goggles
- Vise
- Solder Cutting Pliers
- Welding Blanket
- heat resistant pliers
- Files
- Sand paper
- Scratch brush
- Fire Brick
- Helping Hands
- Silver Solder
- Flux
- Flux brush
Inspect the Brass
Take your project pieces and inspect them. Be sure they will fit together as closely as possible. The tighter they fit together, the better the solder hold will be. This is important as solder is somewhat like glue for metal. If there is too large a gap, your solder will not hold.
Please note, if you are trying to repair a crack or split in brass, soldering will not be strong enough alone. Your best bet would be to cut a second piece of brass and solder it over the damaged piece.
Clean the Brass

The next most important part of soldering brass is to make sure it is clean. Brass will often have a protective covering to prevent it from tarnishing. This must be removed thoroughly before you begin to solder.
Cleaning the brass removes:
- Dirt
- Oil
- Debris
- Metal burs
Depending on the size of your project and how thorough a cleaning is needed, you will use a variety of tools to get the job done.
First, you will want to file down any burrs on the edges of your brass. This can be done using a large file or small files. Use shaped files where necessary. Filing will be easier if you have a vice to hold your project in place.
Once you have filed your pieces, you will want to sand them. Take your sandpaper and tightly wrap it around the file you will be using. Start with the coarse grit and work your way down to fine grit sandpaper.
If there is a tight area that needs cleaned, you can use the scratch brush. I have not used one before. Files and sandpaper have worked well for me.
It’s Time to Begin Soldering

Now that you have cleaned your brass project pieces it is time to solder the pieces together.
Set up your soldering station if you have not already done so.
- Cover your work area with the Welding Blanket
- Set up your butane or oxygen/acetylene torch
- Use the fire bricks and or the helping hand(s) to help hold your project in place
- Have your flux, and brush ready
- Have your silver solder cut and ready
Apply Flux to Your Brass Pieces
Flux cleans the metal and acts like a glue to hold the pieces together for soldering. You need a tin based flux, also known as a brass soldering flux.
Using the paintbrush, spread the flux over the cleaned areas you will be soldering. Place the pieces together and heat with the torch.
Prepare the Solder
Be sure you have grade easy silver solder. The type of solder is important for it to work properly on brass. Yet, it is a common mistake to attempt to use lead solder and not have it work properly.
Cut only as much solder as you will need for the joint. You don’t want too much solder. If you are soldering pipes, excess solder could fill up inside the pipe. This could reduce water flow.
If soldering jewelry or something you will be looking at, any excess solder will need sanded off. If you are using a basic silver colored silver solder, it will show up silver or grey on your brass project making the joint very noticeable if excess solder is used.
Turning on the Torch
Put on your safety goggles. Make sure the valve to your torch tip is turned off and turn on the gas.
Grab your striker in one hand and turn the torch head on with the other. Making certain the torch tip is not directed at the hoses or canisters; spark the sticker in front of the torch head until it lights. Then adjust your flame.
Heating the Brass Evenly
Beads and Bones video gives a very good demonstration of soldering brass correctly. She uses brass colored solder so it will match the piece she is working on.
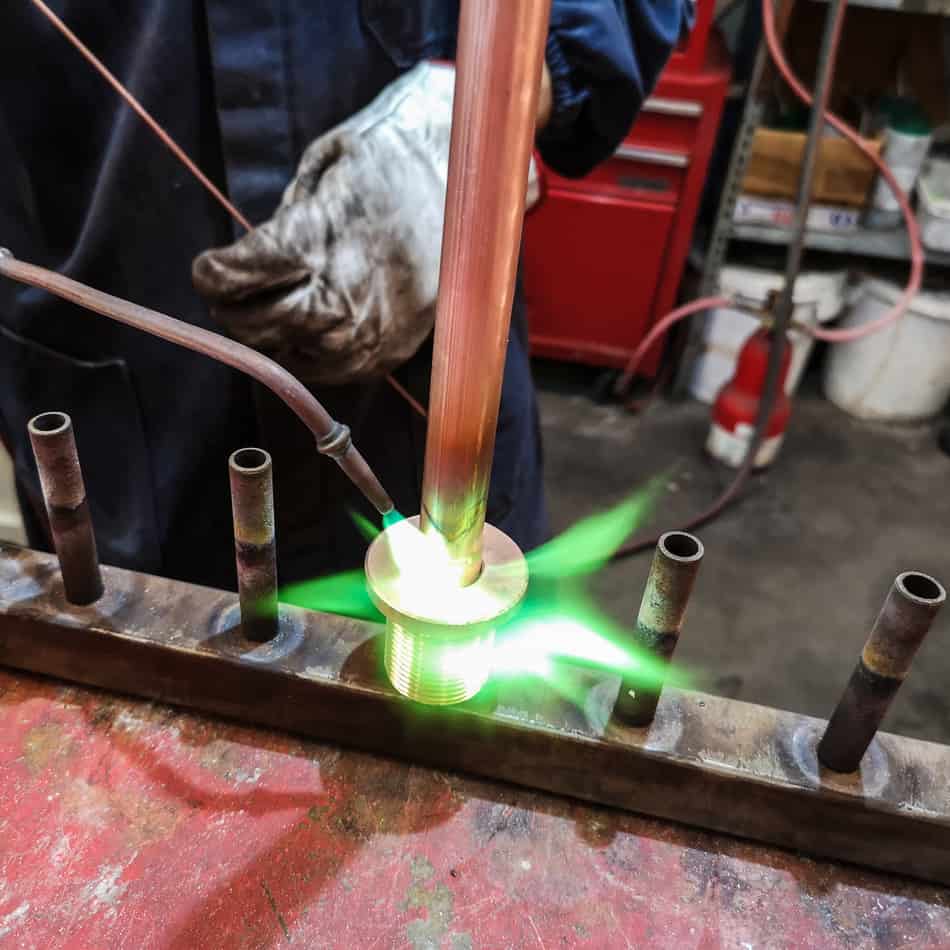
Direct the flame of the torch onto your project and heat in a circular motion. Adjust how close or far you are from the project. You want the hottest part of the flame, which is the tip of the inner cone of the flame.
Heat both pieces of your project evenly. The brass will be ready for the solder when the flux you applied begins to bubble and slightly smoke.
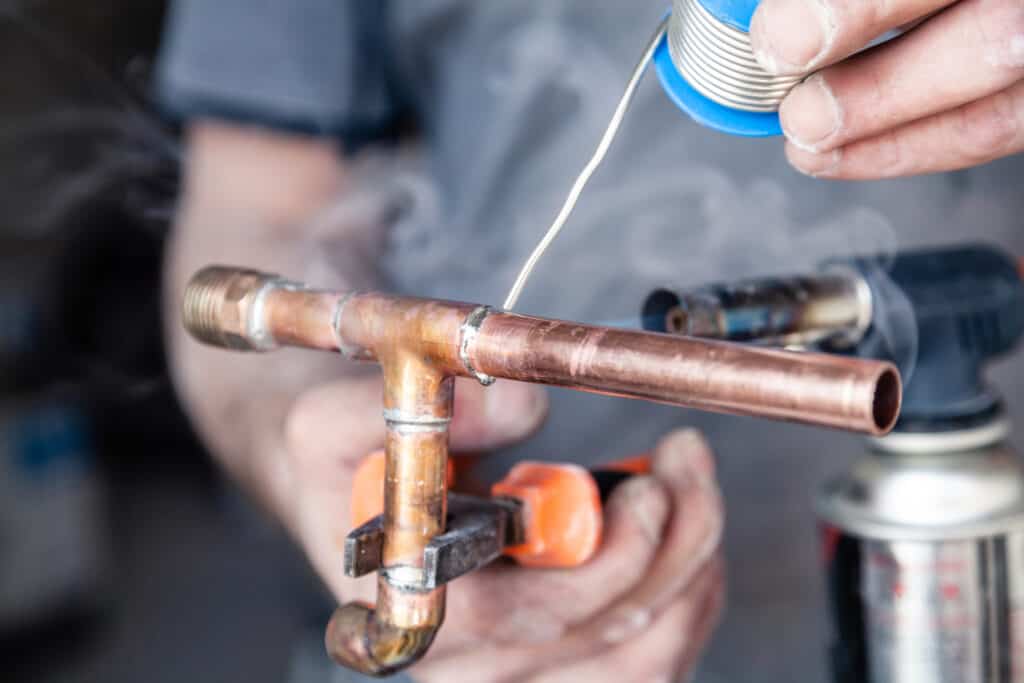
Carefully put the solder right on the joint of your project. Heat your brass project evenly again. The solder should melt almost instantly and flow along the joint being soldered.
Allow your project to cool for a few minutes before cleaning it with water and baking soda. Cleaning with the water and baking soda will help remove any leftover flux. Flux can be corrosive to metals if not cleaned off.
Now that you know how to solder brass effectively, you will be able to solder other metals, including silver and gold, more easily.


1 thought on “Can You Solder Brass Effectively? Here’s the Truth.”