“This post contains affiliate links, and I will be compensated if you make a purchase after clicking on my links.”
Soldering tinplate is a fun and simple way for anyone to learn the basics of soldering. It can be a useful skill to have, especially if you plan on doing certain roofing and wall repairs in the future. Of course it can also be something you learn to use on tin cans just for fun. Either way, how exactly do you solder tinplate?
If you have some tinplate and need a few pointers on how to solder it, you’ve come to the right place. Below you’ll find our complete guide to soldering tinplate. We will review what materials you need, how to prepare the environment for solder and the process of soldering itself. By the end of this article, hopefully you will find soldering tinplate is easier than you imagined.
Prepare Your Materials and Work Area
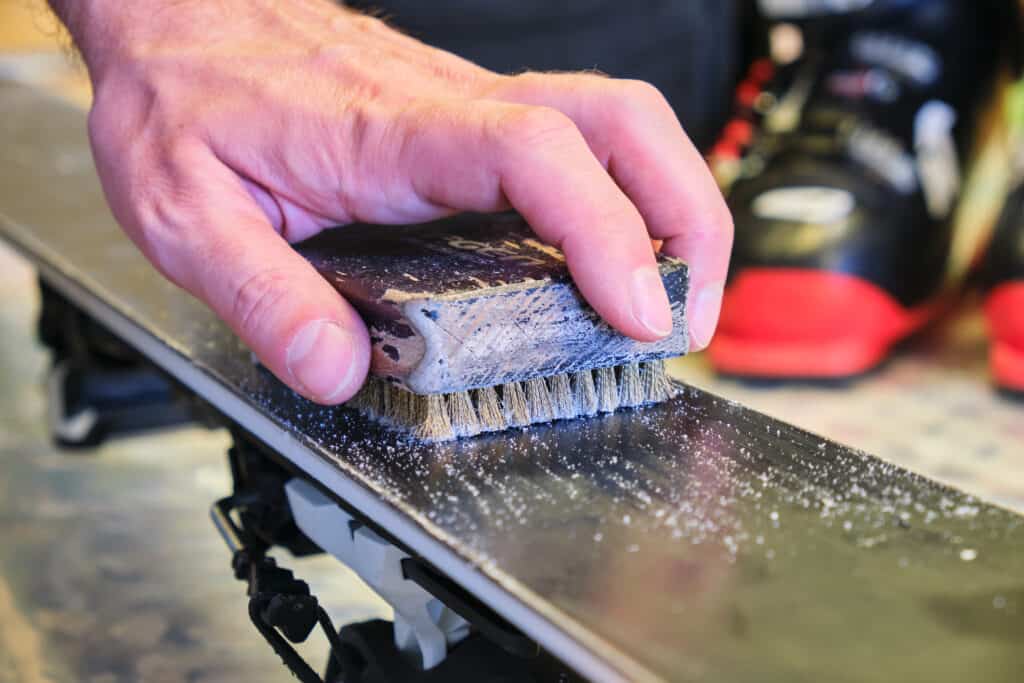
Before you begin soldering your tinplate, you should ensure you are working in a safe environment with the right materials set out and ready to use. In doing so you will save yourself a lot of time and frustration you would otherwise have, having to stop and start on every step.
Materials You Will Need For the Soldering Iron itself
Most of the materials you’re using can be gathered at any local home improvement store. If you can’t find what you need there however, amazon should do the trick.
The following materials are important for the soldering itself and should also be acquired and prepared before you start working:
- Soldering Iron: This is the key to the whole process. Depending on how much tinplate you’re soldering you may need a different size iron. Typically for tinplate however, you’ll want to use a little 35 to 50 watt iron.
- Chisel Tip: If you’re soldering tinplate for the first time it’s easiest to use a chisel tip on your soldering iron. If you want to use a different type of tip, you can, just make sure you’re aware of its advantages and disadvantages.
- 5/50 Solder: It’s easiest to use a tin lead solder for a project like this, however, you can use a purely tin solder if you prefer. Just know that if you choose to use a lead free solder, it will need a greater degree of heat. Usually lead free solder is used when the thing you’re soldering could potentially make enough contact to give you lead poisoning.
- Tin of Resin Flux: This is a coating you put on the edges of your pieces of tinplate before soldering them together. It ensures that the solder stays even between the two pieces.
- Soldering iron stand: These stands are for you to set your soldering iron on when its plugged in but you aren’t using it. Just beware many of these stands are made from metal. While they’re solid enough to hold the hot soldering iron, they can get really hot themselves. Always pick the soldering iron up carefully.
Please note that these aren’t the only possible tools for soldering, but the best ones for soldering tinplate. If you chose to move on to other types of metal, you should double check that they will work for it as well.
Other Materials You Should Have Ready
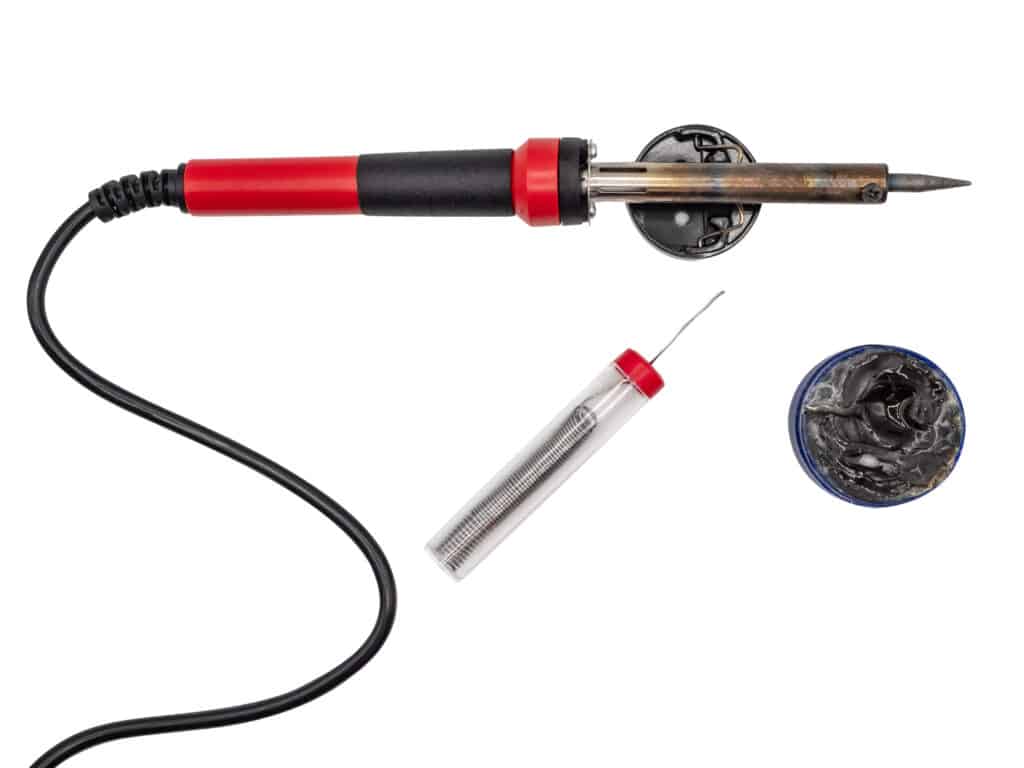
The soldering iron, solder and resin are only parts of what you’ll need to be successful. You obviously need something to solder and a few tools to help you get the job done as well.
The following materials will help you prepare to successfully solder your tinplate:
- Two pieces of tinplate: Tinplate is just metal that has been given a tin coating. This can be anything from a tin can, to steel with a layer of tin on the outside of it. You’ll need two pieces you can solder together for this project.
- Soldering Board: A soldering board is the surface you use to solder over so that you don’t accidentally burn a hole in your work table. There are various types made from different materials to choose from. For tinplate you don’t need the most expensive thing out there. Most soldering boards will do.
- Cleaning supplies: You may need to clean the metal you’re soldering. If this is the case you will want to have some cloth rags and water. You also might want a sponge if you’ve used your soldering iron before so you can clean it.
- File: You might need a file if there is a thin coating of decorative or protective material over the tinplate. Of course anything from simple sandpaper to a dremel as well, depending on how difficult the coating is to remove.
- Something to hold the piece down: You need something to hold the pieces that you’re soldering down. For something like tin cans, you may just want to use clamps. For most small pieces of tinplate on the other hand, you can have a small knife to press against your metal and hold it to the soldering board.
You’ve probably noticed that there seems to be a lot of wiggle room with these materials. You have choices on your soldering board, cleaning supplies, file and what you use to hold your pieces down. Just use common sense to decide which is right for you.
For example, if you have a thick layer of coating to get off your tinplate, a simple file will not do nearly as much as a dremel.
The Right Environment for Soldering Tinplate
Creating the right environment to solder in is relatively easy, however, it’s really important for your safety that you don’t skip or gloss over any steps. Below we’ve outlined 5 things you’ll need to do to prepare the right environment for soldering.
- Make sure your work area is well ventilated: You want to make sure that there is ventilation in the room where you’re soldering. Some materials can give off fumes that are toxic in extreme heat. This is especially true if you’re using solder with lead in it. Some pros even recommend having a fan pointed at your workstation.
- Ensure the soldering iron is clean: If you’ve used your soldering iron before, you’ll want to clean the tip of it before you really use it again. It’s easiest to do this just before you start working, after you’ve let it heat up. A simple wet sponge on the end will get rid of that grime.
Prepare the Metal You Want to Solder
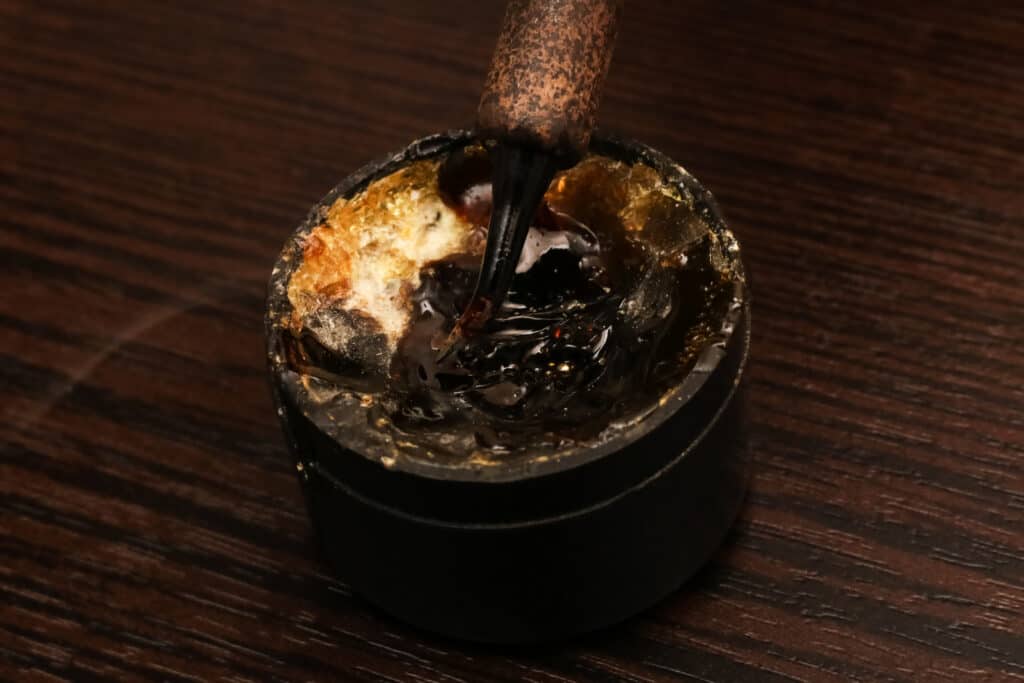
The tinplate metal you want to solder may need some preparation before it’s ready. If there is a coating over the metal, it will have to be removed. If there is any debris or dirt it will have to be cleaned off.
Removing Coating From Metal
As we pointed out in the section on materials, you can use anything from simple sandpaper to a dremel, depending on what the coating is made from. You just want to work your way down the material until the tinplate is completely exposed.
Cleaning Your Tinplate
You may also want to clean the material. Again, this really depends on what condition it’s in when you first start. A simple cloth rag with some hot water should do if it only needs a surface level cleaning. Most of the time, you should still use something like rubbing alcohol just in case.
For a more extensive cleaning on the other hand, you’ll want to use lacquer thinner instead of water or rubbing alcohol. This is good to use anyway after you’ve sanded down the edges of the metals you’re soldering together.
File Down the Edges of Your Materials
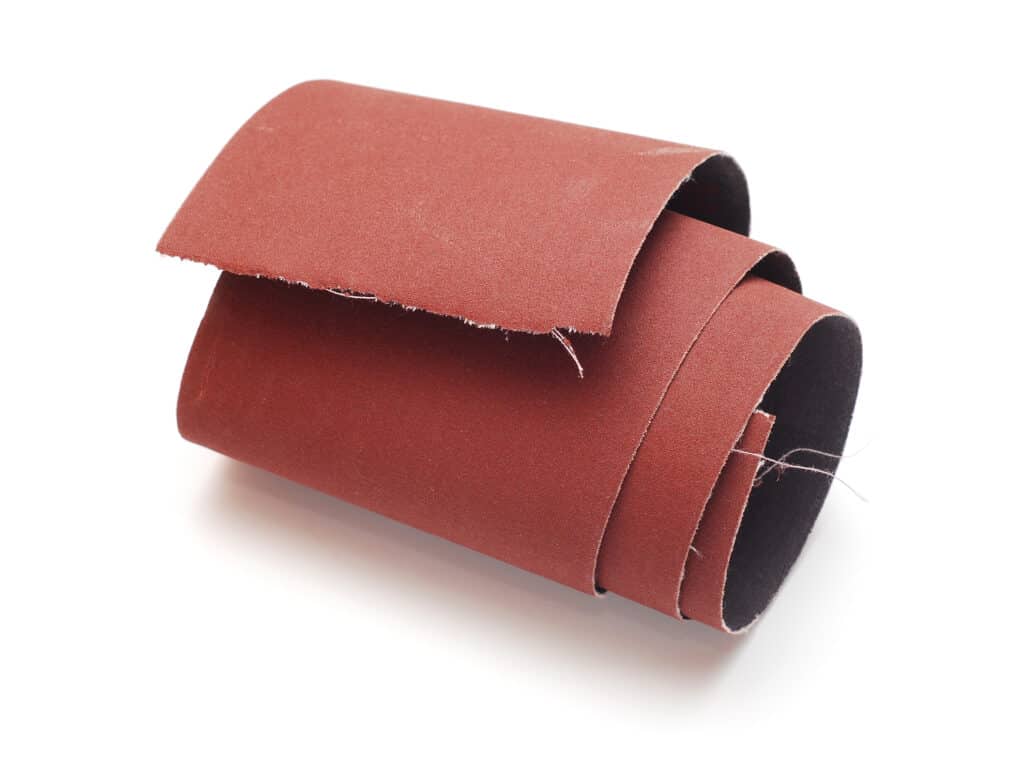
While the edges of the materials you’re soldering together don’t have to fit 100%, they don’t need to be pretty snug. You may have to file down the edges a little bit to make them fit. Depending on the metal your tin is coating, you could use anything from sandpaper to a dremel.
Clean Your Materials
Start by cleaning your materials. Again as we said before you can use rubbing alcohol to ensure the materials are clean and it should work just fine. You mainly want these clean so that you can apply the flux resin without any issues.
Perform a “Dry-Fit” With the Tinplate Materials
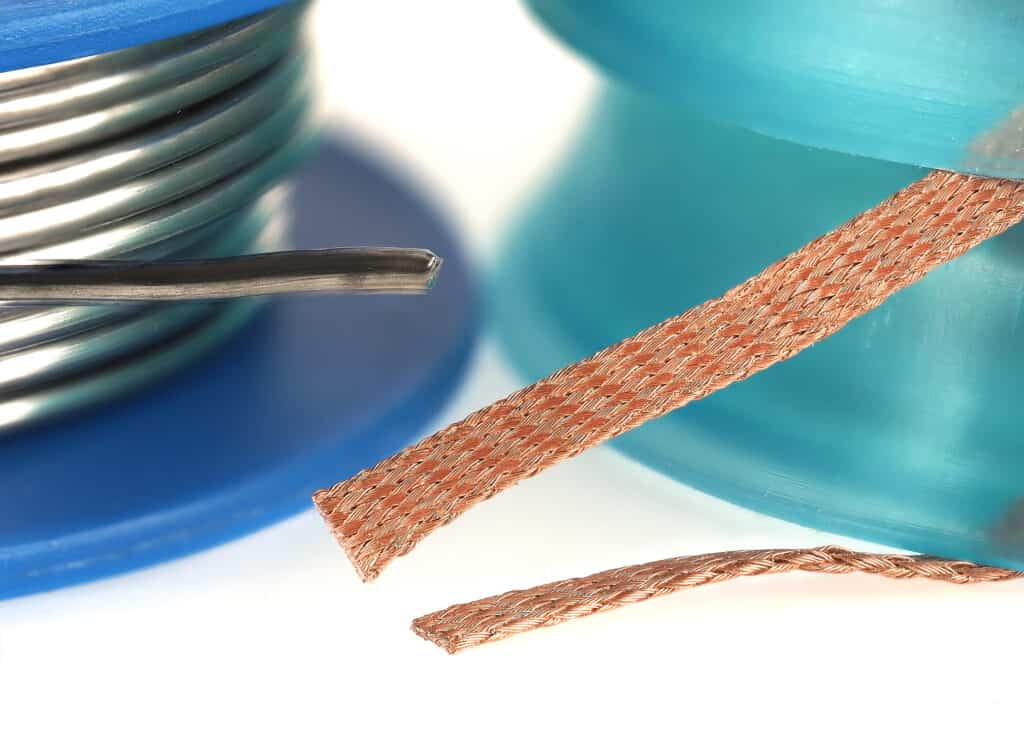
A dry fit is when you put the two metals you’re looking to solder together, to make sure that they actually match up. This will ensure that you have a nice evenly held together piece when you’re done. Plus, performing this before you even heat up your iron will prevent you from having to start over if you discover they don’t fit.
If they don’t fit just file them down a little bit more until they are mostly even. Small sections where they aren’t will be filled with solder anyway so don’t worry about those.
Heat Up the Solder Iron

The first step is simple but essential. Start by plugging the soldering iron in and allowing it to heat up. You’ll know that it’s as hot as it needs to be when the solder on the end of the iron is starting to melt.
Please remember, when the soldering iron has heated up, it will need to be cleaned if you’ve used it before.
Apply Resin to the Seams of Your Tinplate
Here you just want to lightly brush some resin onto the edges of the seams, of your two pieces you’ll be soldering together. You don’t have to go crazy with it but just make sure both edges are consistently coated.
Hold the Pieces Together and Heat the Edges
Hold the larger or more convenient piece of tinplate down. Remember, you can use a knife to press it against the table if it’s small enough, or clamps if it’s awkwardly shaped. Really anything that won’t get in the way of your soldering and won’t absorb the heat will do.
Put the other piece of tinplate in place over the one you’re holding down and gently apply heat with the end of your soldering iron to the edges of the two materials that are touching.
Please note, this should all be done on top of your solder board. You don’t want to accidentally burn your work table or inadvertently start a fire.
Apply Solder to the Edges of the Metal
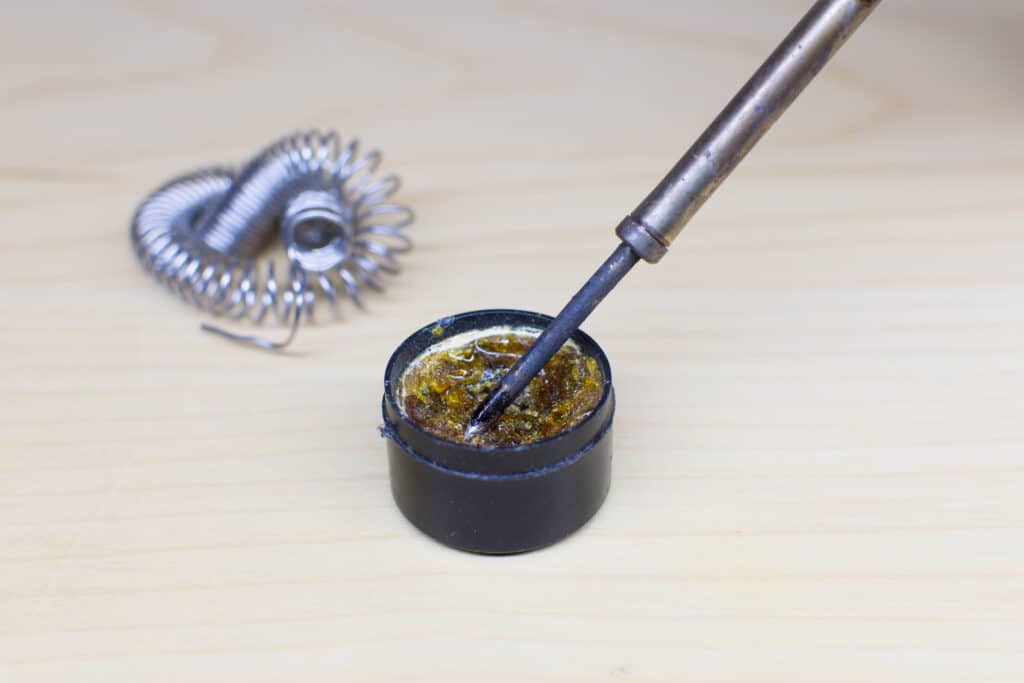
Once you’ve heated the metal sufficiently, you can begin carefully apply solder to the edges of the metals. If you want it to look smoother in the end you can periodically wipe away extra solder as you go. Either way you need to do this at every point where the edges of the materials intersect.
Please take your time during this part of the process so you don’t over solder the pieces, or slip and make a mistake. Once all the edges have some solder applied to them, your ready for clean up.
Double Check Your Work
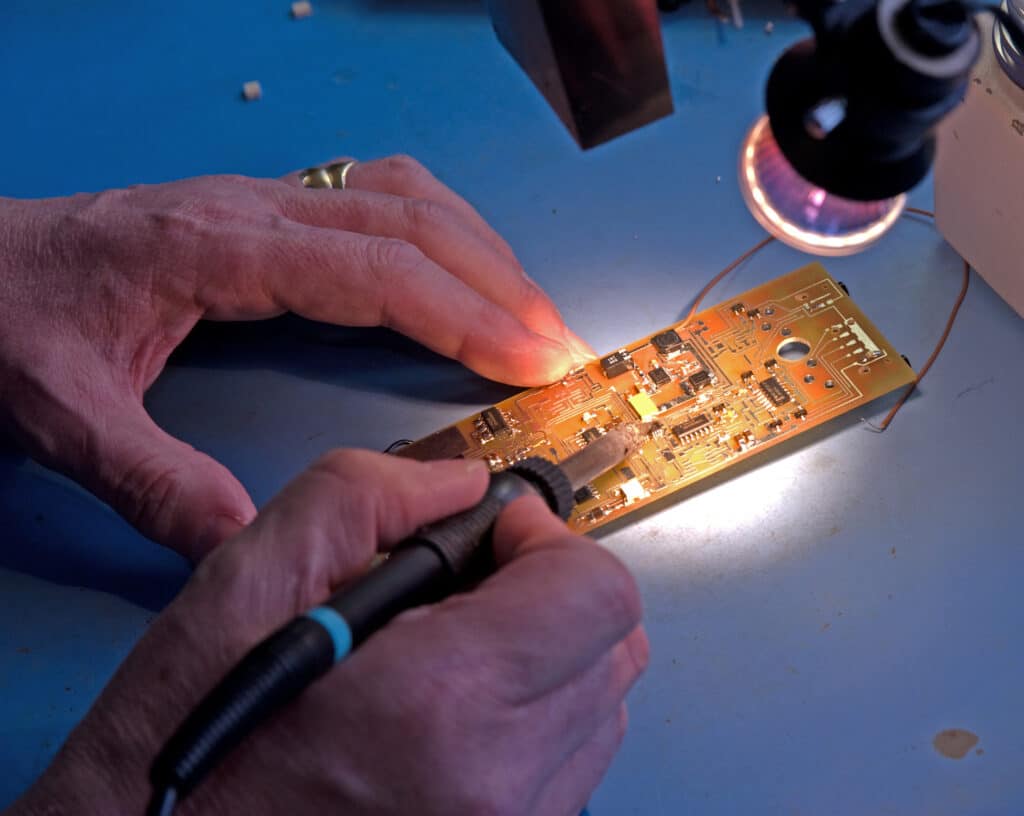
Once the solder is dry, you should now have one piece of metal in place of two. The shinier and smoother the seams are, the better job you did.
Don’t worry if yours isn’t quite smooth, as soldering takes practice and it’s not unusual to fail several times before you get it right. This is why it’s a good idea to practice on materials you don’t really care about before you take on a big project.
Clean Up Your Workstation and Enjoy
All that’s left is to clean everything up. Make sure you unplug your soldering iron and don’t just leave it on. This is also a really good time to clean the tip for your next job if you don’t want to have an extra step then.
So Really, How Do You Solder Tinplate?
The real answer is carefully. Be careful to follow all of the safety procedures. Make sure you have a well ventilated room, a good soldering iron stand and a soldering board. If you follow the steps we laid out above are pretty self explanatory.
Let’s quickly review them anyway. First gather your materials. Prepare the edges of your tinplate by removing coating and cleaning them. Put a coating of tin resin flux to the seams of the pieces. Heat up the edges where your two pieces of metal will meet. Apply solder and wipe away excess as you go. And finally clean up and enjoy your final product!

