“This post contains affiliate links, and I will be compensated if you make a purchase after clicking on my links.”
If you have broken your vise, putting a little too much strain on it, don’t worry, you’re not alone. Thousands of people have broken their favorite vise, and in the following article, we’re going to take a look at the steps needed to successfully repair your vise and get it back in action in no time at all!
Vises are usually made from cast iron and can be welded with high ductile filler like Nickel alloys. The vise needs to be preheated to around 200 degrees before welding to avoid cracking. A repaired vise has a reduced ability to withstand mechanical stress. Therefore a replacement is generally more economically.
- The Best Way To Weld Cast Iron
- Assessing the Damage
- Cleaning and Preparing the Metal Before Welding
- Safety Equipment
- Welding the Damaged Components
- Cleaning Up The Welds
- Putting It All Back Together
It’s important to note that welding cast iron isn’t always 100% effective depending on the amount of damage that needs to be repaired, the quality of the original cast, and how much strength you can get back into the components.
Almost all vises are made using a type of cast iron known as ductile cast iron. While it is one of the most challenging types of cast iron to weld and most time-consuming, it’s not impossible if you take the proper steps and follow procedures as closely as possible.
In the following article, we’ll cover the best way to weld cast iron, assessing the damage, cleaning, and prepping the damaged vise, safety equipment, welding the damaged components, cleaning up the welds, and putting your vise back together.
1. The Best Way To Weld Cast Iron
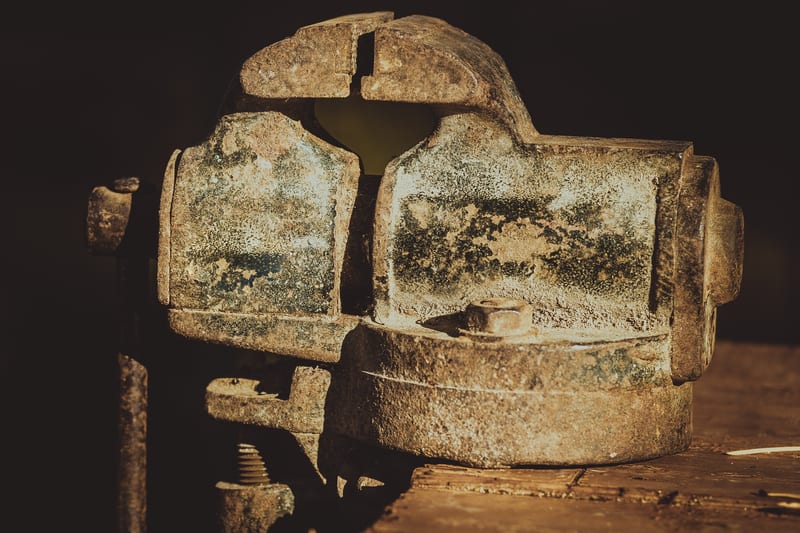
When it comes to welding cast iron, you have several options to choose from, but one of the easiest and most effective is always going to be a stick or Shielded Metal Arc Welding (SMAW).
Stick welding is one of the most affordable welding methods and isn’t going to require a significant financial investment. A cheap stick welder could cost you as little as $100-200, and most DIY home builders have a stick welder as part of their standard equipment.
With cast iron, most experienced welders agree that both pre-heat and post-heat is an essential step in the welding process. Pre-heating your components will ensure that they are at an even temperature, and the shock of welding won’t cause the component to expand too fast, cracking the part.
When you have finished welding, controlling the rate at which the component cools is also very important. Burying the component in a bin of sand will help to control the speed at which it cools and can help to prevent the cast iron from cooling at variable rates, which can lead to cracking around the welded joint.
Nickel alloy electrodes are the most popular and recommended for any ductile cast iron welding. Most experts agree that nickel-iron weld is more robust with a lower coefficient of thermal expansion, which can help to reduce the welding stresses and to improve resistance to cracking as the welded component cools down.
2. Assessing the Damage
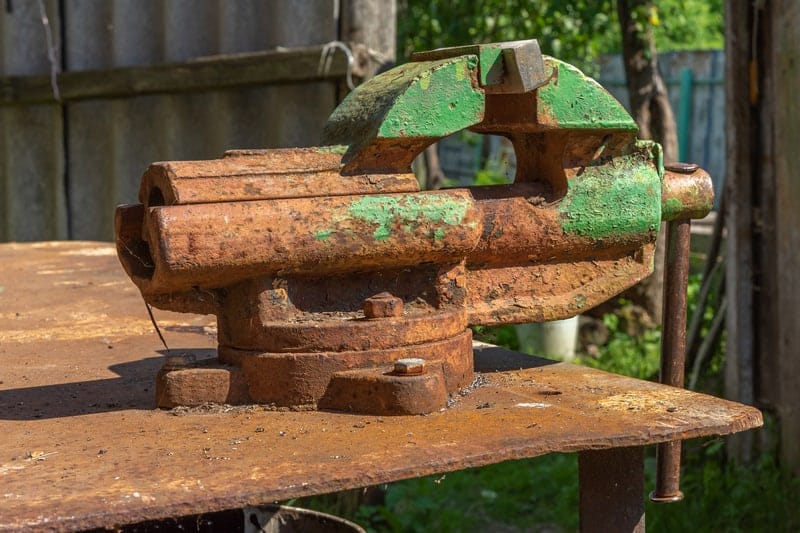
Regardless of how much we want to repair something, some things are just too hard and too damaged to be repaired. Therefore, it’s essential to establish early on whether or not your vise is going to be repairable or if the damage is just too much.
You need to remember that the role of any vise is to apply pressure to something and hold it in place securely while you’re working on it. Carefully think about some of the different jobs that you have done with your vise and what the consequences of that vise breaking during a similar job would be.
Another factor that you need to consider is the cost of replacing your vise versus the cost and time required to repair it. It’s not unusual to have some sentimental value tied up in a vise, especially if it was passed down from a relative. However, repairing the vise successfully can be quite time-consuming and expensive, and you’ll never know 100% whether the vise will have the same strength as before.
Consider upgrading to a larger vise if you broke your previous one, or perhaps simply repairing the vise and then putting it aside if it has sentimental value.
3. Cleaning and Preparing the Metal Before Welding
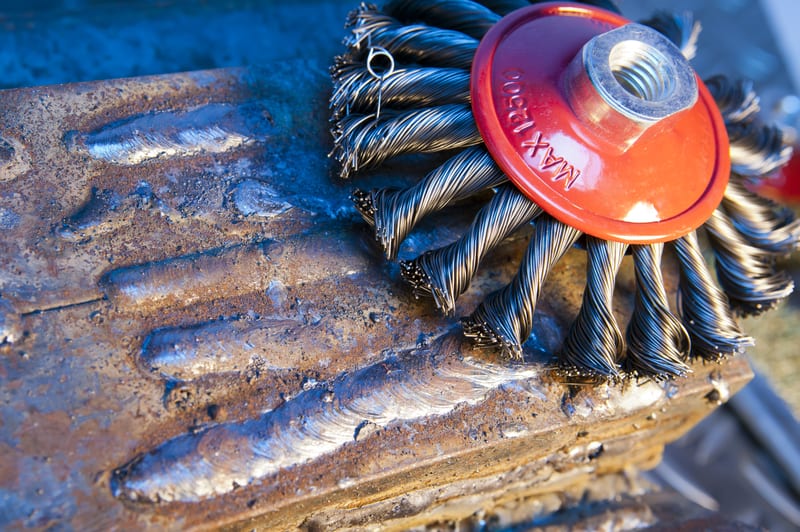
The first step in repairing is cleaning and prepping the components of the vise, which are broken prior to welding. Next, take the vise apart completely if required and carefully document it as you dismantle it to make it easier to put back together. Taking a few photos or notes is a great idea, or even bagging individual parts and labeling them.
Cleaning the cast iron with a solvent is an effective way to ensure that you have removed any oils, grease, or other contaminants which may have soaked into the cast iron.
If the cat iron is painted, you may want to strip away or remove the paint around the area that is going to be welded. For example, if you plan on repainting the vise, then all the paint could be removed at this stage to make it easier to repaint it later on.
Depending on whether the vise is simply cracked or broken, you can take several different steps when repairing:
- Cracked – If your vise has a crack that hasn’t broken apart thoroughly, then it may be easier to repair. With a slight carbide burr, you can grind out the crack until you can see the extent of the rack. Next, form a small v joint along the length of the crack, which can then be filled with weld. Be sure not to over prep the joint as the least amount of weld and heat you use the better with cast iron.
- Broken – If the vise is broken completely and you need to join two pieces back together, then a bevel along both sides of the part is recommended. Be sure not to over prep the joint as the least amount of weld and heat you use the better with cast iron.
4. Safety Equipment
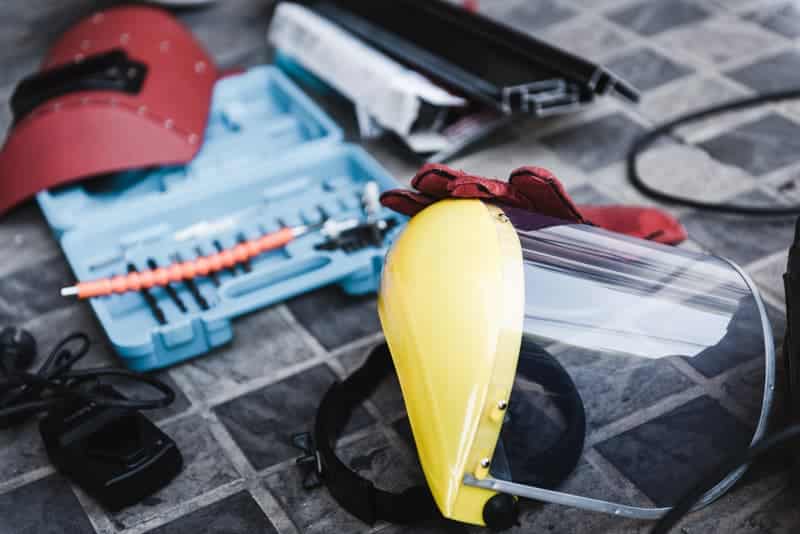
With any welding, it’s essential to have the right safety equipment to ensure that you don’t get burned or cut during the process. The following is a recommended list of safety equipment that any welder should have:
- Fire Retardant Pants and Shirt – A high-quality set of fire retardant clothes is a great start for any welding that you are doing at home.
- Welding Jacket – A welding jacket will help to prevent any large blobs of molten metal from burning through your clothes and embedding themselves in your skin. There are a number of different choices available.
- Welding Shield – There are both manual and automatic welding shields available. Automatic welding shields are more of an investment but can make it much easier when you’re learning how to weld, as you don’t have to worry about flicking your welding shield up and down.
- Welding Gloves – Welding gloves are great for protecting your hands both while you’re welding and also when handling any hot components.
- Safety Glasses – Even though you are wearing a welding shield, safety glasses can add an extra added layer of protection against dust, sparks, spatter, and also ark radiation which can cause welding flash.
5. Welding the Damaged Components
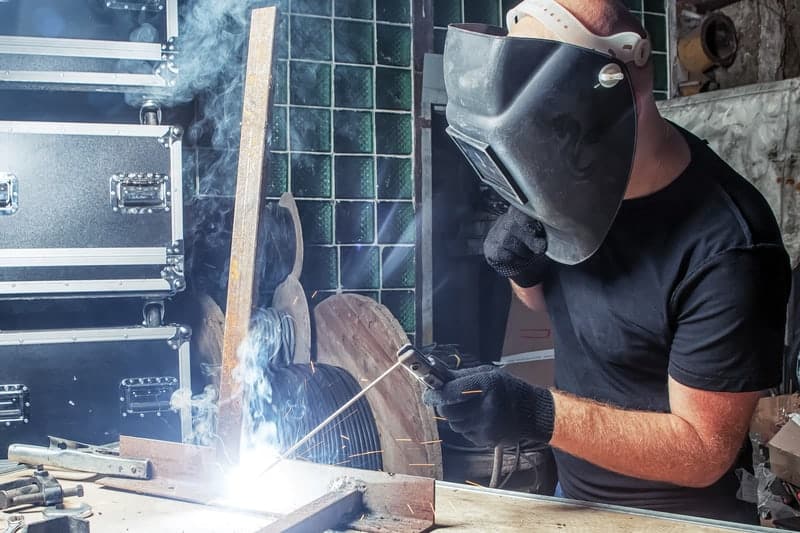
When you have your welder set up and have all of your safety equipment on and ready to weld, it’s time to pre-heat the component that’s going to be welded. If you are using the nickel electrodes, pre-heat may not be required, but it’s still recommended by many experienced welders.
You should aim to pre-heat your cast iron component to around 250 degrees Fahrenheit prior to commencing any welding. Try to weld in small one-inch sections or runs rather than trying to weld the entire piece in one continuous long weld bead. Peening or tapping the weld with enough force to leave a slight indentation can also help to prevent the weld cracking. Start peening from the weld crater backward towards the start of the weld.
Allow the weld to cool slightly between runs. You should be able to touch the weld without being burned between each run that you do. Also, don’t try to weave the weld to fill a significant gap. It’s better to do multiple runs rather than trying to overfill the weld in one go.
The key to successfully welding any cast iron is to take your time and do it as slowly as possible without getting tempted to rush. The more time that you take between runs and the more careful you are, the less likely the cast iron is to crack either during the welding process or after it cools down.
6. Cleaning Up The Welds
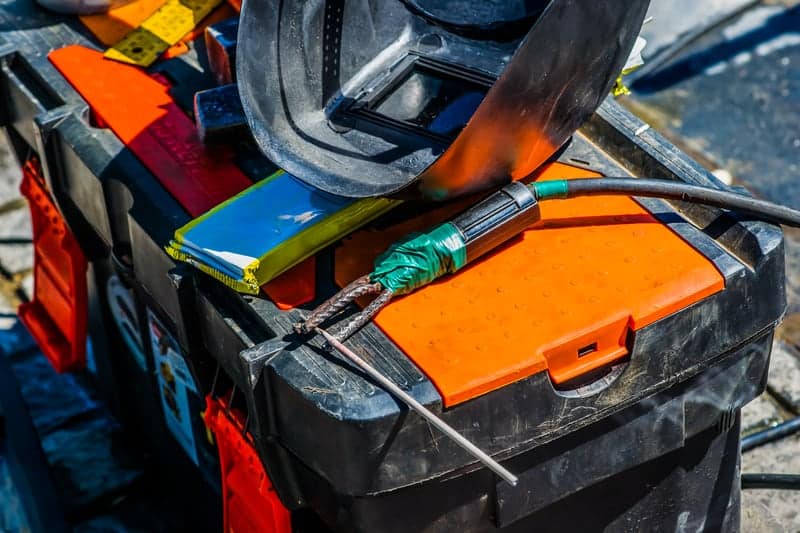
Depending on where the welded component is and its function, you may or may not want to attempt to clean it up. However, it’s not going to look the greatest if you have a pile of weld on your vise, but that won’t make it any less effective if you don’t mind the cosmetics.
One of the easiest ways to clean up your vise after welding is by grinding back the weld carefully with a grinder before sanding it. Leave as much as the weld there as possible, but if the component needs to be smooth, then carefully sand it back until it’s flush.
Whenever you are doing any stick welding, it’s essential to remove the slag from the weld both between runs and also once you have finished welding.
7. Putting It All Back Together
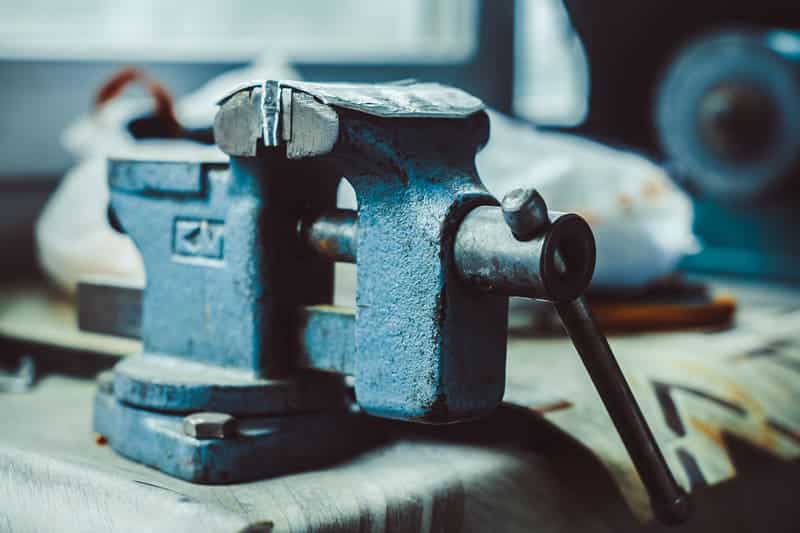
While you have your vise apart, it’s a great time to give it a coat of paint and grease up any of the moving parts. At this stage of the repair operation, you may choose to test the strength of your repair by operating the vice. After all, if you spend a lot of time painting and greasing and the weld cracks, then you may need to start the repair process all over again.
After carefully cleaning all of the parts, give them a coat of paint with a high-quality metal primer before finishing it off with your preferred paint color. You may want to give your vice several coats of paint while you have it apart, and it’s easier to get to all those hard-to-reach places.
Carefully grease and reassemble your vise, and you should be ready to go!
How To Weld A Vise: 7 Steps For A Successful Repair – Conclusion!
If you follow all of the steps outlined above, you have a good chance of successfully being able to weld or repair your cast iron vise. However, if you try to skip steps or rush the process, there is a good chance that the finished component of your vise will crack as it cools down or after it’s cold. It can also lead to your weld being internally weak and the repaired item breaking again once it is put into use.
Like with any welding, repairing cast iron and welding cast iron involves following a set of procedures carefully and in the correct order. Don’t be put off if the first piece of cast iron that you repair doesn’t work out as you expected. Welding any cast iron can be a tricky and unpredictable process.
If you have any scrap cast iron or can get your hands on some, it’s a great way to practice both your settings and also your procedures. Like any welding technique, practice makes perfect, and the more that you do something, the better you will get at it! If you have any tips to share on repairing a cast iron vise, then don’t hesitate to reach out and contact me directly.


