“This post contains affiliate links, and I will be compensated if you make a purchase after clicking on my links.”
Learning how to tack weld is the foundation of becoming a great welder or fabricator. Not only that, but when you learn how to tack weld properly with a TIG, MIG, or stick welder, you’re going to make your life a whole lot easier, and your projects are going to come out much better for it.
If you have been struggling with your tack welding, then you’ve come to the right place!
Anyone can throw a lump of weld on and call it a tack but learning how to master tack welding is going to make your next welding project a breeze. In the following article, we’ll take a closer look at eight tips to make mastering tack welding a breeze, as well as what tack welding is, when do you need to tack weld, what bad tacks can cause, and much more!
- What Is Tack Welding?
- When Should I Tack Weld?
- What Can Bad Tack Welds Lead To?
- 9 Tips for Better Tack Welding!
With a bit of luck and some hard work, you’ll be tack welding like a professional in no time at all!
1. What Is Tack Welding?
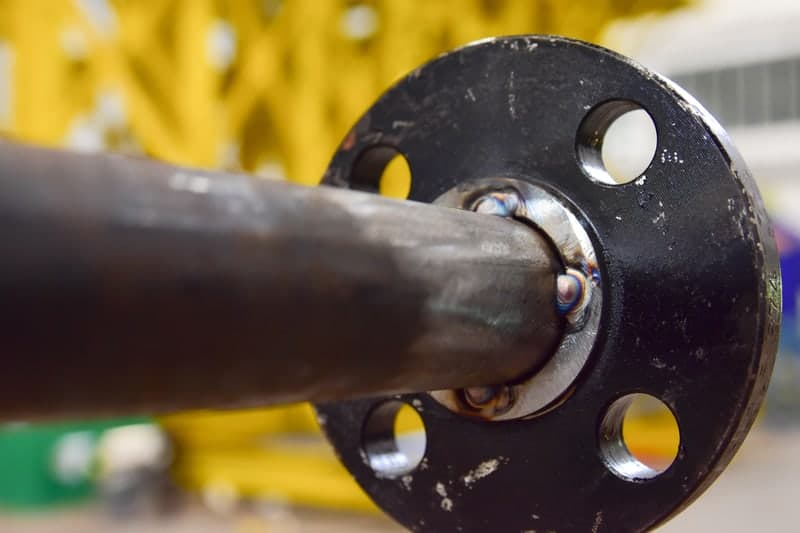
If you’re going to be doing any amount of welding, then learning how to successfully tack weld with either TIG, MIG, or stick is essential. However, even if you don’t plan on doing a whole bunch of welding, then learning how to tack weld properly is a great skill to have.
Believe it or not, tack welding isn’t all about just throwing a blob of metal or several blobs of metal and hoping it sticks together long enough for you to get a weld on it. Too many tacks on your next welding project are going to turn a simple task into a nightmare of grinding and cleaning up tacks.
Not only that, but if you don’t tack something together correctly, it could end up putting you in a dangerous situation if something breaks when you didn’t expect it to.
When you’re building any project, you need to hold all the different components in place while you get everything to its correct position. A tack weld will hold it all in place until you’re ready to start welding it all together. The key is to keep the tacks small and spaced far enough apart that you can weld them without having tacks every inch.
Tack welds are strong enough to hold everything in place until it’s ready to be welded, or so that you can move it around, but you shouldn’t rely on tack weld for full strength. Almost every fabrication and welding project starts with a lot of very good tacks. The better the tacks, the easier the project will be to weld, and the better the finished project will be. You take pride in your welding, so it’s time to start taking pride in your tack welding too!
2. When Should I Tack Weld?
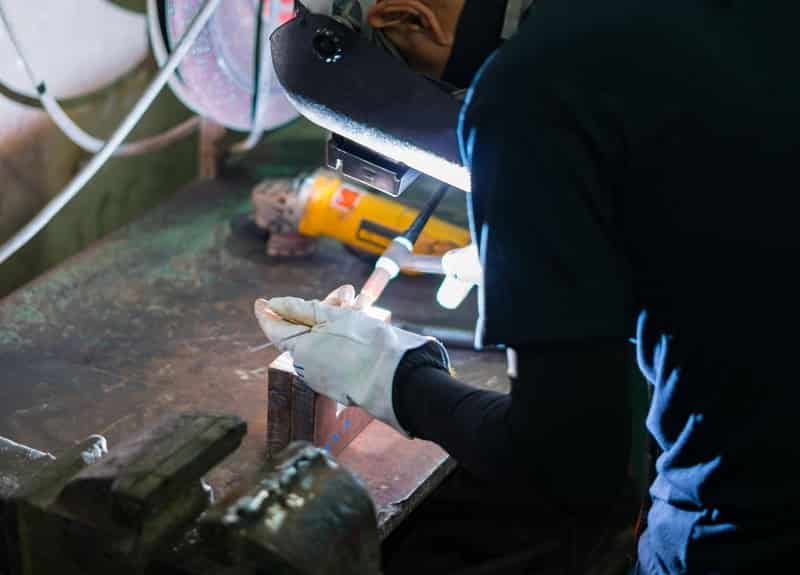
Anytime that you are welding or fabricating, you should be tack welding. Tack welds hold the project in position and prevent components from moving around as much when you start welding. In addition, tack welds help to hold everything in a position much more securely than clamps. Still, if you are using light gauge material, it’s important to remember that tack welds, particularly too many of them, can cause distortion and movement in your project.
If you were working in a factory or large construction facility, then tack welding would usually be done by fabricators, and welders would come in after and weld out the project. Tacks can be used to fit pipes, sheet metal, components, and other metals before the final weld being completed.
Do them right, and tacks can be your best friend. Do them wrong, and they can be your worst nightmare.
3. What Can Bad Tack Welds Lead To?
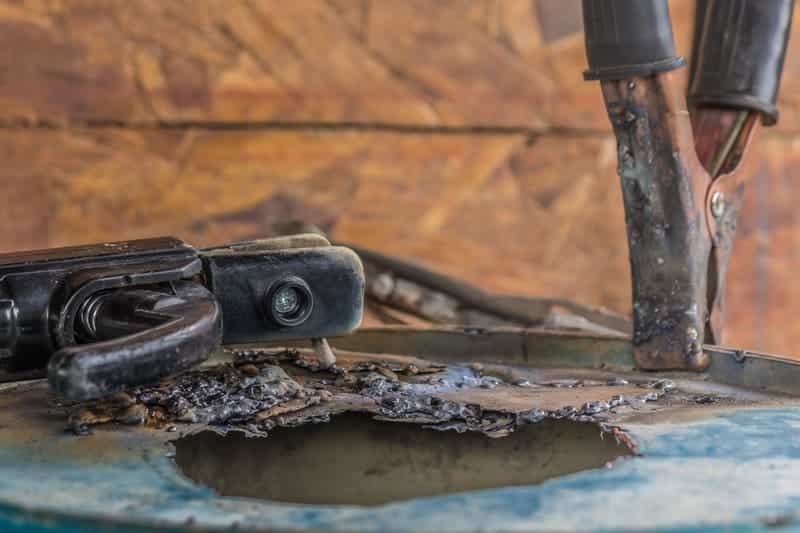
As we said above, when tack welds are significant, they’re great, but when they aren’t, they can be a real pain to deal with. There are several different ways that a simple project can go wrong when you tack weld incorrectly, including:
- Excessive Slag – If you have excessive amounts of slag in your tacks, the slag can cause impurities in your final weld, and that’s not great. The best-case scenario is that your welds don’t look as smooth or nice. Worst case, the internal strength of the welds is compromised.
- Craters – When your tacks are too hot, they can cause craters or hollow spots in the material, which creates a dip in the final weld.
- Arc Strikes – Excessive arc strikes when tacking can cause blemishes and weak spots in the parent metal. This is especially true with tack welds because they are much hotter than regular welds.
- Distortion – Without adequate alignment when tacking, you are going to find a lot of issues with misalignment once you go to start welding. You also need to pay attention to how much heat you are putting into the project with your tack welds as you proceed. It’s essential that you pay attention and monitor the distortion as you go.
- Spacing Issues – Every project is going to be different with larger and smaller sizes and some components being under pressure. Carefully evaluate each project before you commence and during construction to ensure that your tack welds are spaced at appropriate distances. However, most experts agree that tack welds should be about 1 inch evenly spaced apart for the best effectiveness.
4. 9 Tips for Better Tack Welding!
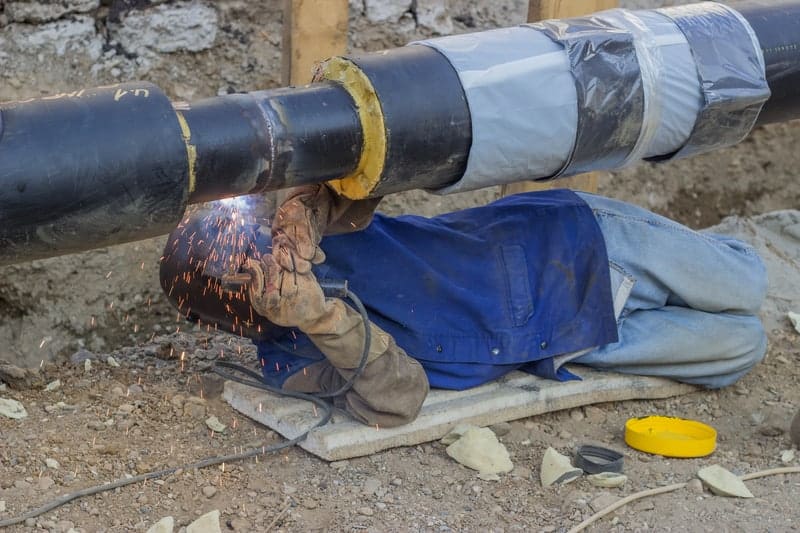
In this section, we’re going to cover 9 tips for better tack welding. We’ll look at a variety of different factors, including wire, voltage, arc, contact tips, avoiding distortion, duration of tack welding, quality of your welding machine, fixing mistakes, and some of the common precautions that you should take whenever you are tack welding.
- Wire – When you are tack welding, there are a few adjustments that you can make to your wire before you start. A smaller diameter wire or electrode is useful when you are tack welding. The smaller the wire diameter, the less balling you are going to experience at the end of the wire and will give you a faster burn. Faster wire speed is also recommended.
- Voltage – Higher voltage will give you more heat while at the same time provide you with a smoother and cleaner weld. Try increasing your voltage whenever you are doing any amount of tack welding.
- Arc – If you’re looking to achieve the ideal tack weld, then you should be using an arc length of approximately ⅜ inch. If you have a lot of experience welding, then you could reduce your arc length even more to ¼ inch. When you have a shorter arc, you’re going to get more accuracy in your tacks and also make the tacks smoother and more uniform. However, it’s essential to pay close attention to your arc length and don’t get rushed and inattentive, as it can cause the material to overheat.
- Contact Tips – Dirty and worn contact tips in your welder can cause your tacks to be low-quality, and if your contact tip is of poor quality, then your tacks are going to be of poor quality too. Therefore, having a clean nozzle and clean contact tip is vital and is going to require frequent cleaning throughout the tack welding process.
- Avoiding Distortion – Because you are welding at such high heat, the tack welds can cause excessive distortion in the project. Allow adequate time between tacks to ensure that you are distorting your project. Using a balanced approach and spacing out your tack welds rather than starting at one end and working towards the other end is a good idea to prevent excessive distortion. When you weld towards a gap, you can cause the gap to close but welding away from a gap will cause the gap to close up.
- Duration of Tacks – There’s no definitive measure for how long you should weld your tacks for, but even the highest-quality tack weld shouldn’t be expected to permanently join two pieces of metal. Even though your tack welds should be of the highest quality, tack welds are never expected to hold something together permanently.
- Quality of Your Welding Machine – While you can change your settings, it’s not always easy to make fine adjustments when your welding machine is below average quality. However, if you have a lot of tack welding, then investing in a high-quality welding machine may be worth the investment.
- Fixing Your Mistakes – It’s always better to invest a few minutes before you start tack welding or welding than trying to come back later and spend hours fixing and tidying your mistakes after you have tacked up your project or, even worse, fully welded it. If you have a good understanding of your welder and take the time to practice your tacks on some scrap prior to starting, you’ll be in a much better position when it comes time to take up the project.
- Always Take Precautions – As with any welding, learning the techniques can be quite time-consuming and involve a lot of repetition, but making that investment of time into learning how to properly tack weld can save you a lot of grief later on. It doesn’t matter if you are a seasoned home welder or just getting started in the fabrication and welding trades. The sooner that you master the skill of tack welding, the happier you’re going to be, and the smoother your projects will run.
Safety Equipment When Tack Welding
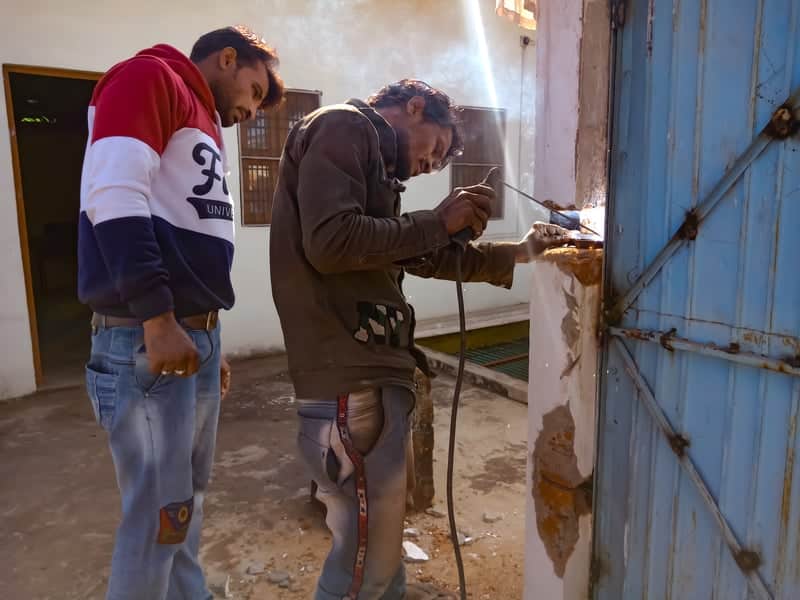
With any welding, it’s essential to have the right safety equipment to ensure that you don’t get burned or cut during the process, even if you’re only tack welding at the time and not fully welding components.
The following is a recommended list of safety equipment that any welder should have:
- Fire Retardant Pants and Shirt – A high-quality set of fire retardant clothes is a great start for any welding that you are doing at home.
- Welding Jacket – A welding jacket will help to prevent any large blobs of molten metal from burning through your clothes and embedding themselves in your skin. There are a number of different choices available.
- Welding Shield – There are both manual and automatic welding shields available. Automatic welding shields are more of an investment but can make it much easier when you’re learning how to weld, as you don’t have to worry about flicking your welding shield up and down.
- Welding Gloves – Welding gloves are great for protecting your hands both while you’re welding and also when handling any hot components.
- Safety Glasses – Even though you are wearing a welding shield, safety glasses can add an extra added layer of protection against dust, sparks, spatter, and also ark radiation which can cause welding flash.
9 Tips for Tack Welding TIG, MIG and Stick – Conclusion
Regardless of what type of welding you are doing, tack welding, MIG welding, stick welding, or even TIG welding, getting the basics down, such as tack welding, will not only make your job easier but also deliver a better-finished product.
If you follow all of the tips for tack welding which we have covered above, then your tack welds are going to make your welding so much better. Not only will the tack welds be neater, but they’re also going to make removing them and welding over them later much easier.
There’s nothing worse as a welder than having to remove hundreds of tacks that are incorrectly placed, too big, messy, or break while you are in the process of welding the finished project. However, if you are a fabricator, then learning how to tack correctly is going to make life a lot easier for the welders that come after you, and they are going to thank you for it. If you have any tips for tack welding, don’t hesitate to contact me directly. I’d love to hear them!

