“This post contains affiliate links, and I will be compensated if you make a purchase after clicking on my links.”
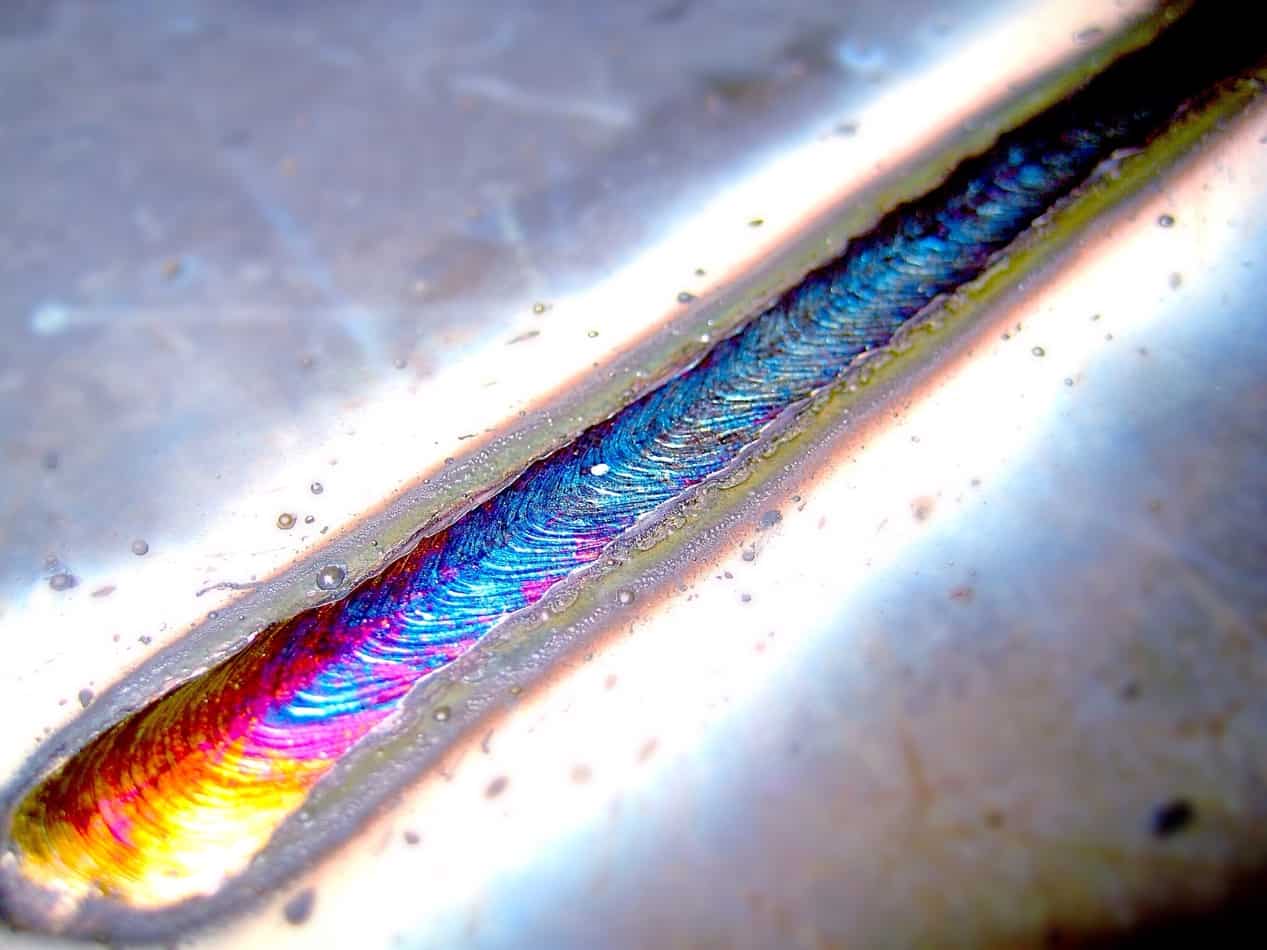
TIG welding makes a bead with a rippled, “stack of dimes” appearance that is very attractive. For this reason, TIG welds are often called for when the appearance of the weld is important. One of the most significant difficulties in getting an attractive TIG weld is finishing the bead. The last bit of the weld is the hardest part to make attractive.
What is the best way to finish a TIG weld? To make a successful TIG weld, from overheating to using the correct filler rod. We have identified twelve tips to ensure a successful TIG weld.
- Stop the arc softly at the end of the weld instead of cutting it off immediately
- Don’t overheat the end of the weld joint
- Overlap welds by welding the last part first, then working back toward the end
- Add one last dab of filler
- Protect the end of the weld by keeping the shield gas on for a few seconds after stopping the arc
- Don’t overdo the gas – use the right flow rate
- Practice the weld before you make it
- Support your hands while making the weld
- Clean it up before welding
- Prepare your electrode
- Use the right filler rod
- Practice TIG welding
TIG welding is tricky, with lots of things that can go wrong. You have to control the electrode with one hand, the rod with the other, all while adjusting the amperage with a foot pedal or finger slider. When you finish the bead, you have to make more adjustments to get it right. The most crucial part of ending a TIG weld is making little adjustments just as you finish the bead. Details for those adjustments are below.
1. Stop Soft
One of the most common problems with ending a TIG weld is a pit in the pool from quick cooling. If you shut the arc off quickly, the puddle will cool rapidly and contract. The contraction produces a pit. You have to stop softly to get a smooth finish at the end of the weld.
When you reach the end of the bead, don’t cut the arc off immediately. The amperage needs to be reduced gradually to protect the puddle. The gradual reduction mimics the effect of working the arc along the bead and reduces the heat on what you have welded gradually. There are two ways to accomplish this reduction.
Start either method by raising the electrode just a little bit (a quarter inch is enough) to make the arc longer. A longer arc is cooler, so raising the electrode starts to reduce heat on the puddle. As you lift the electrode, the puddle cools a little bit and starts to stabilize.
The first way to reduce the amperage is to use the pedal or finger slider to taper off the arc gradually. It doesn’t have to be extremely slow – tapering the arc over a couple of seconds is enough. The combination of lifting and reducing amperage lets the puddle cool at the right speed and will produce a smooth end. Just use your foot to reduce the amperage all the way down before breaking the arc.
The second way to reduce the arc is an automatic function on some high-end TIG welders. These machines have a soft-stop feature that reduces the amps for you when you shut off the arc. This is a big help in finishing a TIG weld, but many welders don’t do it. If your welder does, consult the manual to make sure you have the torch set up correctly to use it.
2. Don’t Over-Heat

Another flaw in finishing a TIG weld is cracking or warping from excessive heat. The arc of a TIG torch can be as hot as 11,000 degrees. When you start a bead, the metal is cool and can absorb the heat. As you work across the joint, heat is dissipated through the workpiece. However, once you reach the edge of the piece, the heat has nowhere to go, and the last bit of the joint overheats and produces warps or cracks.
To stop warping, you have to control the heat going into the last inch of the metal. There are different approaches to heat control, but all can have good results. The important thing is to watch for signs of overheating and react. If your puddle flattens out and starts to get wider, the weld is too hot. It is best to reduce the heat before that happens, but you need to take action right away if you see the pool spread.
To control the heat going into the joint, use the foot pedal or finger slider to reduce amperage as you reach the end of the bead. Since the metal is already hot, you don’t need as much heat from the arc to maintain the pool and melt the rod. The heat in the metal will help keep the pool flowing and the rod melting.
You will have to practice with the pedal to find out just how much to reduce the amperage for the end of the weld. If you reduce too much, you will lose the puddle and have a messy end to the weld. If you don’t reduce enough, you will get warping or craters. Practice making beads on flat plate metal and play with the pedal to find the right adjustment.
3. Overlap the Joint
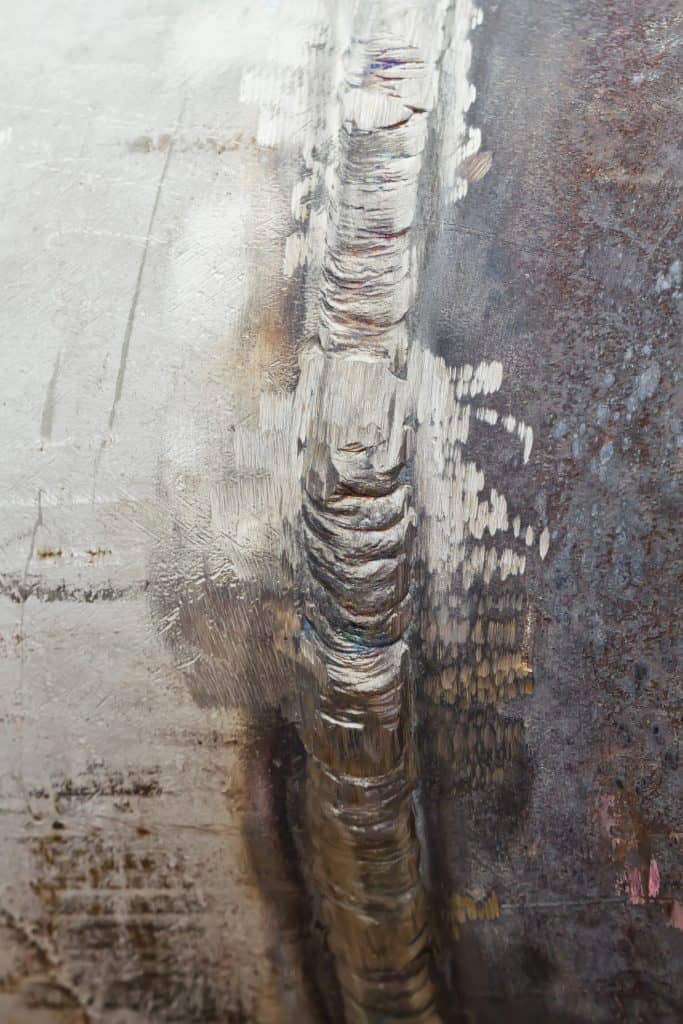
Another way to combat heat buildup is to start by welding the last inch of the joint first. If you are working from left to right, start at the right side and make a bead about an inch long coming in from the right edge. Once that is done, go back to the left side and make the long weld for the joint. You will reach the other piece of the bead while there is still enough metal to absorb the heat from the weld.
This approach protects the end of the metal from overheating. You will weld both ends while the metal is cold, so the heat never builds up there. The last part welded will be far enough from the end that the heat can dissipate. This will produce a clean bead with no cratering.
4. Add a Little More Filler
The ideal TIG welding technique is to dab the rod into the puddle, then move the electrode a little and dab again. This builds up a nice, even bead as you work along the joint. Each dab adds a little to the bead behind it, then is covered in turn by the next dab. TIG weld ends don’t get covered by another bit of filler, so they are prone to sagging and cratering.
You have to change the technique just a little to finish a bead. When you get to the end of the bead, give the rod another little push or two into the weld pool. You want to have a little more filler at the end than you have in the rest of the bead. This extra filler will protect the bead from contracting too much and making a crater. It doesn’t take much, but some extra filler really helps stop craters.
5. Protect the Weld
The extreme heat of the arc produced by a tungsten electrode makes steel and aluminum very reactive with oxygen. To prevent the bead from corroding, the torch handset puts a steady stream of inert gas (either argon, helium, or a mix of the two) over the weld. The gas shields the bead from oxygen long enough for it to stop being reactive.
The shield gas works very well to shield the bead as you work. However, if you finish the weld and abruptly pick up the torch, you are pulling away from the shield gas before the end of the weld is ready. Instead of just pulling up the torch at the end, pause for a couple of seconds after shutting off the arc. Keep the gas running on the bead long enough for the pool to harden so that it doesn’t corrode.
Keeping the gas running like this will protect the end of the weld from oxidation and give you a much cleaner finish to the weld. Just hold the torch steady and let the gas flow over the bead until it stops glowing, and your bead will stay clean and shiny.
6. Don’t Overdo the Gas
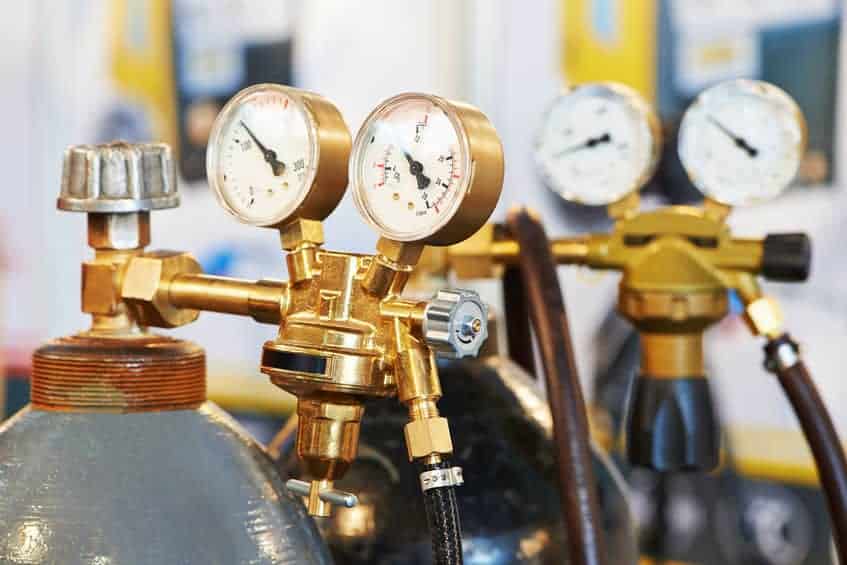
Too much gas can be as bad as too little. The weld pool is liquid, and it is subject to the same forces that any pool of liquid is. If you turn the gas flow too high, it creates turbulence around the weld pool. The fast stream of shield gas will make waves and bumps in your weld that look bad. Check the manual on your welder for the correct gas flow setting.
This is particularly important when you weld aluminum. Because it is lighter than steel, a weld puddle in aluminum is easy to blow around with excess shield gas. Double-check your gas flow setting before working on aluminum.
7. Practice the Weld First
TIG welding is difficult because you have to use fine control with both hands. The tungsten torch needs to be held close to 90°, and the rod must be fed into the front of the puddle smoothly. Failure to perform these tasks correctly leads to bad welds.
It is easy to start a weld with good torch position and rod feed, but sometimes on longer welds, you wind up in a less-than-ideal position by the end. As you work farther away from your comfortable starting position, the torch angle starts to tip down, the rod feed gets jerky, and the weld pool starts to spread. This makes the end of the bead a flat, ugly mess.
To prevent poor performance at the end of the weld, practice it before you make the weld. Hold the torch and rod, go through the motions for the weld, and see if you are still holding everything correctly at the end. If you aren’t, re-think how you are going to make the weld. Adjust your position, or the workpiece, or even plan on making the weld in sections to get better beads.
8. Support Your Hands
Because TIG welding requires excellent control of both hands, finding a way to support your hands during the weld can be helpful. Use the edge of the welding table, blocks, or anything else you need to take the weight off your arms. The more support your arms have, the easier it is to get an excellent clean bead.
Don’t lean on your arms. The supports are there to keep your hands steady and your arms fresh. If you are leaning on your arms as you TIG weld, you won’t be able to control the weld precisely. Just rest your arms lightly, so they don’t shake or wobble.
9. Clean It Up
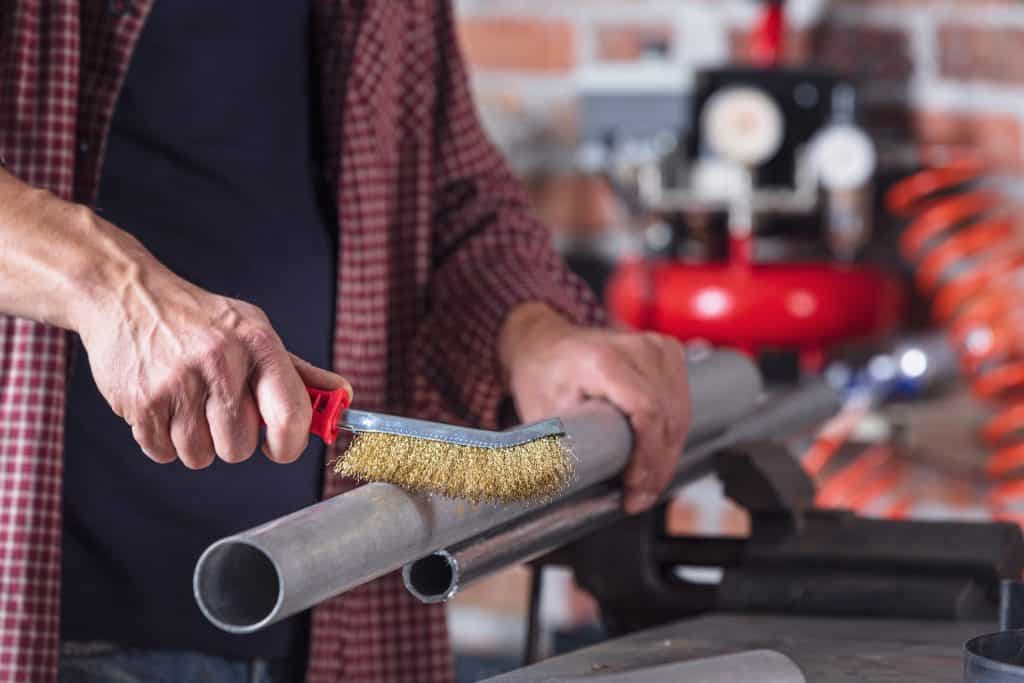
Unlike other welding processes, TIG welding doesn’t have any flux that can clean impurities off the metal. You must clean the edges of your joint thoroughly before trying to TIG weld. Otherwise, your weld will be prone to cracking, pitting, and discoloration. Only TIG weld bright shiny metal.
If your metal has been painted, use paint thinner to wipe away all traces of paint. Use clean rags or paper towels to clean off the old paint, then wipe with a dry rag to remove traces of the paint thinner too. For safety, make sure to put the paint thinner away before welding.
Remove grease from the metal with a degreaser. Citrus-based degreasers are not flammable and smell nice, as well. Wipe down both pieces of metal to get rid of any grease, dirt, or other contaminants.
For TIG welding steel, use a grinder to remove rust from the weld joint. Run the edges along with a grinder long enough to knock off rust and mill scale and get a bright edge to weld. If the metal has any deep scratches, use a thin blade on an angle grinder to clean out the scratches and make sure no contaminants are hidden inside them.
Aluminum takes a little more work to clean up. It’s hard to see the thin layer of aluminum oxide on aluminum, but it is definitely there. Use a chemical cleaner to dissolve the oxide layer or scrub the piece with a fine-bristled stainless steel brush. Aluminum should be welded within a day or so of removing the oxide, or you will need to clean the piece again.
10. Prep Your Electrode
TIG welds made with direct current should use a pointed tip on the tungsten rod. Direct current is used for steel and sometimes for thick aluminum. The pointed tip concentrates the arc and gives you the cleanest weld. Use a bench grinder or electrode sharpener to get a good tip on the electrode. The tip will round with use, so make sure to check it from time to time for sharpness.
Most aluminum welds are made using alternating current. AC welds work best with a rounded electrode tip. If your tip isn’t rounded, it can be fixed with the grinder as well. Round tips hold their shape better than pointed ones, so you probably won’t need to re-shape it.
Also, make sure your electrode is clean. If you accidentally touch it to the weld pool, the tip will be contaminated with a base metal. The contamination will cause pitting in your bead. If your electrode gets contaminated, stop and grind it to remove the gunk.
11. Use the Right Filler
Filler rods are chosen based on compatibility with the base metal. Using the wrong filler will cause your weld to crack or discolor. Make sure your filler rod is similar in composition to the metal you are welding. Check the manual for your welder if you are not sure what rod to use.
Aluminum is particularly sensitive to rod material. Know exactly what grade of aluminum you are welding and choose a rod to match. Some grades of aluminum can’t be TIG welded. There are even grades of aluminum that can’t be welded at all. If you are working on a critical project, research aluminum grades and find the right one and the rod to match.
12. Practice Makes Perfect
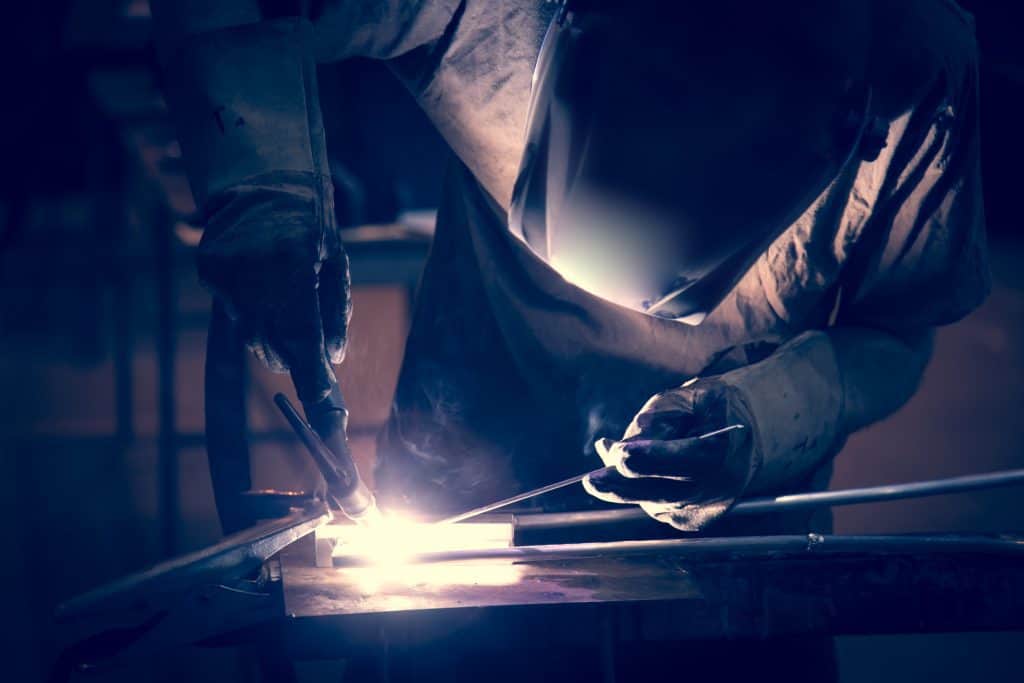
TIG welding is a fine motor skill, like painting or playing the piano. No one expects to be a great painter the first time they pick up a brush, and no one should expect to be a great TIG welder the first time they crack an arc. Most welders believe TIG is the most laborious welding process to master, and it will take some time.
Practice your TIG welds by laying down beads on a flat plate. Start and stop over and over to get the feel of reducing your amperage and lifting the electrode to end the arc gradually. Use TIG to weld projects that don’t require a beautiful bead, so that you can get more time working on it. The biggest secret to getting a clean finish on TIG welds is time.
Conclusion
Getting a TIG weld correct is a matter of knowing some of the finer points of welding and practicing them. With these pointers, we think you’ll be successful with your next weld.

