“This post contains affiliate links, and I will be compensated if you make a purchase after clicking on my links.”
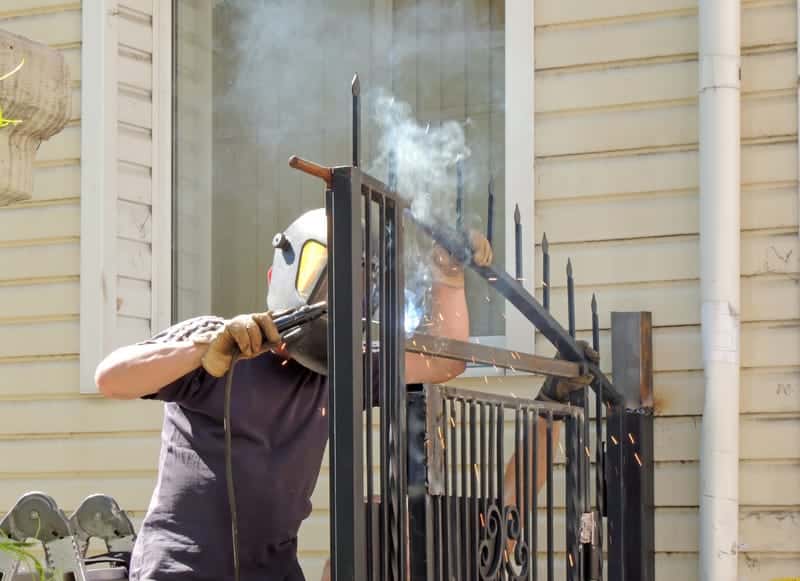
Adding an ornamental or decorative gate to your home or rural property can be a great visual addition to your home while also adding an extra layer of security. It doesn’t matter if you have pets or children, a gate is a great way to ensure that everyone is where they are supposed to be, and no one goes wandering off!
Once the cold winter months are gone, it’s time to start doing all of those maintenance jobs around the home, such as welding a gate up or building a new gate.
If you have been eyeing off one of your old gates or looking to add a new ornamental gate to your property, then now is the time to do it. The greatest thing about creating something yourself is that you can look back with pride at what you have accomplished, and every time you get a compliment on your gate, you’ll be able to say ‘I welded that and built it myself’ to whoever asked.
Not only that but if you’re looking to get a few extra dollars or start a side business, welding and building gates for people is a great way to do it. If you have a welder at home, and a nice workshop space, then welding and creating gates and other items for people is a great way to make a few dollars while you’re enjoying your passion for welding.
In the following article, we’re going to cover the steps required to weld a gate and also some of the welding equipment that you need, safety equipment, and the best methods for welding your gate.
- Welding Safety Equipment
- Measuring Your Gate
- Choosing the Material for Your Gate
- Welding Options for Different Materials
- Building Your Gate
- Welding Tips for Your Gate
1. Welding Safety Equipment
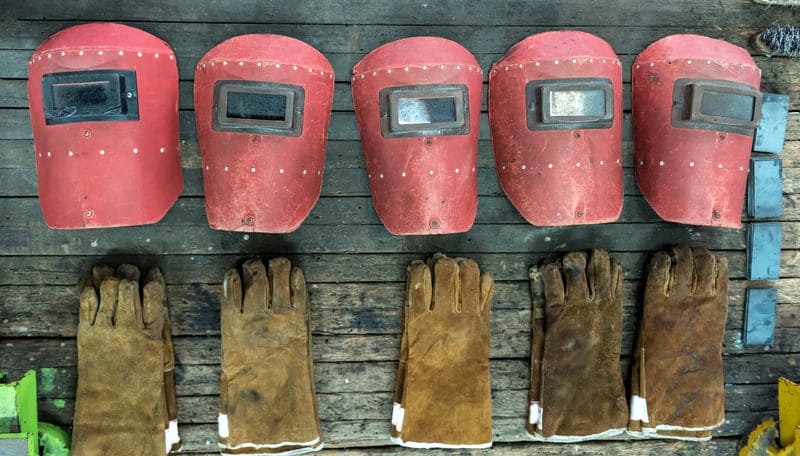
Before we get started on welding a gate, first, we need to talk about safety equipment. Just because you’re working from home, it doesn’t mean that you can take any shortcuts with safety equipment. Good safety equipment is worth every cent that you spend on it, and if you look after it, not only will it look after you, but it will last for years.
- Fire Retardant Pants and Shirt – A high-quality set of fire retardant clothes is a great start for any welding that you are doing at home. It will protect you from small sparks and any small amounts of slag that fall on you while you are welding. While these clothes can still get burn holes, they’re designed to not burst into flame or catch on fire.
- Welding Jacket – A welding jacket will help to prevent any large blobs of molten metal from burning through your clothes and embedding themselves in your skin. There are a number of different choices available, including the old school leather welding jackets and advanced new welding jackets.
- Welding Shield – There are both manual and automatic welding shields available. Automatic welding shields are more of an investment but can make it much easier when you’re learning how to weld, as you don’t have to worry about flicking your welding shield up and down, which you’ll do a lot when you are making a lot of small welds on a gate for example.
- Welding Gloves – Welding gloves are great for protecting your hands both while you’re welding and also when handling any hot components. You can choose from light TIG welding gloves or the heavier MIG welding gloves. Good gloves will also protect you from sharp slivers of metal and swarf when you’re fabricating.
- Safety Glasses – Even though you are wearing a welding shield, safety glasses can add an extra added layer of protection against dust, sparks, spatter, and also ark radiation which can cause welding flash. You have a variety of different choices, from goggles to tinted lenses and much more.
2. Measuring Your Gate
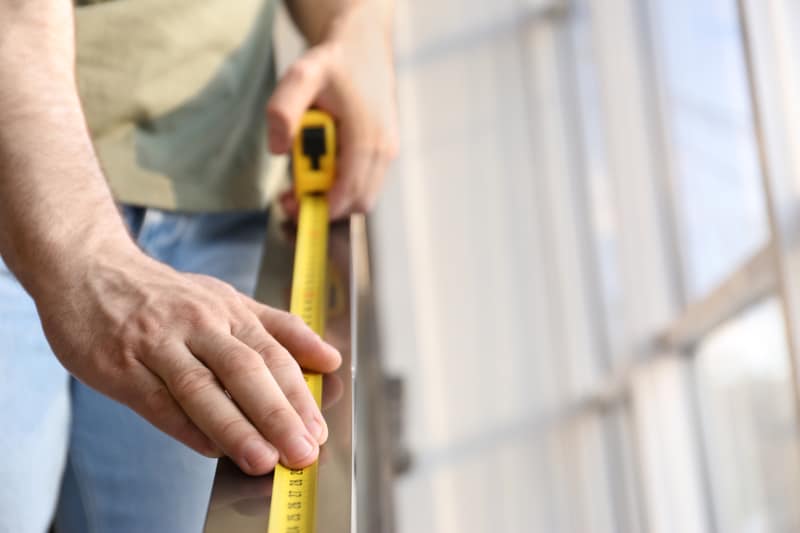
Any good DIY welding project starts with a design, drawing, and measurements. We can’t stress this part of the project enough. Any project, regardless of whether you are building a gate, a bench, or a trailer, starts with accurate measurements.
The more measurements you take of the location of the gate, the better the project will turn out. It’s easy to make mistakes when fabricating, but if you have come up with a detailed drawing of the project and the location where the gate is going to be placed, you’re less likely to make any costly and time-consuming mistakes.
Before you start designing your gate, you should carefully measure the location of where the gate is going to be placed. Start by measuring the width of the gate and make sure that you leave an allowance for the width of the hinges when you attach the gate, as well as the latching system if required.
You’ll also want to measure the height of the gate and how high you want the gate to be. Remember to consider your design and whether or not you will have a flat vertical top on the gate, uprights, or even a decorative arch or something different.
The next thing you need to consider is the level of the ground and which way the gate is going to open and shut. Many a DIYer has come unstuck when they realize that their gate won’t fully open because the ground is uneven or slopes uphill, and they want their gate to swing that way.
Once you have all your measurements and know which way your gate is going to open, you are ready to start designing it. First, think about the function of the gate. Is it purely decorative or designed to keep pets or children in the yard? Next, think about the space of the railings in the gate and how wide or narrow they have to be to stop a pet or child from getting out.
At the same time, you’re considering the design, think about what material you’re going to make your gate out.
3. Choosing the Material for Your Gate

This is where things start to get interesting! You have so many choices for material when it comes time to build a gate. One of the most common choices for any gate has to be either mild steel or wrought iron. Both of them are extremely durable and long-lasting, but you should consider how much they weigh when you are designing the gate.
Another popular option for building and designing a gate is aluminium. Although aluminium will require a little more welding equipment and can be harder to weld than mild steel, you get the strength and durability of steel without the weight. Aluminium is much lighter than mild steel or wrought iron and will last just as long.
If the gate you are planning to build has to span a large area such as a driveway, or even two driveway widths, then aluminium may be a better option because it’s not as heavy as mild steel and can be painted any color you like.
Once you have picked your material, you’ll need to calculate the weight approximately and make sure that you choose hinges and hardware that are up to the task of carrying that weight.
4. Welding Options for Different Materials

Once you have settled on your material, it’s time to choose your welding machine. If you already have welding equipment at home, then you may want to choose a material that’s suitable for your machine to save you from having to source another welder.
- Mild Steel – With mild steel, you have two main options for welding, MIG, and Stick (arc welding). MIG is one of the easiest ways to weld mild steel and also provides one of the best finishes, but it is going to require a MIG welding machine and shielding gas as well as other consumables such as wire. Then, of course, you can always stick weld mild steel, which doesn’t require a shielding gas, but will require welding rods.
- Wrought Iron – Wrought iron is durable and looks great, but it’s best welded by a stick welder rather than MIG. Low carbon rods are the best choice for stick welding cast iron. Another option with wrought iron is brazing. But, if you have the experience, it can be a fantastic way to get a great visual finish to your gate.
- Aluminium – Aluminium can be very intimidating if you have never welded it before, but the strength and light weight of aluminium makes it an ideal choice for a gate. You have two options when it comes to welding aluminium, TIG or MIG welding. TIG welding is a little more time-consuming than MIG, but with provides you with a beautiful finish.
5. Building Your Gate
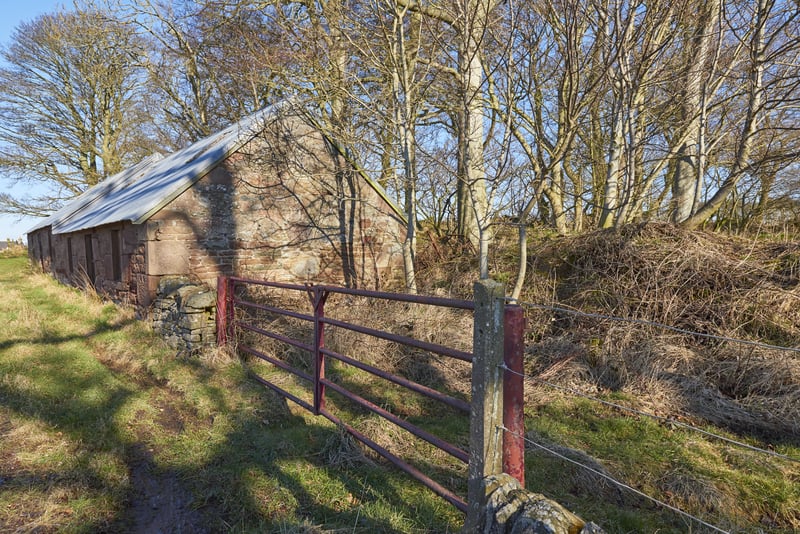
Once you have chosen your material, designed your gate, and sourced your material, it’s time to start cutting all of the different pieces. Start with the longest pieces first, and then work back to the smallest pieces as you may be able to cut smaller pieces out of the long piece-off cuts.
A cut-off saw is a great way to make a lot of neat cuts in the shortest amount of time. If you have a lot of the same length pieces to cut, set up a jig so that you don’t have to waste as much time individually measuring each piece.
Now it’s time to layout you’re the outside of your gate. A large flat surface is the best place for this, such as your workshop floor or garage. It’s going to make it easier to put it all together.
At this stage of the build, it’s essential that you only tack all of your pieces together. That way, if you happen to make a small mistake, it’s going to be a lot easier to go back and fix it without having to grind out a bunch of welds. Also, your tacks should be big enough to hold the gate in position if you have to lift it or move it, but not so big that they start to pull pieces out of shape or distort them.
Once you have the outside of the frame laid out, it’s time to start filling in the inside of your gate. Again, there are some great decorative ideas for patterns and designs that you can do on the inside of your gate. Again, it’s a great opportunity to get creative and show off some of your fabrication skills, particularly if you’re planning on selling gates as part of a business.
6. Welding Tips for Your Gate
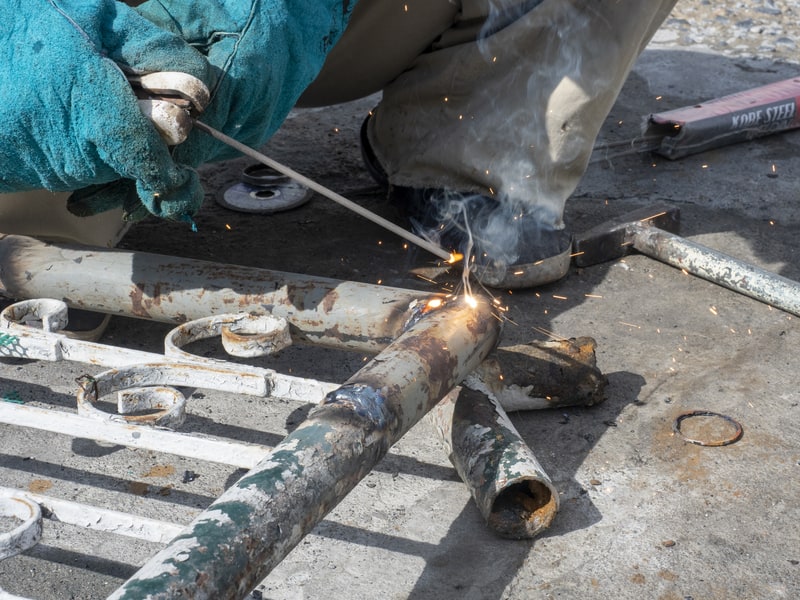
- Don’t Rush It – Regardless of what type of material you are using to build your gate, don’t rush the welding. Take your time and weld up a few different areas rather than starting at one end and fully welding to the other. A good idea when welding something like a gate is to spread out your welds and mirror them. For example, if you weld a post on one side, move to the other side and weld the opposite post. Allow the gate to cool after a few welds, and clean up your welds in between will prevent a lot of distortion.
- Clean Those Welds – If you plan on painting your gate or not, cleaning up those welds is vital. Take a few extra minutes on each weld to ensure that there are no craters or holes which could allow water to get into the joint.
- Measure Twice, Cut Once – Unless you’re happy to waste a lot of material, then the old saying ‘measure twice, cut once’ couldn’t be more accurate. The more time you spend measuring before you start cutting, the more accurate your project is going to be.
How To Weld A Gate – Conclusion
Now you have a clear idea of how to weld a gate and what’s involved. A gate can be as simple or as complicated as you want it to be. It’s a great opportunity to show off your welding and fabrication skills and also a great way to make a few extra dollars.
If you have any tips that you would like to share on how to weld a gate or some of the different gates you have constructed, then don’t hesitate to contact me!

