“This post contains affiliate links, and I will be compensated if you make a purchase after clicking on my links.”
When you break a component or item that’s made using cast iron, it can be a nightmare to repair. Many a welder has been bought undone by a small repair job for a friend or family once they are presented with something made from cast iron. You’re usually full of confidence about any repair job until the piece of cast iron lands on the workbench in front of you.
However, repairing or stick welding cast iron isn’t all doom and gloom, and it can be done provided you have the right equipment, experience, knowledge, and just a little luck.
To stick weld cast iron can be done for gray and ductile cast iron with a stick electrode rich in Nickel (>55%). Cast iron needs to be preheated before welding to avoid cracks.
In the following guide, we’re going to take a closer look at the process involved in successfully welding cast iron. With the right welding equipment and processes, you should be able to successfully weld almost any cast iron components and get yourself or your machine back working again in no time at all.
- Determining the Type of Cast Iron, You’ll Be Welding
- Choosing Your Welding Process
- Choosing the Correct Electrodes
- Cleaning the Surface Before Welding
- Preheating and Post Weld Cooling
Challenges Welding Cast Iron
Cast iron is one of the most challenging materials in the world to weld and one of the most commonly used for equipment parts. You’ll often find cast iron components used in machinery and motor housings where the parts themselves are exposed to excessive amounts of force or pressure.
If you weld cast iron wrong, you can cause more damage and make any future repair attempts impossible. Often, welding cast iron is the last resort when you can’t source the original part anymore, or you cannot afford to wait while another part is sourced. However, you need to be realistic about your chances of welding cast iron. As many as 50% of welding repairs on cast iron ends in failure, with more damage done to the original component.
1. Determining the Type of Cast Iron, You’ll Be Welding
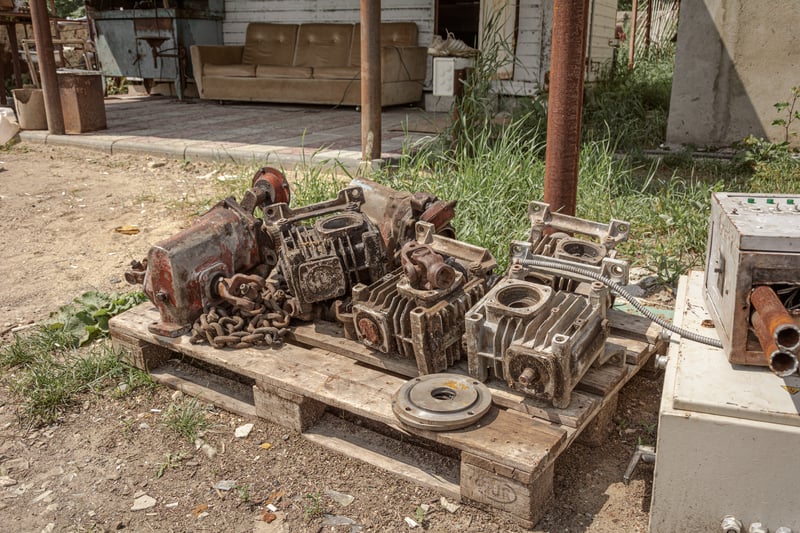
The first step in the process of welding any cast iron component is determining what type of cast iron you will be welding. The last thing you need is to try and weld a cast iron that is almost impossible to weld. You may not know, but there are various types of cast iron, and you probably don’t even want to attempt to weld most of them.
Below we have a list of some of the different types of cast iron and also their weldability:
- Gray Cast Iron – Gray cast iron is one of the most common types of cast iron and is weldable with difficulty. If you aren’t experienced welding cast iron, then gray cast iron is something that you could potentially attempt to weld.
- White Cast Iron – White cast iron is almost un-weldable and should only be attempted by a professional cast iron welder with a lot of experience.
- Ductile Cast Iron – Ductile cast iron is weldable, but it is an extremely expensive and time-consuming process.
- Malleable Cast Iron – Malleable cast iron should never be welded as welding this type of cast iron can alter the properties of the metal, making it worthless.
The easiest and most reliable way to tell what type of cast iron you’re dealing with if you’re attempting to weld or repair a broken component is to consult the manual and if the product manual doesn’t contain the information that you need, then try to contact the manufacturer.
When the material is freshly cracked, there is a chance that you’ll be able to identify the type of cast iron, but this isn’t always reliable. If the manufacturer isn’t in business any longer or you can’t identify one, then going online and doing some research may help you to identify or narrow down what type of cast iron you’re dealing with.
Gray cast iron is always going to be the most commonly used type of cast iron. It realistically should be the only type of cast iron that you attempt to weld unless you’re highly skilled and experienced welding cast iron. If you have someone who is experienced assist you with your first cast iron repair, that can also save you from making any costly mistakes.
2. Choosing Your Welding Process
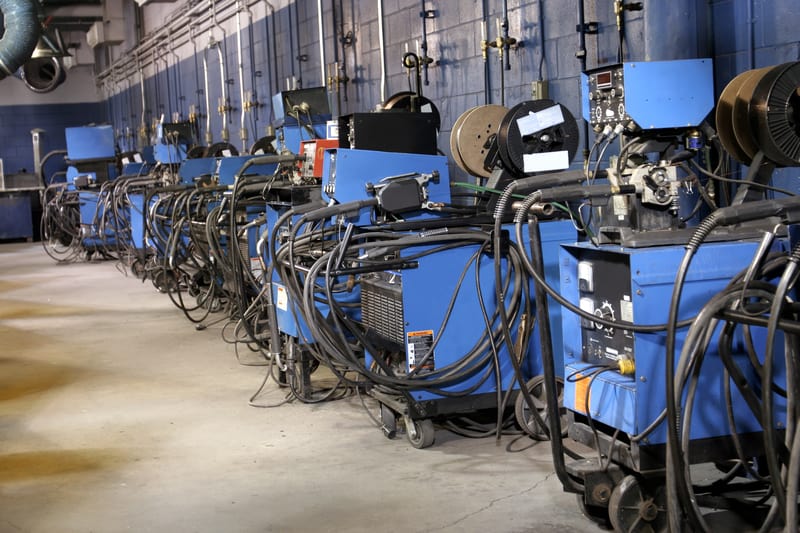
Once you have successfully identified what the material is and that you can weld it, the next step in the process is choosing how you’re going to weld it. While you have some choices in how you’re going to weld the cast iron, the three main options that you have are MIG, TIG, and stick.
If the part that you’re welding is a machined surface, then TIG welding may be a good option because there is less spatter when TIG welding compared to stick welding. However, MIG and stick welding is a great choice for welding cast iron as long as you choose the right filler rods. It would help if you had suitable filler rods; otherwise, you’re likely to see the part crack after welding or during use.
Another option that some people use to weld cast iron is oxy-acetylene welding. It helps to minimize the amount of heat the component or piece is exposed to during the welding process.
3. Choosing the Correct Electrodes
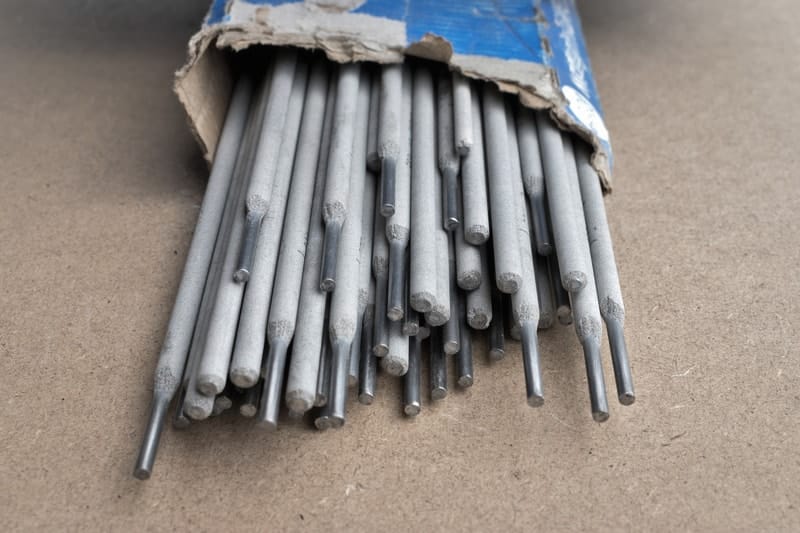
Okay, in this article, we have chosen to weld our cast iron with a stick welder or ARK welder, so we are going to need to choose the correct electrodes for the project. Luckily, when it comes to welding cast iron, you don’t have a vast selection to choose from, so it makes picking the suitable electrodes a little easier. However, if you use the wrong electrodes, the chances are high that the weld won’t fuse correctly to the cast iron or cause stress fractures later on.
- Rich Nickel Content – One of the best electrodes you’ll find is one with rich nickel content as it’s much softer and machinable than many other electrodes. It’s not going to cool down as quickly, and once it’s welded, the weld is going to look visually similar to the cast iron. However, rich nickel electrodes are some of the most expensive rods on the market and aren’t fantastic for welding thick sections of cast iron.
- 55% Nickel and 45% Iron – Another great option and also a lot more affordable if you have a lot of cast iron welding to complete or do it on a fairly regular basis. It looks similar to cast iron when it’s welded. Even though it’s going to be machinable after welding, it’s a lot harder than the 99% nickel rods that we talked about above. The lower shrinkage means that it’s going to minimize cracking as the weld cools.
- Iron – Another cheap option, iron rods aren’t going to give you a similar look to the cast iron once welded. You’re going to be challenged using iron rods as you have to deal with more shrinkage as the weld cools, and your finished product isn’t going to be machinable, but it can be ground down.
- Stainless Steel – The stainless steel rods aren’t going to harden and change the properties of the cast iron like the iron rods will. However, stainless steel will contract and expand significantly during the cooling and heating process, so it can be challenging to use. One added bonus of stainless steel is that it’s machinable
Ultimately, the electrode you choose will depend on what you’re welding, your budget, and what types of electrodes you have access to. However, spending a little more on the right electrodes or taking the time to source the right electrodes for the job will mean that the finished product will be that much better looking and more robust and could save you a load of headaches and hassles along the way.
Welding cast iron is difficult enough without having to mess around without the right electrodes or tools for the job.
4. Cleaning the Surface Before Welding
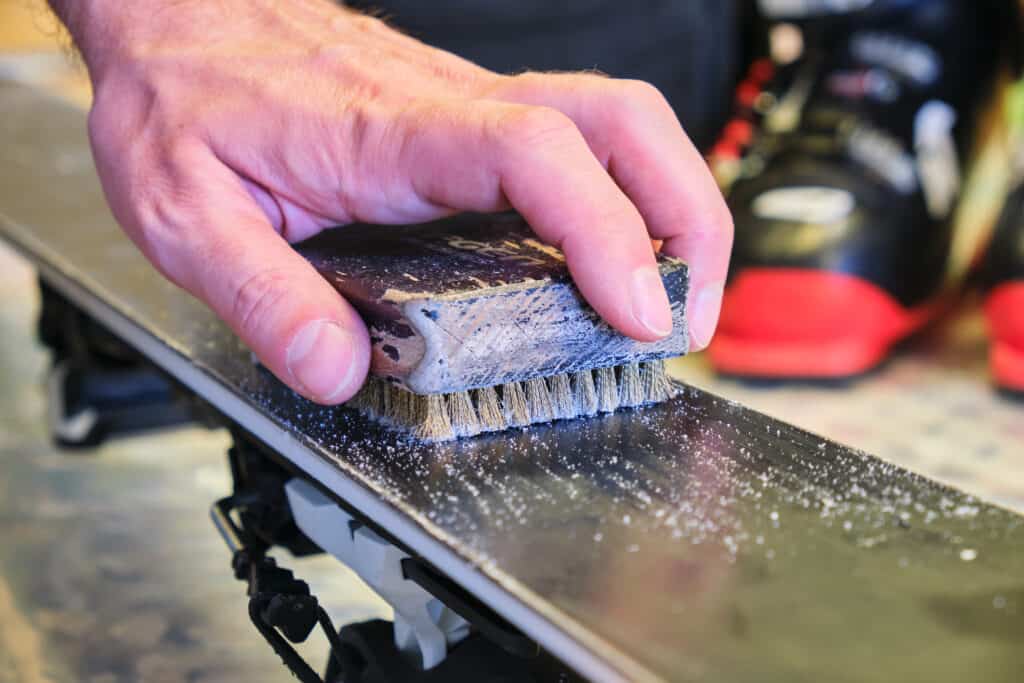
Like any welding that you do, especially when you are doing a repair job, cleaning the surface is paramount to getting a great result on your weld. After all, the last thing that anyone wants to do is spend hours following all the correct welding procedures only to skip the cleaning and get a poor result on the weld.
You can only imagine how many materials have built up inside a piece of cast iron, especially when it’s exposed to fuel, oils, dust, fumes, and other contaminants.
When you’re cleaning your cast iron, you need to be sure to remove any paint, grease, rust, scale, and oil, making sure that you pay particular attention to the area which will be welded. You can also remove the surface skin or casting skin with a grinder or sander. Next, wipe the surface of the cast iron to remove any of the residual graphite. Finally, slowly preheating the part will help to burn away any moisture or contaminants.
5. Preheating and Post Weld Cooling
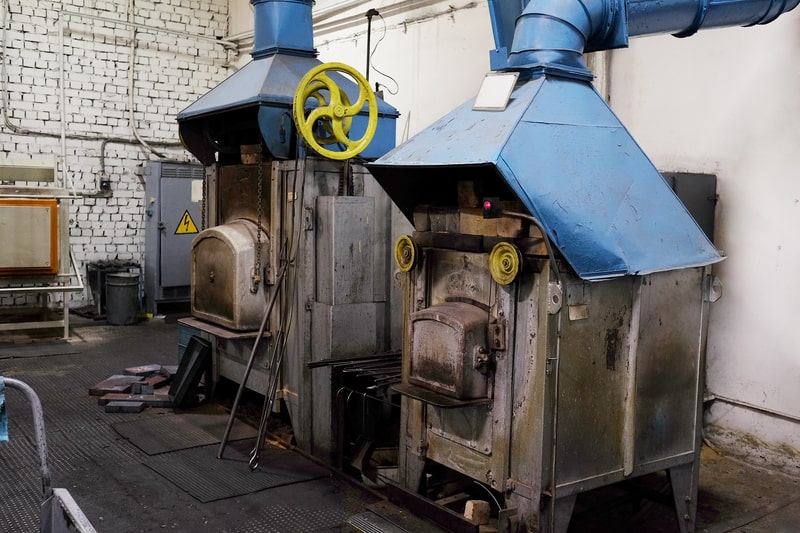
Almost everyone that welds cast iron regularly agree that preheating the piece of cast iron before welding is an essential part of the welding process. Cast iron has very little ability to bend, expand, or contract. Heat has a deforming effect on metal, but if one part of the metal heats up or cools down faster, then you can see cracking occur in the metal.
When you preheat the cast iron before welding, you can minimize this effect by bringing the surrounding areas of metal closer to the welding temperature. Preheating is the best way to ensure that the component won’t crack during the welding process or as it cools later on.
The final step in the process is cooling the piece down. You want the piece of cast iron to cool as slowly as possible. Rather than quenching the piece or letting it cool on your workbench, you should always place it into an oven or box of sand. Remember, the slower it cools, the better the result will be.
Some people also believe that peening is an effective way to prevent cracks in welded components. Peening involves tapping the soft weld as it cools after welding with a ball-peen hammer. It’s believed that this can also prevent heating. However, effective cooling after welding is still your best chance to prevent cracking.
How To Stick Weld Cast Iron – Conclusion
There’s nothing east about welding cast iron. Don’t be fooled into rushing the process, and always remember that time and preparation is key to ensuring your best chance of success when welding or repairing any cast iron.
If you follow all of the steps outlined above, you have a good chance of successfully being able to weld or repair your cast iron component. However, if you try to skip steps or rush the process, there is a good chance that the finished component will crack as it cools down or after it’s cold. It can also lead to your weld being internally weak and the repaired item breaking again once it is put into use.
Like with any welding, repairing cast iron and welding cast iron involves following a set of procedures carefully and in the correct order. Don’t be put off if the first piece of cast iron that you repair doesn’t work out as you expected. Welding any cast iron can be a tricky and unpredictable process.
Suppose you have any scrap material or spare parts of the cast iron to practice on before welding and repairing the main piece. In that case, it could be a great way to dial in your welding settings before you commit to welding the critical component.
If you have any questions or tips about welding cast iron, don’t hesitate to contact me to share your experience. Your experience and knowledge could help another welder successfully repair and weld their next cast iron project.

