“This post contains affiliate links, and I will be compensated if you make a purchase after clicking on my links.”
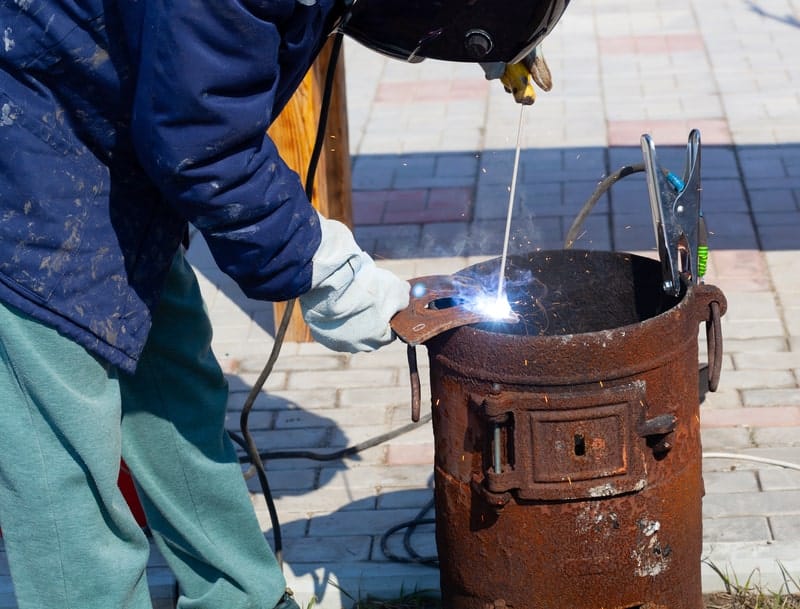
Stick welding would probably not the first process one might choose for cast iron welding. However in my series how to get the most out of your stick welder to solve your joining problems, I will show you how to weld cast iron and handle the challenges that comes with the process.
Generally, cast iron can be stick welded by preheating the material to 350°F before welding and adding a slow cooldown phase in an insulating medium like sand to prevent heat cracking.
While this is the short answer, there is a bit more to unpack to tackle this bit more challenging stick welding project. So if you are determined to go ahead to stick weld a piece of high carbon iron, here is my how-to.
How to prep cast iron for stick welding?
Bevel the material with an abrasive wheel. An abrasive wheel might cause contamination. Therefore a coal chisel (find a decent set here) might be a good option for more demanding joints. Generally, grinding down the area with an abrasive wheel should be more than enough for a simple repair job.
Selecting an electrode. Picking the right electrode is very important. An E6013 Electrode, for example, is a good choice for cast welding. An E7018 will do the trick too. The E6013 electrode gives you a good flow and deposition rate, making it one of the easier to weld electrodes. And the metallurgy of the electrode favors carbon-rich metal welding. Penetration is shallower than with other electrodes; however, deeper penetration isn’t what we aim for. Since we compete with brazing processes, a simple, shallow weld should do.
Setup up your welding gear: Connect the stick welder to a power source and connect the electrode holder to the DC Positive outlet. Because we start with spot welding, about 20 A should be ok for a 1/16″ electrode rod. However, you might have to play a bit with the settings depending on your welding plant’s capabilities. Features like hot start make it easier to ignite an arc at or below the electrode’s recommended amperage.
Cast iron needs to be preheated before welding. Due to the high carbon content in the material, the risk for heat cracking is quite high. Therefore reducing the difference between the temperature of the material and the welding operating temperature prevents such a temperature shock. 350° Fahrenheit is a good place to start. Either you put the workpiece in a pre-heated oven for about an hour, or bigger objects, you can use an industrial torch.
Check if the target temperature of the workpiece is reached. An infrared thermometer comes in handy. This allows you to check within a second if the surface is heated up. So when you use the torch, give it a moment for the heat to “sink in” to get the best reading.
Wear your PPE. An obvious one, however, the most important step. Make sure you have gloves and are wearing some protective gauntlets and kilt. Never now where the slag is jumping. As we are welding with a low amperage, especially at the start, the shade 8 setting is a good point. Adjust to your eye comfort higher or lower if you can’t see any arc or weld pool.
Steps to stick weld cast iron
So we got our equipment ready, electrode dry and clipped into the electrode holder, ready for welding. The workpiece is heated up, as mentioned before, and placed on the welding table.
Spot weld: First step is to spot weld your workpieces in place. Small spots, just enough to keep both pieces where you would like them to be in the future. Don’t forget to clean the weld with a slag hammer and a brush after every spot.
Stich weld: Once the spot welding is completed and everything is set into place, the real welding can begin. It’s good practice to do some stitch welding to reduce the heat strain on the workpiece. This means running a small bead of one or two inches, clean the weld and then run a weld bead of one or two inches a bit further down the gap. As a rule of thumb, an equal length of weld bead and gap in between is a good starting point. However, this will result in a pretty robust weld. So feel free to increase the gap size if your project does not require such strength. Welding cast iron is a battle against heat cracks. So less welding, less heat input, is better.

Post treatment for cast iron after stick welding
After stick welding cast iron, it is essential to control the cool-down phase of the material. The cast iron now has a temperature well above 350° Fahrenheit. Feel free to use the infrared thermometer to check how hot your workpiece actually is since it greatly depends on how much of a weld you put on and how thick the material is.
So to control the cooldown phase, put your workpiece in an insulated environment. An easy and popular home repair setup would be a container full of sand to cover the material. The insulating properties of the sand will slow down the heat loss and benefit the crystallization of the metallurgy.

Other options are an industrial oven, which can do programmable temperature cycles. This is more of an advanced solution, as these ovens can be quite pricey.
Important before you get going: Get heat resistance gloves! Not all welding gloves would keep the heat from your hands long enough. To prevent burns or damaging your gloves by checking the label first. EN 407 Level 3 gloves would be the minimum for this job.
The cooldown phase will take a couple of hours in the sand (or oven). So leave it at least 4-6 hours before checking. The actual cooldown time is highly dependent on much weld volume you did put on and how big your workpiece is. 4-6 hours is more of a lower ballpark figure.
What can go wrong when stick welding cast iron?
Heat cracks: Cast iron welding comes with its own challenges. The material is very stiff and prone to heat cracking. So the main problem we tried to address here is the heat management to prevent such cracking. Therefore it is crucial to preheat and elongate the cooldown phase. If you experience cracks after your welding, see if any thermal shock can be prevented in the process.
Porosity and pinholes: Almost certainly, you will have both in your cast iron stick weld. Since we try to limit the heat input, and therefore “freezing” the material before the weld puddle can wash out these cavities, it comes with the process setup. However, these are both issues we have to live with when welding such a “dirty” material containing lots of unwanted elements in the metallurgy. This is why brazing is so popular for cast iron because the base material is only wetted and not molten.
Final words
Welding cast iron, especially with a stick welder, won’t be pretty. However, it can be done! Don’t get discouraged when you experience heat cracks on your first shot. Heat cracks are the main problem in my opinion when taking on such a project. Therefore heat management is absolutely crucial. And I hope I pointed out a way to do it in a DIY low-cost way. Also consider the volume of weld you put on. Less is sometimes more. Best of luck!


