“This post contains affiliate links, and I will be compensated if you make a purchase after clicking on my links.”
If you are frequently welding, whether it be for work, for a hobby, or to repair a broken or damaged item for someone, there’s a good chance that sooner rather than later, you’re going to end up welding overhead or upside down.
Unfortunately, we aren’t usually lucky about when and where a component or piece of machinery breaks down. The chances are pretty good that when something breaks, it’s going to be in the most inconvenient location and at the most inconvenient time.
No one ever said that the life of a welder was glamorous, and not everyone will be lucky enough to land a welding job where they are sitting a workbench welding components all day in a comfortable position.
Welding upside down or overhead welding is one of the trickiest and most uncomfortable welding positions that you’ll find yourself in. It’s hot, uncomfortable, and you’re going to be trying to weld while maneuvering a heavy welding gun. There is nothing fun about overhead welding, but there is something satisfying about being able to master the overhead welding techniques and lay in some high-quality runs in this position.
In the following article, we’ll take a look at ten tips for overhead welding that will effectively and safely help you master the technique required for welding upside. Of course, like any welding technique, there’s no substitute for experience. So, don’t be disheartened if it takes you a little bit of time to get the techniques perfect.
Some welders take years to perfect overhead welding, and like any welding technique, repetition is the key to success. The more you do it, the better you’re going to get at it!
10 Tips and Tricks for Safe, Effective Overhead Welding
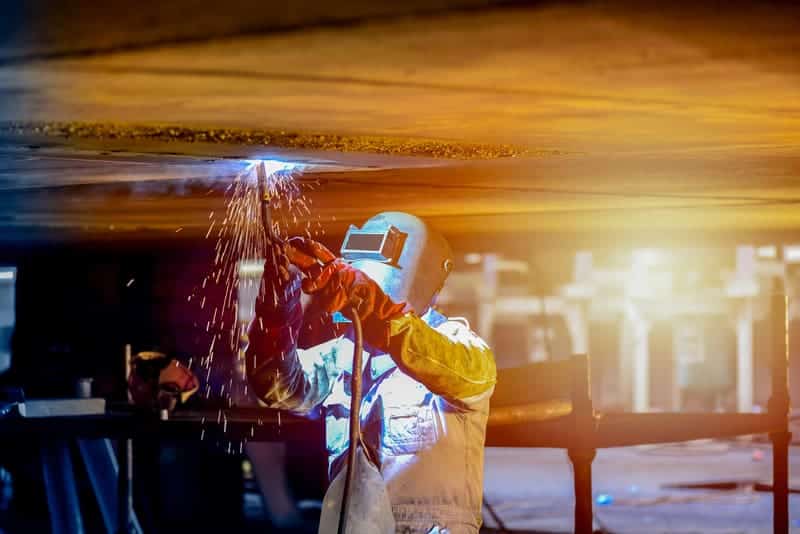
In this section of the article, we will look at ten tips for mastering the art of welding upside down. Don’t be put off if your first few attempts don’t work out as you planned them. It’s going to take a little bit of time to get the technique down.
The best place to practice your overhead welding is sitting or standing somewhere comfortable at a bench where you have plenty of room to move. It’s always a good idea to practice your technique and dial in your temperature settings and wire-speed on a piece of scrap metal first before moving to the actual job.
Obviously, it’s not always possible, but it’s going to be 100% easier to learn how to weld overhead when you’re in a comfortable position rather than being thrown into the deep end when you’re told to weld something overhead in a cramped, uncomfortable, and poorly lit and ventilated area.
In the following section, we’re going to cover speed of travel, wire-speed, voltage, amperage, electrode size, shielding gas flow rates, welding gun angle, welding techniques, and safety equipment.
1. Speed of Travel
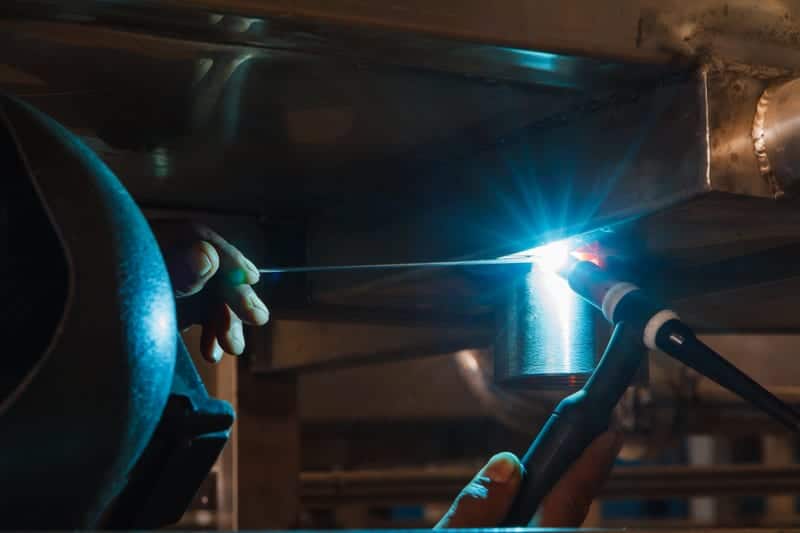
When it comes to overhead welding, the first thing that you need to remember is that you are fighting gravity. If your travel speed is too low, gravity is going to be your biggest enemy, and you’ll quickly discover that your molten weld pool wants to fall out of the weld.
You need to ensure that you are laying your bead of weld in as quickly and as efficiently as you possibly can. If a giant blob of molten metal falls down from your weld and lands on you, it’s going to burn its way into whatever protective clothing you’re welding very quickly.
Obviously, you need to find a balance between how fast and slow your speed of travel is. Too slow, and your weld will fall out. Too fast, and your weld won’t fuse to both pieces of plate correctly, and you’ll miss out on the crucial penetration.
2. Wire Speed
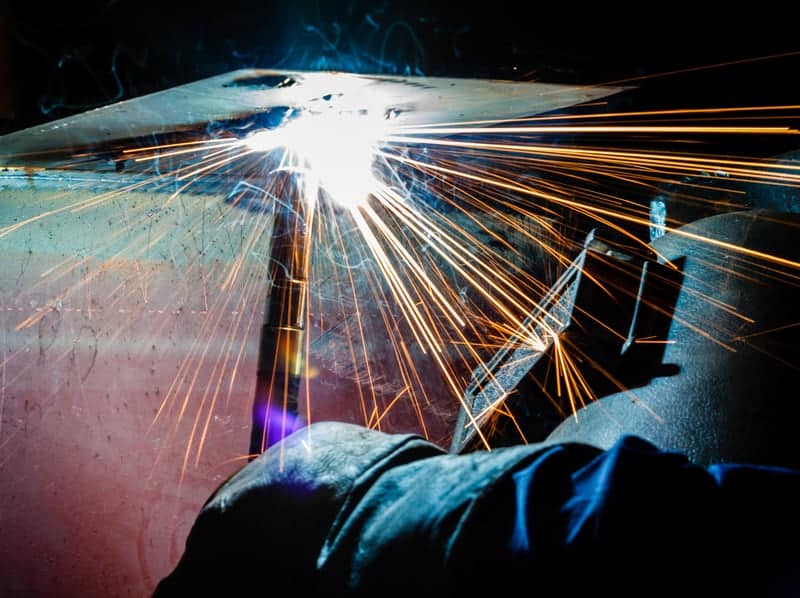
You need to ensure that you have enough wire speed to maintain the higher than average travel speeds when welding overhead, but not so much that you’re creating a lot of spatter and ark bounce. When you are welding overhead, one of the things that you’ll quickly notice is that the nozzle on your welding gun will block up with spatter much faster.
If you get too much welding spatter, not only are you going to be cleaning your nozzle more frequently, but you’ll also lose some of your shielding gas the end of the nozzle becomes blocked.
It’s going to take a little bit of time to match your wire speed with your travel speed, but that’s why practicing beforehand on some scrap material is a great idea. Finding your wire speed marks can take a little while, but once you do get dialed in, you’ll have it ready for next time.
3. Voltage
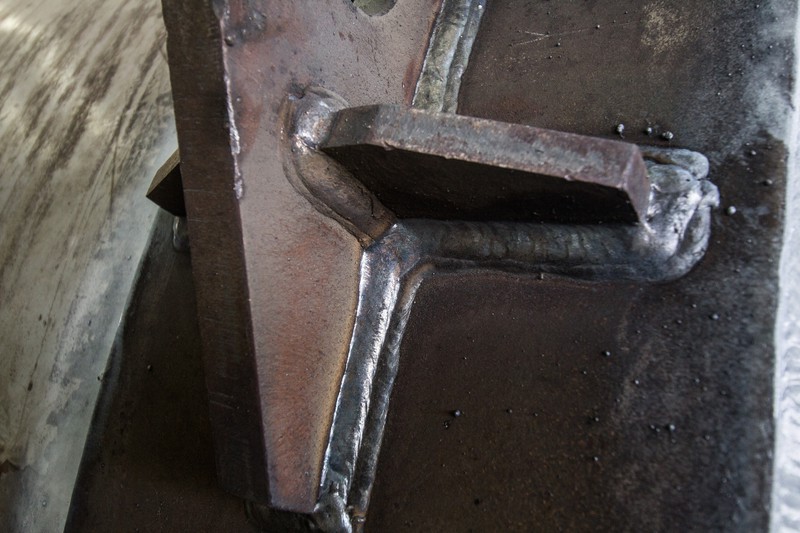
The next step in the process is learning how to control your voltage. Once you have your voltage set correctly, you will reduce the length of your arc. What this enables you to do is reduce the amount of spatter you’re generating and also lay down a solid bead of weld. When you reduce your voltage, you are also reducing the length of your arc, which gives you a lot more control over the weld pool, making it smaller and easier to manage. You’ll quickly learn with overhead welding that maintaining control is a critical element of producing a high-quality overhead weld.
4. Amperage
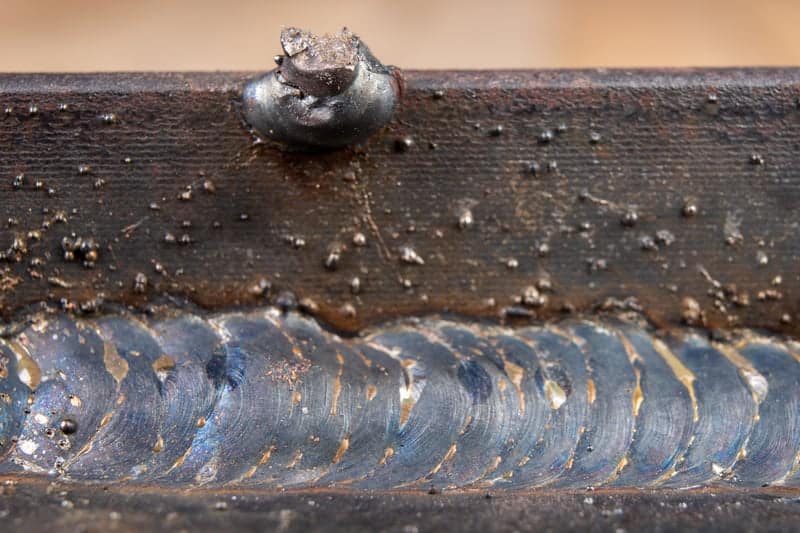
When you are running high amperage, your welding machine is generating more heat, leading to a larger weld pool, a more significant weld, and more heat being thrown into the piece of metal. Controlling the temperature and keeping it to a minimum is going to make welding overhead a lot easier for you.
If you try reducing the amperage, you may find that your weld is slightly smaller, and the time it takes to cool is reduced. This can make the chances of all that molten metal falling out much lower. Obviously, you still need enough heat in the settings to get good penetration and fusion, so don’t turn down your amperage too low otherwise, you’ll get a lack of root fusion.
5. Electrode Size
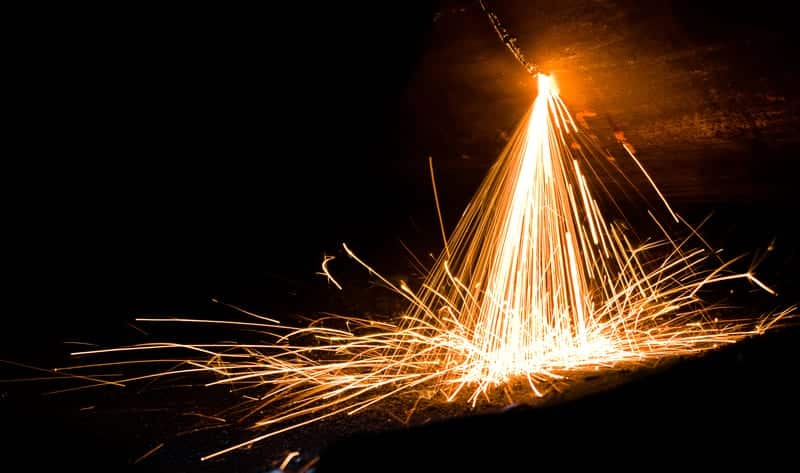
If you are stick or ARK welding overhead, then the size of electrode you choose to use will play an essential role in how your overhead welding goes. If the electrode is too big, then the weld pool is going to be much bigger and harder to control and require you to increase your speed of travel to compensate.
By using a smaller diameter electrode, you’ll be able to reduce the size of the weld pool and maintain a more comfortable speed of travel which will result in a smaller weld that’s more controlled.
6. Shielding Gas Flow Rate
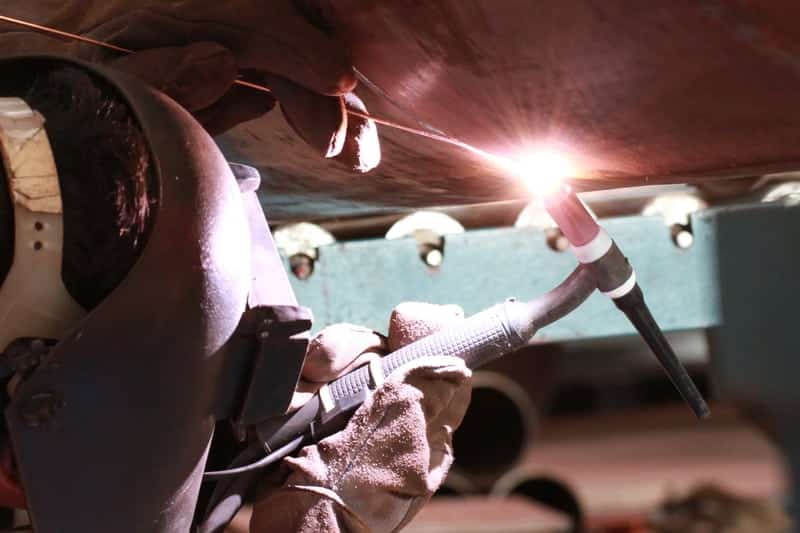
When you’re welding overhead, a lot of your shielding gas is going to move up and away from your weld pool because the shielding gas is lighter than the air it’s trying to replace. By increasing your gas flow, you will be able to ensure that you’re still getting adequate gas coverage of the weld.
You can adjust your gas flow on your regulator, but a good way to check your gas flow accurately is with a flow meter on your nozzle. This will tell you exactly how much gas flow you have at the point of weld rather than at the tank or on the welding machine.
7. Welding Gun Angle
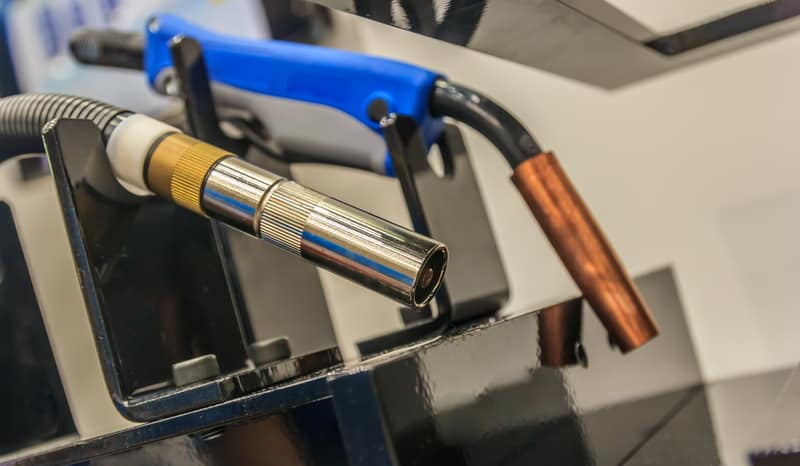
As with any type of welding, how you hold your welding gun is vital to the success of the weld you are laying down. You want to maintain a smooth and consistent angle throughout the weld, and looking at the front of your nozzle and what sort of gas coverage you’re getting will be a good guide. You should see even gas coverage lines along both sides of the weld bead.
If one side of the weld is getting good gas coverage but the other isn’t, then slightly adjust the angle of the nozzle to compensate.
Another thing to remember if you are MIG welding overhead is that your gun is working harder to feed the wire. So you want to make sure that you have a nice smooth flow along with your gun without any kinks that could crimp the wire speed.
When you have good gas coverage and a good gun angle and nozzle angle, you’re less likely to end up with a lot of spatter in the nozzle, which can be time-consuming to clean out and cause you to go through more welding nozzles than necessary. If you’re tired of battling spatter, there are some anti-spatter sprays and dips which will help to reduce the amount of spatter you are accumulating in your nozzle.
8. Welding In Circular Motions
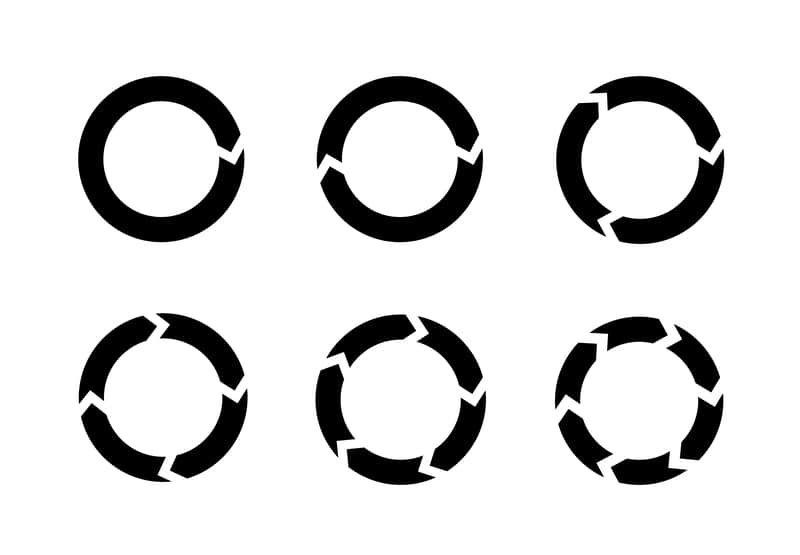
Depending on what you’re welding and the type of weld required, you may want to consider welding in a circular pattern or weaving the weld. For example, when you are welding aluminium, you usually weave your weld in a triangle pattern, pausing on each point of the triangle. On the other hand, if you’re welding mild steel, you could try weaving in a circular pattern.
However, if you are welding to engineer requirements, it’s essential to check what type of weld the engineer has specified. While weaving can produce a larger weld, many welders agree that weaving doesn’t produce the same amount of penetration and can reduce the effectiveness and strength of the weld.
9. Multiple Runs
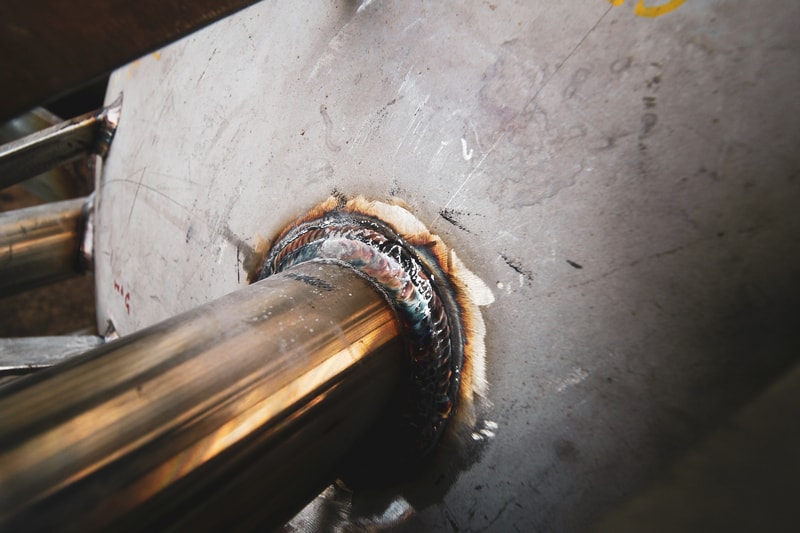
The same as weaving your weld, doing multiple runs or beads can help to build up the amount of weld and compensate for smaller weld runs. If you are going to do multiple welds, you want to lay your first run in the center, the next run on the bottom of your original run, and then the last run on the top. The buildup from the first two runs will give your top run a good landing and provide you with a smooth finish on your triple-run pass.
However, if you are welding to engineer requirements, it’s important to check what type of weld the engineer has specified. Welding multiple runs can add additional weight to the project, additional time, and also additional heat, which can affect the structural integrity of the metal by creating a larger heat-affected zone, which could result in metal fatigue over time.
10. Safety Equipment and Position
Firstly, let’s talk about getting into a comfortable position. The key to completing long and smooth welding runs is getting into a comfortable position. The fewer start stops that you have in your welding, the cleaner the weld is going to be, and the less time that you’ll need to spend grinding and sanding start stops.
Find a position that you feel is comfortable and without pulling the trigger or striking an ark, slide your gun along the length of the weld. When you’re welding overhead, a slide bar to rest your hand on is a great way to maintain control and also get a nice even weld.
When you are getting into a comfortable position, consider where the spatter from the overhead weld is going to be falling. Again, you want to be comfortable, but not directly under your overhead weld if possible.
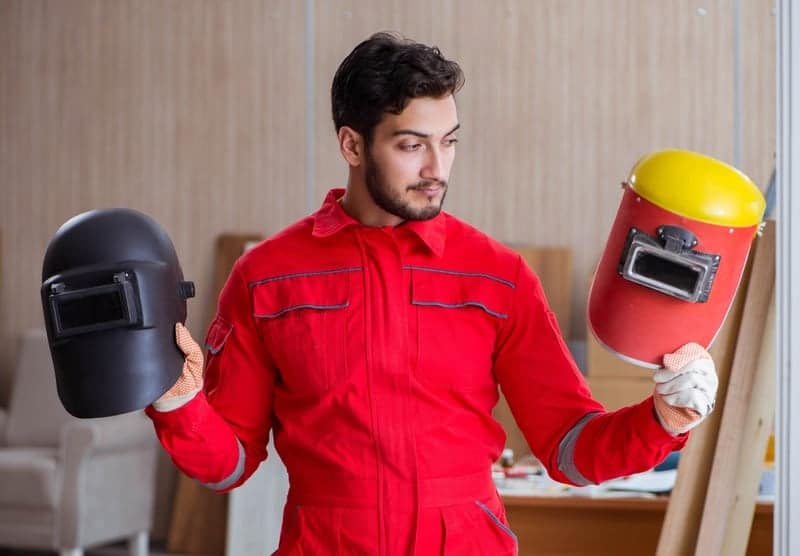
Welding overhead requires a little bit more protective equipment than welding down hand or sitting at a bench. A pair of leather welding sleeves or leather welding jacket will help to protect you from the majority of spatter that’s falling down on you. It’s also a good idea to wear eye protection, a welding shield that can take large blobs of molten metal, welding gloves, hearing protection, a fire-resistant welding hood, and spats over your boots. The last thing you want is large blobs of molten metal burning through to your skin in the middle of a weld.
10 Tips and Tricks For Welding Upside Down! – Conclusion
Hopefully, with the tips and tricks we’ve mentioned above, your next overhead welding job will run much smoother. But, remember, as with any welding, repetition, and practice is vital. The more you do it, the easier it will get and the better you will get at doing it!


